![]()
Growing Microgreens Indoors for Year-Round Harvests
Introduction
Microgreens are the culinary world’s rising stars! These tiny greens, harvested at a tender age, have transformed from a gardening curiosity into a must-have ingredient in kitchens everywhere. Imagine plucking fresh, flavorful greens right from your windowsill, regardless of the season. Yes, you heard that right! Growing microgreens indoors lets you enjoy these nutritious gems all year long.
You don’t need a sprawling garden or a green thumb to make this happen. With minimal effort and space, you can cultivate a variety of microgreens that pack a nutritional punch. Think of them as the superheroes of the vegetable world, delivering intense flavors and vibrant colors to your dishes. Whether it’s a zesty radish microgreen or a delicate pea shoot, these greens can elevate any meal.
In this guide, we’ll walk you through everything you need to know about growing microgreens indoors. From understanding the vast range of varieties to the best practices for planting and maintaining them, consider this your complete roadmap to a thriving microgreen garden. Plus, we’ll sprinkle in some humor and creativity to keep things light and engaging.
This guide will provide you with everything you need to know about growing microgreens indoors, ensuring a year-round supply of fresh greens.
So, roll up your sleeves and prepare to get a little dirt under your nails. Growing microgreens is not just rewarding; it’s a fun way to connect with your food. And who knows? You might just impress your friends with your homegrown culinary creations. Get ready to discover the joys of indoor gardening and embrace the year-round harvest of fresh greens!
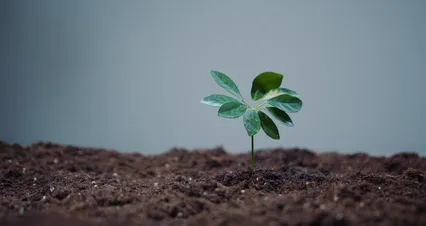
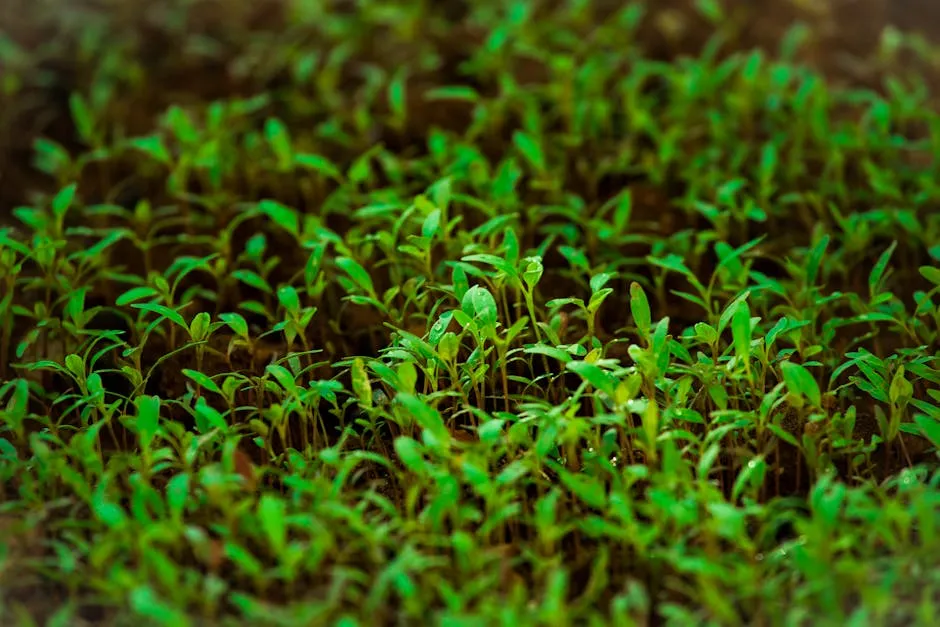
What Are Microgreens?
Microgreens are the tiny, edible seedlings of vegetables and herbs. They are harvested just after the first true leaves, known as cotyledons, develop. These greens are usually around 1 to 3 inches in height when ready for harvest. What makes microgreens special? Their flavor is often more intense than that of their mature counterparts, and they come in a dazzling array of colors and textures. Some popular varieties include radish, arugula, basil, and broccoli.
Nutritionally, microgreens are powerhouses. Studies have shown that they can contain up to 40 times more vitamins and nutrients than their mature versions. For instance, red cabbage microgreens boast six times more vitamin C than fully-grown red cabbage. They are rich in vitamins A, C, E, and K, as well as essential minerals like potassium, magnesium, and iron. This nutrient density makes microgreens an excellent addition to any diet, providing a robust boost to your meals.
In the culinary world, microgreens have become a darling among chefs and home cooks alike. They’re not just a garnish; they can enhance the flavor profile of a dish. Sprinkle them over salads, soups, or sandwiches for a burst of freshness. Use spicy varieties like radish or mustard greens to add a kick to your dishes. Their vibrant colors can also elevate the aesthetic appeal of a plate, turning simple meals into gourmet experiences. So, whether you’re looking to impress guests or simply enhance your everyday cooking, microgreens are the secret ingredient you didn’t know you needed.

Why Grow Microgreens Indoors?
Growing microgreens indoors has become increasingly popular, and for good reason! One of the most compelling benefits is year-round availability. During winter months, when outdoor gardening is nearly impossible, microgreens provide a fresh green option right at your fingertips. Imagine enjoying the crispness of homegrown greens amidst the snow!
Space efficiency is another fantastic advantage. Microgreens thrive in small containers, allowing you to grow them on windowsills, countertops, or any sunny spot in your home. You don’t need a sprawling garden or extensive gardening experience. Just a few trays and a bit of sunlight will do the trick.
Additionally, growing your own microgreens is a cost-effective alternative to buying them at the store. A small investment in seeds and supplies can yield an abundance of fresh greens. Store-bought microgreens often come with a hefty price tag, and let’s be honest, they can be a bit sad-looking. By growing your own, you’ll enjoy fresher, tastier greens while saving money. Plus, it’s a rewarding hobby that connects you to your food, making each meal feel a bit more special.
To get started, consider investing in a Microgreens Seed Starter Kit. It’s a great way to kickstart your indoor gardening journey and ensures you have everything you need in one package!
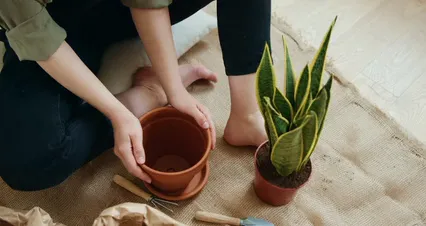
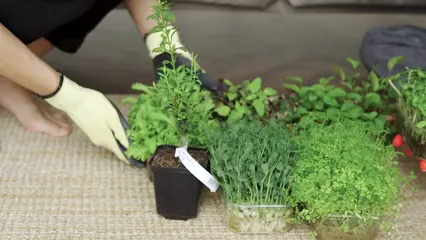
Essential Materials for Growing Microgreens
To get started growing microgreens, you’ll need a few essential materials. First, containers are crucial. Shallow trays, pots, or recycled containers with drainage holes work perfectly. The key is ensuring proper drainage to prevent soggy roots.
Next, choose a growing medium. A quality potting soil will provide the nutrients your microgreens need. Alternatively, consider using coconut coir or hydroponic mats for a soil-less option. Both methods are effective and can yield delicious results.
Quality seeds are vital for success. Look for seeds specifically marked for microgreens, as these are often untreated and suitable for indoor growing. You can find a variety of seeds at garden centers or online.
Lastly, lighting is essential for robust growth. Ideally, microgreens need 4-6 hours of sunlight daily. If natural light is limited, supplement with LED Grow Light for Indoor Plants to ensure your greens thrive. Proper lighting can make a significant difference in growth speed and flavor, so don’t skimp on this aspect!
With these materials in hand, you’re well on your way to cultivating a bountiful microgreen garden right in your home.

Step-by-Step Guide to Growing Microgreens
Growing microgreens indoors is a delightful and rewarding experience. It’s like having a mini garden right on your countertop! Here’s a detailed step-by-step guide to help you cultivate these vibrant greens.
Preparation and Planting
Soaking Seeds
Start by soaking your seeds to boost germination. This step is crucial for larger seeds like peas or beans. Place the seeds in a bowl and cover them with water. Let them soak for about 8 to 24 hours, depending on the variety. This process softens the seed coat and kickstarts growth. Just remember to drain and rinse them before planting!
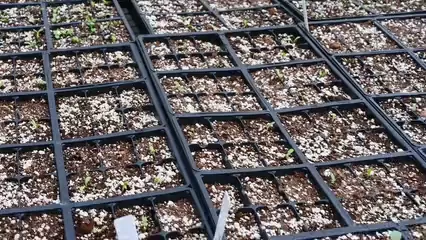
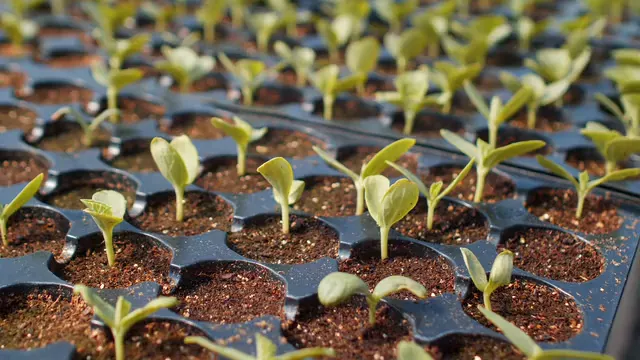
Filling Containers
Now it’s time to fill your containers! Choose shallow trays or pots with drainage holes. Fill them with moistened potting soil or a growing medium. Ensure the soil is damp but not soggy. Aim for about 1 to 2 inches of soil depth. Using a clean, sterile medium is vital to prevent mold and pests. Level the soil with your hands for an even surface—no one likes a lumpy garden!

Sowing
Sowing time! Scatter the soaked seeds evenly across the soil surface. You can pack them close together since microgreens don’t mind a bit of crowding. After scattering, gently press the seeds into the soil. For smaller seeds, a light sprinkle of soil on top is sufficient. Larger seeds may need to be covered more. Mist the surface lightly to ensure the seeds stay moist but avoid saturating the soil.
Watering and Lighting
Watering Techniques
Watering your microgreens is an art! Use a spray bottle to mist the seeds gently. This method prevents soil displacement and ensures uniform moisture. Once the seeds sprout, switch to bottom watering by placing the tray in a shallow dish of water. The soil will soak up moisture from below, promoting strong root development. Just remember not to let the soil dry out completely!
Light Placement
Lighting is crucial for healthy microgreens. Place your trays in a sunny spot with at least 4 to 6 hours of direct sunlight daily. If you lack natural light, consider using LED grow lights. Position the lights about 2 to 4 inches above the plants. Rotate your trays every few days to ensure even growth—no one likes to be left in the dark!
Maintenance
Temperature and Humidity
Microgreens thrive in a cozy environment! Ideally, maintain a temperature between 65°F and 75°F. Humidity should hover around 50-70%. If your indoor space is dry, consider using a humidifier or a humidity tray filled with water. Just be cautious about excess moisture, as it can lead to mold.
Monitoring Growth
Keep an eye on your greens! Check moisture levels daily by touching the soil. If it feels dry, it’s time to water. Adjust your light source as the plants grow taller to prevent stretching. Your plants will grow quickly, so stay attentive to their needs!
Harvesting
When to Harvest
Timing is everything! Microgreens are usually ready for harvest when they reach about 1 to 3 inches tall and have developed their first true leaves. This typically happens within 7 to 14 days after sowing, depending on the variety. Look for vibrant colors and healthy leaves—those are the signs of delicious greens!

Harvesting Techniques
Harvest with care! Use sharp kitchen scissors or a knife to cut the greens just above the soil line. Avoid pulling them out by the roots to preserve the soil and prevent mess. After harvesting, gently rinse the greens under cool water to remove any soil. Store them in an airtight container lined with a damp paper towel to keep them fresh in the fridge. Enjoy the fruits of your labor in salads, sandwiches, or as a vibrant garnish!
With these steps, you’re well on your way to a flourishing microgreen garden. Happy growing!
Common Challenges and Troubleshooting
Pest and Disease Management
Growing microgreens indoors can be a delightful venture, but it’s not without its challenges. Pests like aphids, fungus gnats, and even mold can sneak in and wreak havoc on your tiny greens. The good news? Prevention is your best weapon!
Start by ensuring your containers and soil are clean and sterile. Avoid using garden soil, as it may harbor pests. Opt for quality potting mix or specific growing mediums designed for microgreens. Keep an eye on humidity levels—too much moisture can invite mold. If you notice any pests, act swiftly! A mild soap solution can be effective for aphids. Just mix a few drops of dish soap in water and spray the affected areas. If mold appears, reduce watering and improve air circulation around your plants.
Regularly inspect your microgreens, and maintain a clean growing environment. Trust us; it’s much easier to prevent a pest invasion than to fight one!

Temperature Fluctuations
Temperature control is crucial for microgreens. They thrive in a cozy range of 65°F to 75°F. However, indoor temperatures can fluctuate. You might find your plants feeling a bit chilly at night or too toasty during the day.
To keep things stable, consider using a thermometer and hygrometer to monitor the conditions. If your home tends to get chilly, a small space heater may help. Conversely, if your microgreens are getting too warm, ensure they’re not placed too close to heat sources. A sunny windowsill is great, but direct sunlight through glass can intensify heat.
If you notice your microgreens stretching toward the light, it’s a sign they’re not getting enough. Adjust their placement to ensure they’re receiving adequate, even lighting without overheating. A balance is essential for thriving plants!

Seed Quality Issues
Ah, seed quality! It’s like the foundation of your microgreen castle. Poor-quality seeds can lead to weak, sparse growth. Always choose seeds specifically labeled for microgreens. These seeds are often untreated and safe for indoor growth.
If you’re unsure about the seeds you have, look for signs of damage or discoloration. Healthy seeds should be firm and intact. When purchasing, check the packaging date; fresher seeds generally yield better results.
Also, remember to soak larger seeds like peas before planting to boost germination. If your microgreens aren’t sprouting as expected, it may be time to reassess your seed quality. A little investment in good seeds can lead to a bountiful harvest!
Creative Ways to Use Microgreens in Your Kitchen
Incorporating in Meals
Microgreens are not just a pretty garnish; they’re a flavor powerhouse! Use them in salads for a delicious crunch and vibrant color. Toss a handful of radish microgreens into your favorite salad mix for a spicy kick.
Feeling adventurous? Try adding them to sandwiches instead of traditional lettuce. A smear of hummus, some sliced turkey, and a generous handful of pea shoot microgreens make for a delightful lunch!
They also shine as garnishes for soups or main dishes. Just imagine a steaming bowl of tomato soup topped with a sprinkle of basil microgreens. It’s not just food; it’s an experience!

Flavor Pairings
Microgreens bring a unique flavor profile to your dishes, making them incredibly versatile. Pair spicy varieties like mustard greens with creamy elements like avocado or cheese. Their heat cuts through richness beautifully!
For milder greens like sunflower, complement their nutty flavor with citrus. A squeeze of lemon or lime can brighten up any dish. And don’t forget about herbs! Micro cilantro adds a fresh burst of flavor to tacos and stir-fries.
Experiment with flavors and textures to create exciting dishes. Your taste buds will thank you for these delightful combinations!

Conclusion
Growing microgreens indoors is not just a trend; it’s a sustainable practice that can enhance your cooking and provide fresh nutrition all year long. These little greens are like the superheroes of the vegetable world, offering a powerhouse of flavors and nutrients right from your kitchen. Imagine whipping up a salad with vibrant, homegrown greens in the middle of winter. Not only does it satisfy your green thumb, but it also boosts your meals’ nutritional profile.
Whether you’re aiming to spice up your meals or embark on a fun gardening project, microgreens offer an accessible and rewarding option. They require minimal space and time, making them perfect for busy lives. With just a few supplies and a sunny spot, you can cultivate a thriving microgreen garden. The best part? You don’t need a sprawling garden or a diploma in botany; even the most novice of gardeners can achieve success.
Moreover, the health benefits of microgreens can’t be overlooked. Packed with vitamins and minerals, they can provide a significant nutrition boost compared to their mature counterparts. Think of them as nature’s multivitamin, delivering essential nutrients without the fuss of pills.
So why not start your journey today? Gather your materials, choose your favorite varieties, and watch the magic happen. With a little patience and care, you’ll soon enjoy the vibrant flavors and health benefits of these delightful greens. Plus, you’ll impress your friends and family with your culinary skills. Fresh, flavorful microgreens are just a few days away!
FAQs
What is the difference between microgreens and sprouts?
Microgreens and sprouts may seem similar, but they have key differences. Sprouts are germinated seeds eaten whole, including roots. They’re typically grown in water without soil. Microgreens are seedlings harvested just after the first true leaves develop, grown in soil, and are more nutritious.
How long do microgreens take to grow?
Most microgreens grow quickly, ready for harvest in about 7 to 14 days. Their fast growth makes them an ideal choice for home gardeners eager for fresh greens.
Can I reuse soil for growing microgreens?
It’s not recommended to reuse soil for microgreens. Fresh soil helps prevent diseases and pests that might linger in used soil. Always start with clean, sterile growing medium for the best results.
Do microgreens regrow after harvesting?
Generally, microgreens do not regrow after cutting. Most varieties are harvested once, so you’ll need to replant for another batch. Some larger seeds like peas may sprout again if left in the soil, but it’s best to replant for freshness.
What are the best microgreens for beginners?
For those just starting out, radish, pea shoots, and sunflower microgreens are excellent choices. They are easy to grow, quick to mature, and add great flavors to various dishes. Plus, their vibrant colors make them visually appealing!
Please let us know what you think about our content by leaving a comment down below!
Thank you for reading till here 🙂
All images from Pexels


