![]()
How to Grow Microgreens for Year-Round Harvest
Introduction
Microgreens have taken the home gardening scene by storm! These tiny greens pack a punch, bursting with flavor and nutrition. They’re not just a trend; they’re a staple for health enthusiasts and culinary wizards alike. Growing microgreens is like having a mini garden right in your kitchen—no green thumb required! Why grow them? First off, microgreens are nutritional powerhouses. They can contain up to 40 times more nutrients than their mature counterparts. Plus, they’re a breeze to cultivate. Just a little soil, water, and light, and you’re on your way to a fresh harvest anytime you want. What’s more, microgreens add pizzazz to any dish. Sprinkle them on salads, sandwiches, or soups for an extra crunch and a burst of color. Your meals will not only taste better but look gourmet, too! So, let’s dig into why you should start growing microgreens today.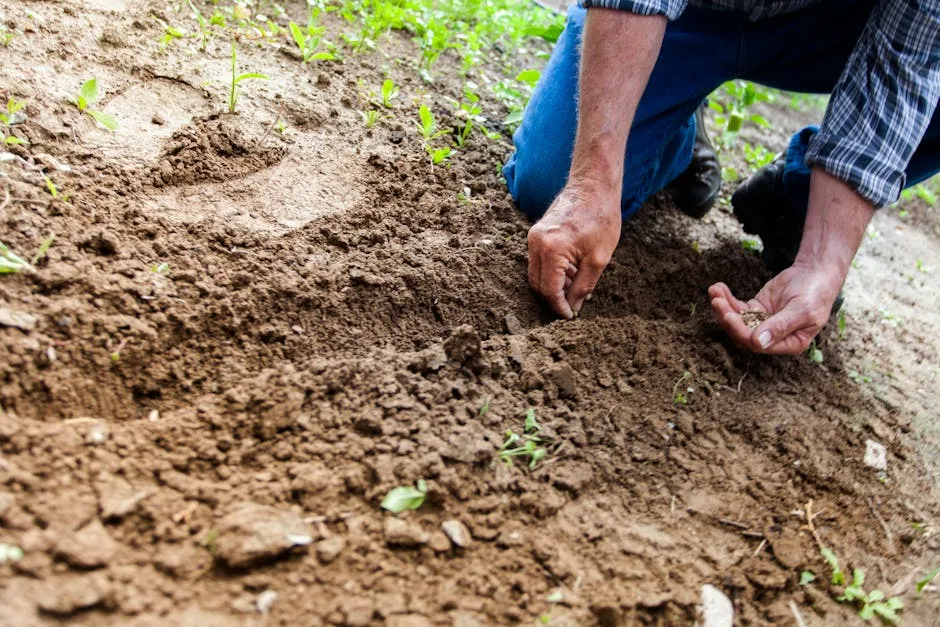
Why Grow Microgreens?
Nutritional Benefits
Microgreens are not just cute; they are incredibly nutritious! Research shows they can contain four to six times more vitamins and minerals than mature vegetables. For example, broccoli microgreens are rich in vitamins A, C, E, and K. Radish microgreens are loaded with antioxidants, while amaranth boasts high levels of magnesium and iron. Eating these little greens can boost your health and keep you feeling fabulous. Want to start your microgreens journey? Consider getting a Microgreens Seed Variety Pack. This pack offers a range of seeds that cater to your taste buds and nutritional needs. Why settle for a one-note garden when you can have a symphony of flavors?
Flavor and Culinary Uses
Who knew tiny greens could bring such big flavor? Microgreens come in a delightful variety of tastes. Some are spicy, like radish, while others are sweet or earthy, like beet greens. Toss them on top of a pizza, mix them in salads, or use them as a colorful garnish for soups and stews. They can elevate even the simplest dishes to culinary masterpieces!Sustainability and Convenience
Growing microgreens at home is not just good for your health; it’s good for Mother Earth, too! Indoor gardening reduces your carbon footprint and cuts down on plastic packaging. Plus, they thrive indoors, making them accessible year-round. No need to wait for summer to enjoy fresh greens! With just a sunny windowsill or a Grow Light for Indoor Plants, you can have a sustainable supply of microgreens at your fingertips all year long. So, why wait? Embrace the microgreen revolution and enjoy the myriad benefits they bring to your plate and your health!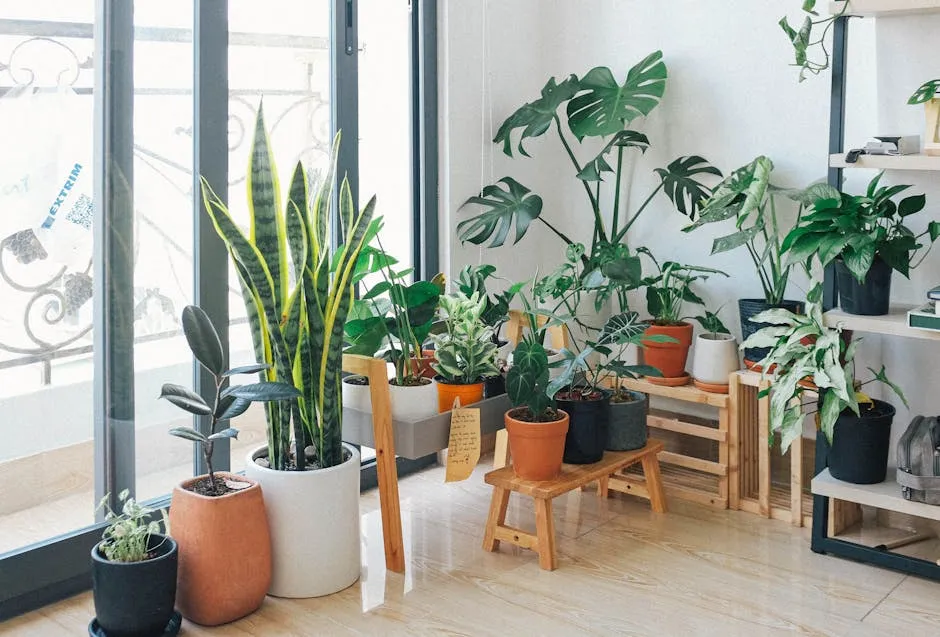
Choosing the Right Microgreens
Choosing the right microgreens is key to a successful indoor harvest. With countless options available, it’s easy to find varieties that suit your taste and skill level. Let’s break it down!Best Varieties for Beginners
If you’re just starting, consider these friendly options:- Radish: These vibrant greens sprout in just 5-10 days. Their flavor is zesty and peppery, perfect for adding a kick to salads or sandwiches.
- Arugula: Known for its spicy bite, arugula is another fast grower. Expect harvest in about 7-14 days. Its distinct taste makes it an exciting addition to various dishes.
- Pea Shoots: Sweet and crunchy, these are a favorite among beginners. They grow quickly, typically within 7-14 days, and add a fresh taste to salads or stir-fries.

Specialty Varieties for Advanced Growers
Ready to take it up a notch? Here are some advanced microgreens to challenge your skills:- Cilantro: A staple in many cuisines, cilantro offers a unique flavor. It requires slightly cooler temperatures and can take 14-21 days to mature. Keep humidity levels in check to prevent mold.
- Basil: This aromatic herb thrives in warm conditions. Expect a harvest in 10-14 days. Basil microgreens have a robust flavor, perfect for garnishing pasta or pizza.
- Mustard Greens: If you enjoy a bit of spice, mustard greens are your go-to. They grow well in varying conditions but prefer bright light and can be harvested in 8-14 days. Use them to add a zesty flare to your dishes.
Essential Materials and Equipment
Growing microgreens requires only a few essential materials. Let’s look at what you’ll need for a smooth and successful process.Containers and Trays
First up, containers! Choose shallow trays, preferably around 2 inches deep. Plastic Seed Trays with Drainage work wonders. Ensure they have drainage holes to prevent water from pooling—nobody wants soggy roots! Also, consider using trays with solid bases to catch excess water. This setup can help maintain moisture without drowning your precious greens.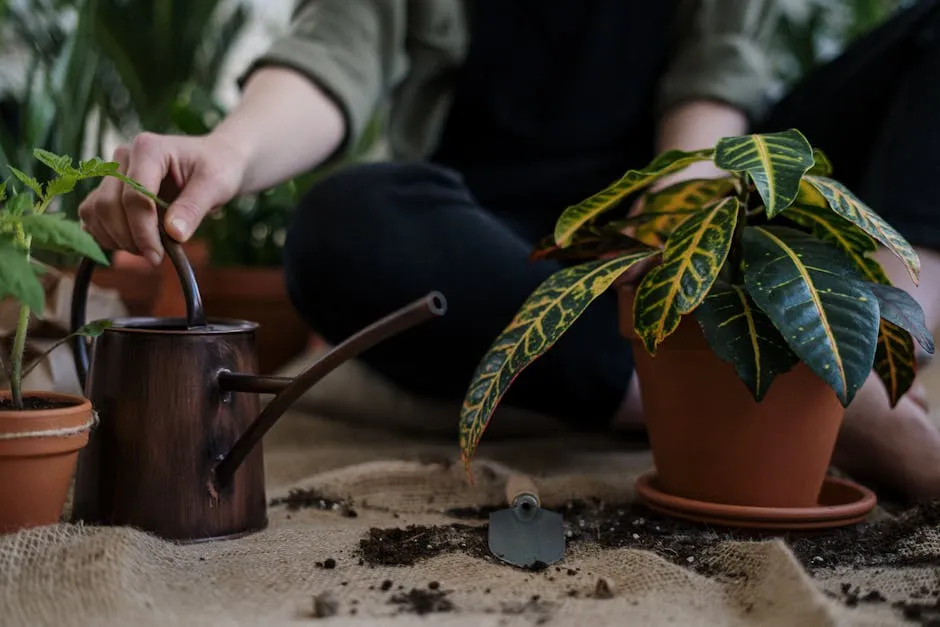
Growing Medium
Next, let’s talk about soil. A good quality potting mix is ideal, but Coconut Coir Growing Medium is an excellent alternative. These mediums provide necessary nutrients and support healthy growth. For a no-mess option, try hydroponic mats or even paper towels. They keep things tidy while allowing your microgreens to thrive.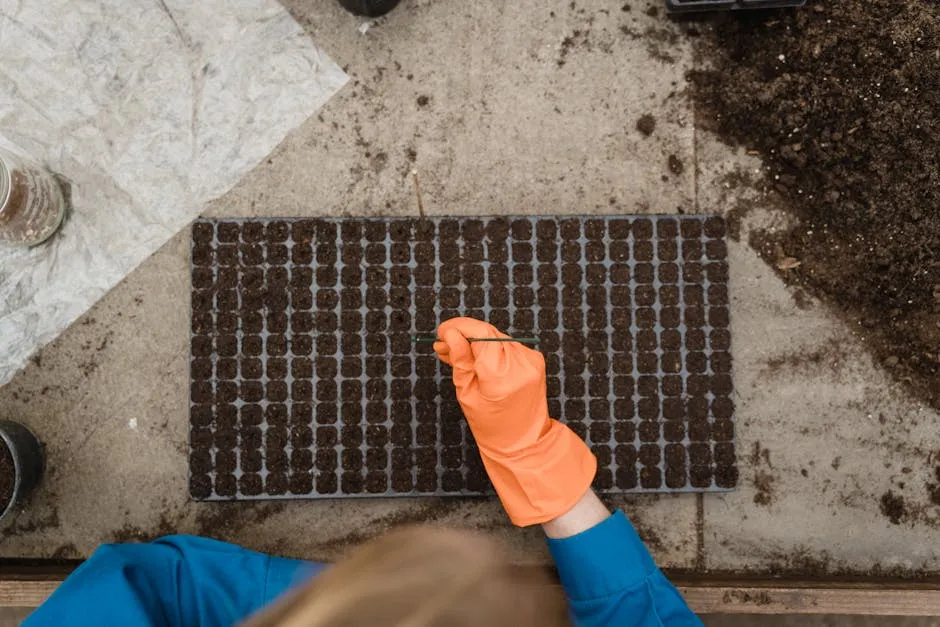
Additional Supplies
Don’t forget your essential tools! A Spray Bottle for Misting Plants keeps your microgreens moist without overwatering. Sharp scissors are crucial for a clean harvest—nobody wants a ragged cut! Lighting is also a key factor. If you’re lacking natural sunlight, invest in Hydroponic Growing System. They provide the necessary light spectrum for healthy growth, especially during winter months when sunlight is scarce. With these materials on hand, you’re ready to start your microgreen adventure. Happy growing!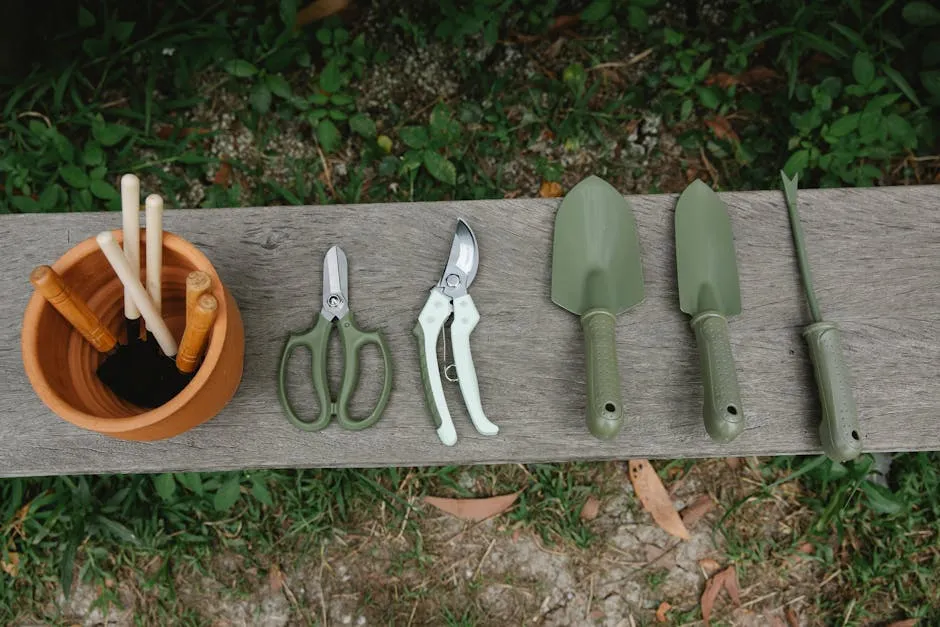
Step-by-Step Guide to Growing Microgreens
Preparation
1. **Choosing a Location** Finding the right spot for your microgreens is crucial. Aim for a south-facing window for maximum sunlight. If natural light is scarce, consider using grow lights. These lights mimic the sun’s rays, ensuring your greens get enough light to thrive. A bright, warm area will help your microgreens grow quickly and healthily. 2. **Preparing the Container** Start with a clean container—plastic trays work well. Make sure it has drainage holes to prevent soggy roots. Fill the container with pre-moistened Organic Potting Soil. This soil should feel damp but not dripping. Level it out gently, ensuring a smooth surface. Press down lightly to remove air pockets. Now, you’re ready to sow!
Sowing Seeds
1. **Seed Distribution** When it’s time to plant, grab your seeds. Scatter them evenly across the surface of the soil. Think of it as creating a carpet of greens—dense but not overcrowded! Aim for a uniform distribution, as this helps with even growth. Press the seeds lightly into the soil to ensure good contact. 2. **Covering and Moistening** Next, cover the seeds with a thin layer of soil, just enough to shield them without burying them deep. Use a misting spray bottle to moisten the top layer. This prevents washing away the seeds while keeping the soil damp. A gentle mist will do wonders!
Germination and Care
1. **Creating a Humid Environment** To help your seeds germinate, create a humid environment. Cover the container with a clear plastic lid or a damp paper towel. This maintains moisture and warmth, promoting faster germination. Check daily to ensure it stays moist, removing the cover once you see tiny sprouts poking through. 2. **Light and Watering** After germination, it’s time for the light show! Move your microgreens to a sunny spot or under grow lights. Provide about 12-16 hours of light daily. Water gently from below to encourage strong roots. Place the container in a shallow tray filled with water, allowing the soil to absorb moisture without drowning the seedlings.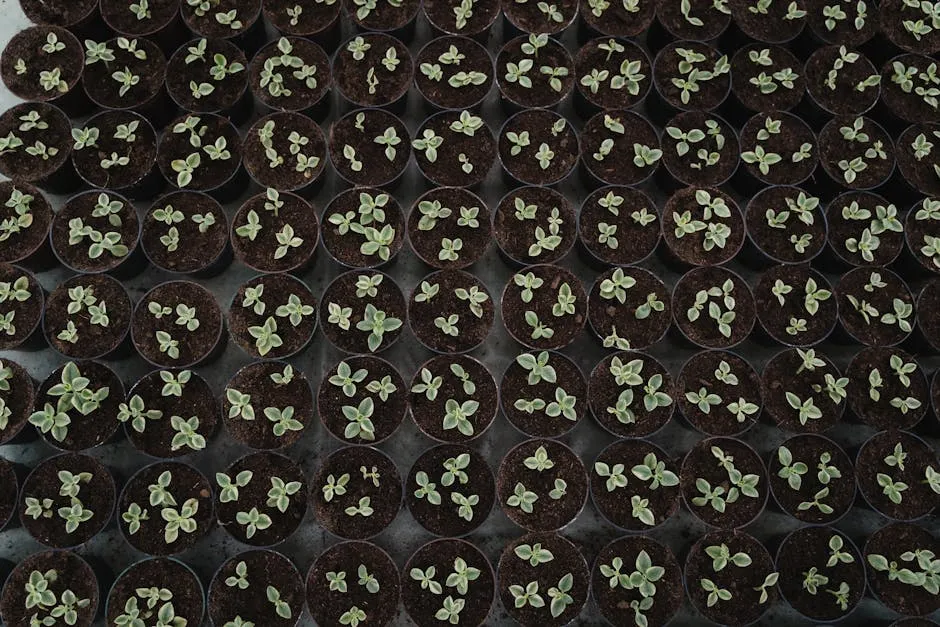
Harvesting
1. **When to Harvest** Harvesting your microgreens is the most exciting part! Look for true leaves, which indicate they’re ready. Generally, they should be about 1-3 inches tall. Timing varies by variety; radishes may be ready in just a week, while others like basil might take a bit longer. Use your judgment based on their growth. 2. **Harvest Techniques** When it’s harvest time, grab your Sharp Scissors for Harvesting. Cut the microgreens just above the soil line. This method preserves the roots, allowing for a cleaner cut and less damage to the remaining plants. Rinse your harvest gently and enjoy them fresh, sprinkled on sandwiches, salads, or as a colorful garnish! With this step-by-step guide, you’re well on your way to enjoying your very own fresh microgreens year-round. Happy growing!
Maintaining a Continuous Harvest
Staggered Planting
Want fresh microgreens all year? Staggered planting is your secret weapon! This technique involves sowing seeds in cycles, typically every week, ensuring a steady supply. Imagine harvesting delicious greens every few days instead of waiting for weeks. Here’s a sample schedule for your planting adventures:- Week 1: Sow radish and mustard greens for a zesty kick.
- Week 2: Plant arugula and broccoli for a spicy touch.
- Week 3: Go for cilantro and basil to add some aromatic flair.
- Week 4: Finish off with pea shoots for a sweet crunch.

Rotating Crops and Containers
Light is essential for healthy microgreens, so let’s talk about rotating containers. Moving your trays regularly ensures that every plant gets its fair share of sunlight. If you notice some microgreens leaning towards the light, it’s time for a little rotation dance! When your microgreens finish their life cycle, don’t toss those containers aside! Clean and reuse them. After harvesting, wash the containers with warm, soapy water to eliminate any lingering bacteria. Dry them thoroughly before planting your next batch. A little TLC goes a long way in keeping your microgreens thriving! By following these tips, you’ll maintain a lush indoor garden, providing fresh greens right at your fingertips. Happy planting!
Troubleshooting Common Issues
Pests and Diseases
Microgreens are generally resilient, but they can face a few pesky challenges. Common culprits include aphids, fungus gnats, and mold. To prevent these unwelcome guests, start with high-quality seeds and maintain a clean growing environment. For pests, a gentle blast of water can dislodge them. If mold appears, reduce humidity and ensure good airflow. Avoid overwatering, as soggy soil is mold’s best friend!
Environmental Factors
Winter can be brutal for your indoor garden. To keep your microgreens happy, monitor temperature and humidity. Ideally, aim for a cozy 65-75°F. If it dips too low, consider using a space heater or grow light to keep things warm. Humidity is crucial, too. Too much moisture can lead to mold, while too little can stunt growth. A humidity level around 50-60% is best. Using a small Humidifier for Indoor Plants can help maintain that perfect balance. With these tricks up your sleeve, you’ll be well-equipped to tackle any microgreen challenges that come your way. Happy gardening!Conclusion
Growing microgreens year-round is a game changer! First off, they’re nutritional powerhouses, delivering all the vitamins and minerals you need in just a few bites. Imagine having fresh greens at your fingertips, ready to add a burst of flavor and color to your meals any time of year. Plus, they’re super easy to grow. You don’t need a sprawling garden or fancy equipment. A sunny windowsill and a few containers are all you need! But let’s be real—there’s something deeply satisfying about nurturing your own food. Watching those tiny seeds sprout and transform into vibrant greens is like magic. And the best part? You get to indulge in the health benefits that come with eating homegrown produce. Who doesn’t want to feel like a culinary wizard while also boosting their diet? So, why wait? Dive into the world of microgreens! Experiment with different varieties, from spicy radish to sweet pea shoots. Each one offers unique flavors and nutritional benefits. Embrace this journey and elevate your meals with fresh, homegrown goodness. Your taste buds—and your body—will thank you!If you’re interested in learning more about how to grow microgreens for year-round harvest, check out this informative guide on growing microgreens.
How long do microgreens take to grow?
Microgreens can grow surprisingly fast! Most varieties are ready to harvest within 7 to 14 days. For instance, radish microgreens can sprout in just 5 to 10 days, while others like basil or cilantro may take around 10 to 21 days. It’s a race against time that’s well worth it!
Can I grow microgreens without soil?
Absolutely! You can grow microgreens using hydroponic methods. These soil-less systems use water and nutrients to support growth. Alternatives include coconut coir or even paper towels. Each method has its charm, so feel free to experiment based on your preferences.
What is the difference between microgreens and sprouts?
Great question! Microgreens are harvested after true leaves develop, while sprouts are harvested sooner, often just after germination. Microgreens require soil and light, while sprouts are usually germinated in water. Both are nutritious, but microgreens pack a little more flavor and color!
How should I store my microgreens after harvesting?
To keep your microgreens fresh, store them in an airtight container lined with a damp paper towel. This helps absorb moisture and keeps them crisp. They can last up to a week in the fridge, but they’re best enjoyed fresh. So, aim to eat them as soon as possible!
Can I regrow microgreens after cutting?
Most microgreens won’t regrow after cutting since they’re usually harvested once. However, some varieties like pea shoots can be cut just above the root, allowing for a second harvest. But generally speaking, it’s best to replant for a fresh batch. Happy growing!
All images from Pexels


