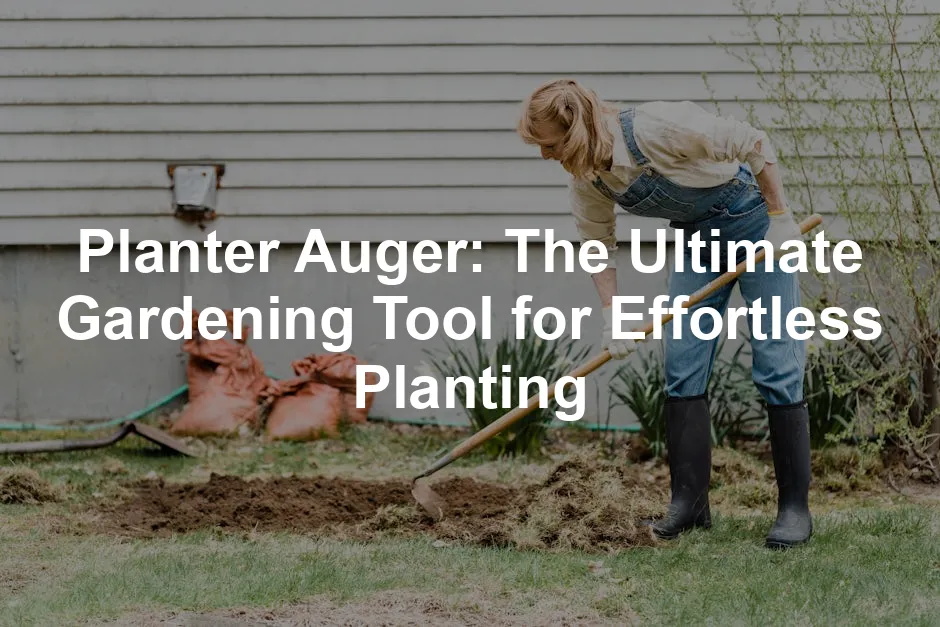
Planter Auger: The Ultimate Gardening Tool for Effortless Planting
A planter auger is a specialized tool designed to dig holes in the soil for planting seeds or bulbs. It attaches to a power drill, allowing you to effortlessly create holes in various soil types. Understanding the best soil types for your plants can be crucial for successful gardening.
There are different types of planter augers available, including standard augers and specialized designs for specific planting tasks. Common sizes range from 2 to 4 inches in diameter, catering to various planting needs. If you’re looking for a drill to power your auger, consider the DEWALT 20V MAX Cordless Drill/Driver Kit. It’s a powerhouse that will get the job done!
The main advantages of using a planter auger include enhanced efficiency and ease of use. It saves time and effort, making planting less of a chore. Imagine sipping lemonade while your auger does the hard work!
However, potential buyers should consider a few factors before purchasing. Ensure the auger is compatible with your drill and suitable for your soil type. With the right choice, you can transform your planting experience and enjoy a flourishing garden.
Choosing the Right Planter Auger
Selecting the ideal planter auger can enhance your gardening experience. Start by considering the hole size. For larger plants, like shrubs or trees, a wider hole is necessary. If you’re planting smaller bulbs or seeds, a narrower auger works best. Typically, a 2-inch auger is great for bulbs, while a 4-inch option suits larger plants. Think about the mature size of your plants to ensure proper growth. And speaking of growth, don’t forget to feed your plants with Miracle-Gro Water Soluble All Purpose Plant Food. Your plants will thank you!
Next, evaluate the soil type in your garden. Soil conditions greatly impact your auger choice. For compacted or clay-heavy soils, opt for a heavy-duty auger. These are designed to handle tough digging. In contrast, if your soil is sandy or loamy, a standard auger will suffice. Always assess your garden’s soil before making a purchase to ensure the best fit.
Lastly, let’s talk drill compatibility. Not all drills work well with augers. For augers between 2 and 4 inches, a drill with at least 20 volts of power is ideal. If you choose a larger auger, consider a drill with 60 volts for optimal performance. Brands like Ryobi P1813 18V One+ Lithium-Ion Cordless Drill are reliable options. Make sure your drill can handle the task to avoid frustration during planting.
By keeping these factors in mind, you’ll find the right planter auger that meets your gardening needs and helps you create a thriving garden space. Additionally, utilizing a good planting guide can be beneficial for your gardening journey.
Before you start, it’s crucial to prepare your planting area. First, clear any debris, like rocks or roots, from the spot where you plan to dig. This will help your auger work more efficiently. Next, choose the correct auger size for your plants. For instance, a 2-inch auger works great for bulbs, while a 4-inch option is better for larger plants. And while you’re at it, consider getting a Garden Kneeler and Seat. It will save your knees while you dig!
Ensure your drill is compatible with your chosen auger. Most standard augers require at least a 20-volt drill for optimal performance. Heavy-duty models may need around 60 volts. Check your drill’s specifications to avoid any disappointment during use.
Execution
Now that you’re prepared, let’s get to the fun part! Here’s a simple step-by-step guide on using your planter auger effectively:
1. Attach the Auger: Secure the auger to your drill. Make sure it’s tightly fastened to prevent it from coming loose while working.
2. Position the Drill: Hold the drill above your planting spot, keeping it straight and steady. This helps you dig a uniform hole.
3. Start Drilling: Turn on the drill at a low speed. Gradually increase the speed as the auger begins to penetrate the soil. Avoid pushing down too hard; let the auger do the work.
4. Digging the Hole: Once you feel the auger breaking through, maintain a steady pressure. Continue drilling until you reach the desired depth, typically 6 to 12 inches for most plants.
5. Remove the Auger: After reaching the desired depth, reverse the drill to pull the auger out gently. Be cautious not to disturb the soil too much.
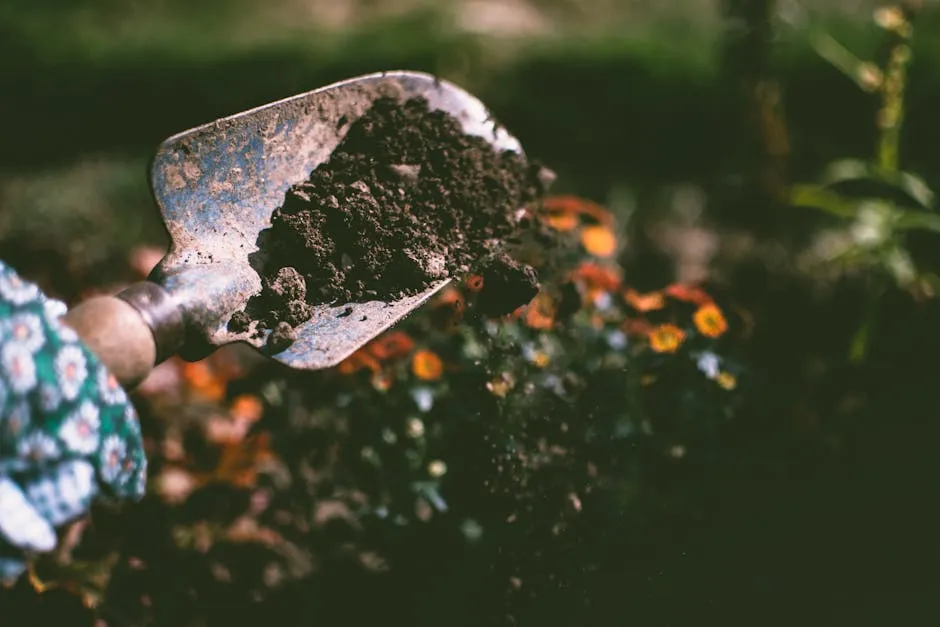
6. Plant Your Seeds or Bulbs: Place your seeds or bulbs into the hole. Cover them lightly with soil and water as needed.
Maintenance Tips
To keep your auger in top shape, follow these maintenance tips. After each use, clean your auger with a damp cloth to remove soil and debris. Store it in a dry place to prevent rust. Check for any signs of wear, such as dull edges or bends, and replace it if necessary. Regular maintenance will extend the life of your auger and ensure optimal performance for many seasons to come.
By following these steps, you can make the most out of your planter auger and enjoy a more efficient planting experience. Happy gardening! And while you’re at it, consider investing in a Soil Moisture Meter to ensure your plants are getting just the right amount of water.
FAQs
What size planter auger do I need for my garden?
The size of the planter auger you need depends on the plants you want to grow. For small bulbs, a 2-inch auger works well. Larger plants, like shrubs or trees, will require a 4-inch auger to accommodate their root systems.
Can I use a planter auger with any drill?
Not all drills are suitable for every auger. Most augers between 2 and 4 inches need a drill with a minimum of 20 volts. For larger augers, around 60 volts is recommended. Always check your drill’s specifications before use.
How do I maintain my planter auger for longevity?
To prolong your auger’s life, clean it after each use with a damp cloth. Store it in a dry location to prevent rust. Regularly inspect for any wear and replace it if necessary.
What types of plants are best suited for auger planting?
Planter augers are ideal for bulbs, seedlings, and small shrubs. They help establish a solid foundation for roots to grow. Consider the mature size of your plants when choosing the auger size.
Are there any safety tips for using a planter auger?
Absolutely! Always wear safety goggles to protect your eyes. Ensure your drill is securely attached to the auger. Avoid overexerting; let the auger do the work to prevent strain.
Conclusion
In summary, planter augers make gardening simpler and more efficient. They save time and reduce physical strain during planting. Consider adding a planter auger to your gardening toolkit for a smoother planting experience. Additionally, exploring various gardening tips can enhance your overall gardening skills. Don’t forget to stock up on essential tools like the EcoTools Garden Hand Tools Set to make your gardening tasks a breeze!
Ready to get started? Check out our recommendations for planter augers and other essential gardening tools to elevate your gardening game! And if you’re looking for something extra, consider the Heavy Duty Garden Gloves to protect your hands while you work!
Please let us know what you think about our content by leaving a comment down below!
Thank you for reading till here 🙂
Are you tired of the back-breaking work of planting? A planter auger might be your new best friend! This handy tool has gained traction among gardeners everywhere. It simplifies the planting process, making it quicker and less labor-intensive. Plus, if you want to make your planting experience even easier, check out the Planter Auger for Drill. It’s like having a personal assistant for your garden!
Using a planter auger offers numerous benefits over traditional methods. You can create holes in seconds rather than minutes. Plus, it’s easier on your body, reducing strain on your back and arms. Think about it: why suffer when you can drill your way to a beautiful garden?
In this article, we’ll discuss the features, advantages, and best practices for using a planter auger. Let’s get started!
Summary and Overview
A planter auger is a specialized tool designed to dig holes in the soil for planting seeds or bulbs. It attaches to a power drill, allowing you to effortlessly create holes in various soil types. Understanding the best soil types for your plants can be crucial for successful gardening.
There are different types of planter augers available, including standard augers and specialized designs for specific planting tasks. Common sizes range from 2 to 4 inches in diameter, catering to various planting needs. If you’re looking for a drill to power your auger, consider the DEWALT 20V MAX Cordless Drill/Driver Kit. It’s a powerhouse that will get the job done!
The main advantages of using a planter auger include enhanced efficiency and ease of use. It saves time and effort, making planting less of a chore. Imagine sipping lemonade while your auger does the hard work!
However, potential buyers should consider a few factors before purchasing. Ensure the auger is compatible with your drill and suitable for your soil type. With the right choice, you can transform your planting experience and enjoy a flourishing garden.
Choosing the Right Planter Auger
Selecting the ideal planter auger can enhance your gardening experience. Start by considering the hole size. For larger plants, like shrubs or trees, a wider hole is necessary. If you’re planting smaller bulbs or seeds, a narrower auger works best. Typically, a 2-inch auger is great for bulbs, while a 4-inch option suits larger plants. Think about the mature size of your plants to ensure proper growth. And speaking of growth, don’t forget to feed your plants with Miracle-Gro Water Soluble All Purpose Plant Food. Your plants will thank you!
Next, evaluate the soil type in your garden. Soil conditions greatly impact your auger choice. For compacted or clay-heavy soils, opt for a heavy-duty auger. These are designed to handle tough digging. In contrast, if your soil is sandy or loamy, a standard auger will suffice. Always assess your garden’s soil before making a purchase to ensure the best fit.
Lastly, let’s talk drill compatibility. Not all drills work well with augers. For augers between 2 and 4 inches, a drill with at least 20 volts of power is ideal. If you choose a larger auger, consider a drill with 60 volts for optimal performance. Brands like Ryobi P1813 18V One+ Lithium-Ion Cordless Drill are reliable options. Make sure your drill can handle the task to avoid frustration during planting.
By keeping these factors in mind, you’ll find the right planter auger that meets your gardening needs and helps you create a thriving garden space. Additionally, utilizing a good planting guide can be beneficial for your gardening journey.
Before you start, it’s crucial to prepare your planting area. First, clear any debris, like rocks or roots, from the spot where you plan to dig. This will help your auger work more efficiently. Next, choose the correct auger size for your plants. For instance, a 2-inch auger works great for bulbs, while a 4-inch option is better for larger plants. And while you’re at it, consider getting a Garden Kneeler and Seat. It will save your knees while you dig!
Ensure your drill is compatible with your chosen auger. Most standard augers require at least a 20-volt drill for optimal performance. Heavy-duty models may need around 60 volts. Check your drill’s specifications to avoid any disappointment during use.
Execution
Now that you’re prepared, let’s get to the fun part! Here’s a simple step-by-step guide on using your planter auger effectively:
1. Attach the Auger: Secure the auger to your drill. Make sure it’s tightly fastened to prevent it from coming loose while working.
2. Position the Drill: Hold the drill above your planting spot, keeping it straight and steady. This helps you dig a uniform hole.
3. Start Drilling: Turn on the drill at a low speed. Gradually increase the speed as the auger begins to penetrate the soil. Avoid pushing down too hard; let the auger do the work.
4. Digging the Hole: Once you feel the auger breaking through, maintain a steady pressure. Continue drilling until you reach the desired depth, typically 6 to 12 inches for most plants.
5. Remove the Auger: After reaching the desired depth, reverse the drill to pull the auger out gently. Be cautious not to disturb the soil too much.
6. Plant Your Seeds or Bulbs: Place your seeds or bulbs into the hole. Cover them lightly with soil and water as needed.
Maintenance Tips
To keep your auger in top shape, follow these maintenance tips. After each use, clean your auger with a damp cloth to remove soil and debris. Store it in a dry place to prevent rust. Check for any signs of wear, such as dull edges or bends, and replace it if necessary. Regular maintenance will extend the life of your auger and ensure optimal performance for many seasons to come.
By following these steps, you can make the most out of your planter auger and enjoy a more efficient planting experience. Happy gardening! And while you’re at it, consider investing in a Soil Moisture Meter to ensure your plants are getting just the right amount of water.
FAQs
Conclusion
In summary, planter augers make gardening simpler and more efficient. They save time and reduce physical strain during planting. Consider adding a planter auger to your gardening toolkit for a smoother planting experience. Additionally, exploring various gardening tips can enhance your overall gardening skills. Don’t forget to stock up on essential tools like the EcoTools Garden Hand Tools Set to make your gardening tasks a breeze!
Ready to get started? Check out our recommendations for planter augers and other essential gardening tools to elevate your gardening game! And if you’re looking for something extra, consider the Heavy Duty Garden Gloves to protect your hands while you work!
Please let us know what you think about our content by leaving a comment down below!
Thank you for reading till here 🙂