![]()
Organic Vegetable Gardening for Beginners: A Comprehensive Guide
Introduction
Organic vegetable gardening is the art of growing your own food without using harmful chemicals. Imagine biting into a juicy tomato, freshly plucked from your garden, knowing it’s grown without pesticides. Sounds appealing, right?
There are numerous benefits to this practice. First, you get to enjoy fresh, chemical-free produce. No more questionable ingredients lurking in your salad! Second, growing your own veggies is a sustainable choice. You’ll be reducing your carbon footprint while nurturing the earth. Lastly, it saves you money. Those organic veggies in the store can be pricey, but home-grown? Priceless.
This guide aims to arm beginners with a step-by-step process for starting their organic garden. Get ready to dig, plant, and enjoy the fruits (and veggies) of your labor!
Understanding Organic Gardening
What is Organic Gardening?
Organic gardening is all about nurturing plants without synthetic chemicals. It follows a simple principle: “Feed the soil, and it will feed the plants.” This approach emphasizes improving soil health through natural amendments, such as compost and manure, instead of relying on chemical fertilizers.
Another core tenet of organic gardening is biodiversity. A diverse garden with various plants promotes ecological balance, attracting beneficial insects and deterring pests. Think of it as creating a mini-ecosystem where everything works together harmoniously.
Benefits of Organic Gardening
The advantages of organic gardening go beyond just your dinner plate. Health-wise, you’re consuming produce free from harmful chemicals and additives. Your body will thank you! Plus, studies show that organic farming practices can improve soil quality and enhance its nutrient content, leading to healthier plants.
Moreover, the joy of growing your own food is unmatched. There’s a sense of accomplishment that comes from nurturing a seed into a delicious vegetable. You’ll experience a deeper connection to what you eat. So grab your gardening gloves and get ready for a fulfilling journey!
Planning Your Organic Garden
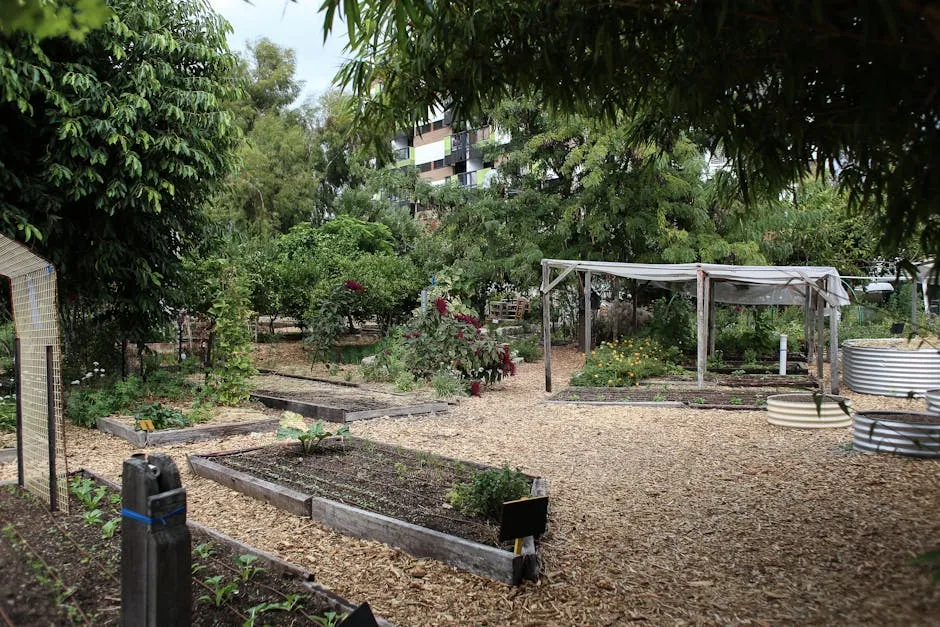
Assessing Your Space
Before you go full throttle into planting, take a moment to assess your available space. Do you have a sprawling backyard, a cozy balcony, or maybe even a community garden plot? Each option presents unique opportunities and challenges.
Sunlight is crucial for your garden’s success. Most vegetables crave a good 6 to 8 hours of sunlight daily. If your yard has shady spots, consider growing leafy greens there. They tend to thrive in partial shade while other vegetables bask in the sun. Next up, water access! Ensure your garden is near a reliable water source. Nothing says “plant me” like a garden hose within arm’s reach. Lastly, visibility matters. Placing your garden where you can see it daily will remind you to tend to your plants. Plus, who wouldn’t want a view of their green oasis?
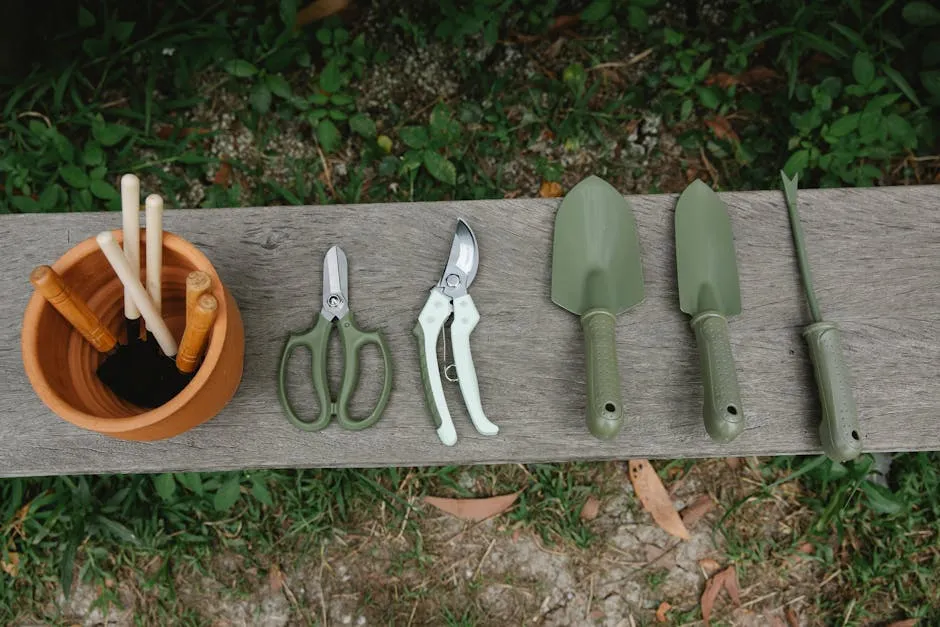
Speaking of visibility, make sure you have the right tools to work with. A Garden Kneeler and Seat can make the planting process more comfortable while reducing strain on your knees and back. Trust me, your body will thank you later!
Choosing the Right Plants
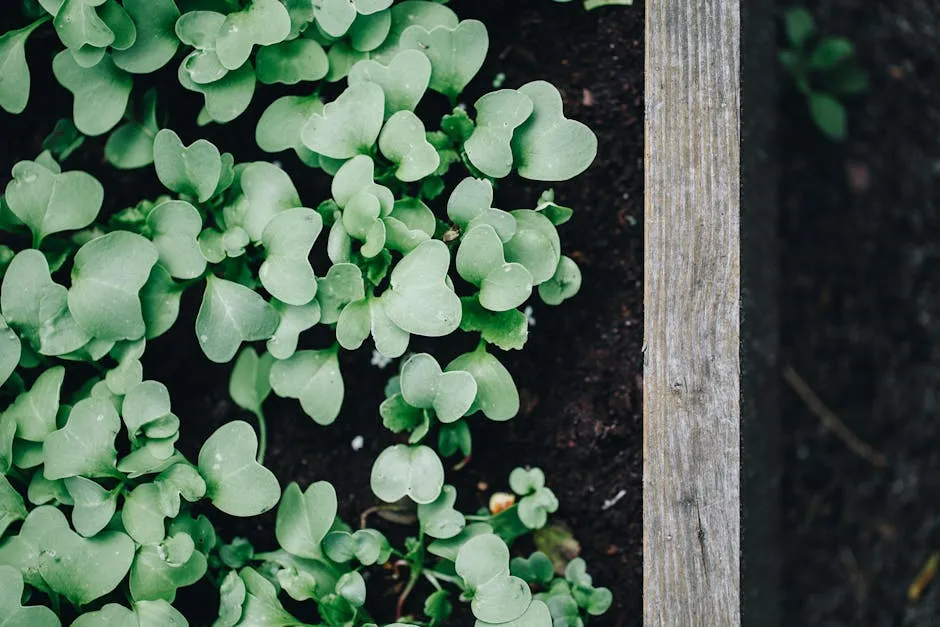
Now that your space is sorted, let’s talk plants. Start by considering what you and your family enjoy eating. The best garden is one that yields veggies you love! Check your local climate too; this will help you select plants that grow well in your area.
For beginner gardeners, it’s wise to start with easy-going options. Think lettuce, radishes, and zucchini. These vegetables are forgiving and grow quickly, providing early wins to boost your confidence. Also, consider the USDA Plant Hardiness Zone to find veggies that thrive in your climate. It’s like a cheat sheet for gardening success!
Designing Your Garden Layout
Your garden layout can make or break your gardening experience. There are several options to consider: raised beds, in-ground gardens, or containers. Each has its perks! Raised beds are fantastic for controlling soil quality and drainage. They also save your back from the strain of bending over too much. On the other hand, in-ground gardens offer a more traditional feel and can be scaled up easily. Containers are perfect for small spaces and can be moved around for optimal sunlight.
When planning your layout, consider spacing. Crowding plants can lead to a battle for nutrients and sunlight. A good rule of thumb is to give each plant room to stretch its roots and leaves. Also, think about crop rotation. This practice helps keep your soil healthy and minimizes pest problems. Last but not least, consider companion planting! Some plants, like tomatoes and basil, thrive together. Others, like carrots and onions, can keep pests at bay when planted side by side. You can learn more about these strategies in our Companion planting strategies for increased yield.
By taking the time to plan your organic garden, you set the stage for a fruitful and enjoyable gardening experience. Also, don’t forget to grab some Organic Seeds Variety Pack to kickstart your journey!

Preparing Your Soil
Importance of Soil Health
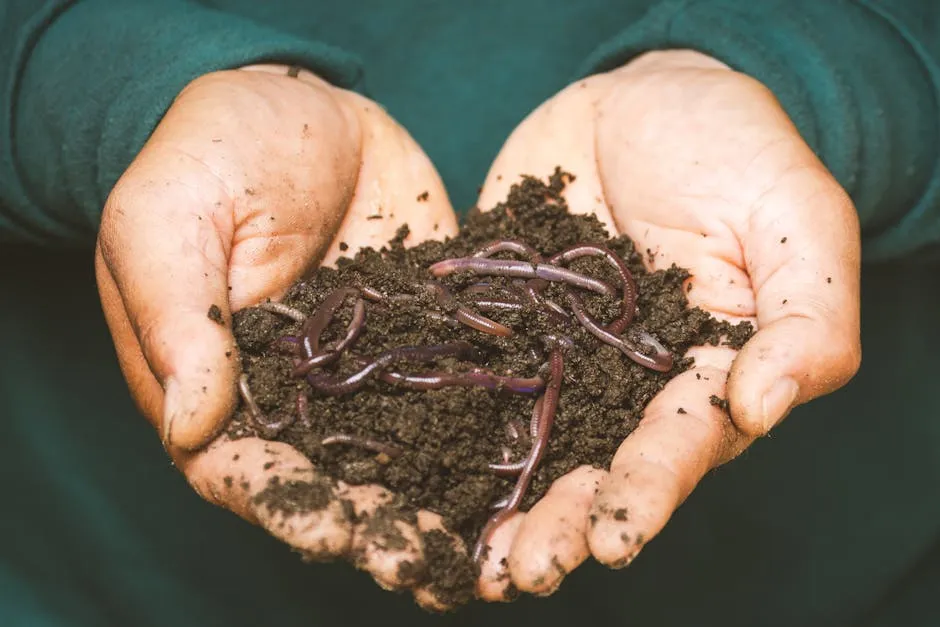
Soil is the lifeblood of your garden. It’s where your plants draw nutrients, water, and support. Think of it as the buffet table for your vegetables. If the buffet is lacking, well, you can’t expect a bountiful harvest. Healthy soil brims with organic matter, beneficial microbes, and essential minerals.
Soil composition matters too! A mix of sand, silt, and clay creates the perfect environment for roots to grow. But wait, there’s more! Organic matter, like compost, plays a starring role. It improves soil structure, enhances water retention, and provides nutrients. Plus, it helps create a habitat for beneficial organisms. These little fellows include earthworms and bacteria that break down organic matter, making nutrients available to your plants.
Healthy soil not only supports plant growth but also protects against diseases and pests. Plants growing in rich, organic soil are like kids in a candy store—happy and thriving! So, before you dive into planting, give your soil the love and attention it deserves.
Soil Testing and Amendments
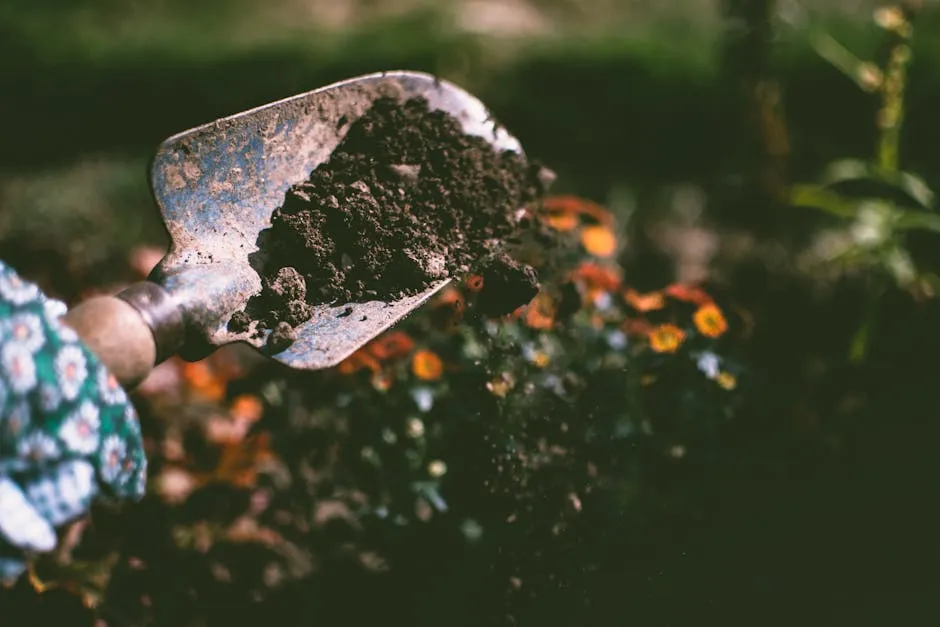
Testing your soil is like getting a health check-up for your garden. You want to know the pH level and nutrient content to understand what it needs. You can purchase Soil Testing Kits at garden centers or send samples to local extension services for analysis. Once you know the score, you can tailor your amendments accordingly.
If your soil needs a boost, organic fertilizers are your best friends. Compost is a superstar, providing a slow release of nutrients. You can also consider well-rotted manure, which adds both nutrients and organic matter. Green manure, or cover crops, like clover, can enrich the soil when tilled back in. These crops not only improve soil structure but also fix nitrogen, enhancing fertility. For more information on organic fertilizers, check out our post on the Best organic fertilizers for vegetable gardens in small spaces.
Remember, a little goes a long way. Over-fertilizing can lead to nutrient runoff and harm your plants. So, always follow the recommended guidelines for application.
Creating Raised Beds or Garden Beds
Ready to build your garden? Let’s get started with raised beds or in-ground beds. Raised beds are like the VIP section of gardening. They provide excellent drainage, prevent soil compaction, and make it easier to control soil quality. Plus, they’re easier on your back! If you’re looking for tips on building raised garden beds, check our guide on How to build raised garden beds on a budget.
To build a raised bed, select a sunny spot and gather materials. You can use untreated wood, bricks, or even stones. Aim for a height of about 12 to 18 inches. This depth will allow roots to grow deep and seek nutrients.
Now, let’s talk about layering. Start by placing a layer of cardboard or newspaper at the bottom. This suppresses weeds while allowing drainage. Next, add a mix of topsoil and compost—about 60% soil to 40% compost. This blend nourishes your plants right from the start.
For in-ground beds, loosen the soil to a depth of at least 12 inches. Amend with compost and organic matter to enhance fertility. A good rule of thumb is to add 2 to 4 inches of compost to your soil. This addition improves structure and nutrient availability.
Whichever method you choose, remember to maintain a consistent watering schedule. Keeping your soil moist but not soggy is key to happy plants. With the right soil preparation, you’re set for a flourishing garden. Happy planting!
Planting Your Organic Garden
When to Plant
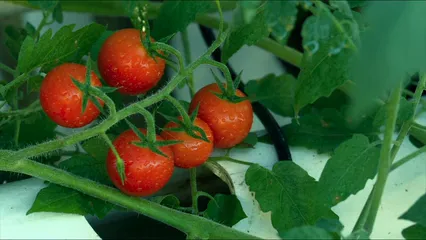
Timing is everything in gardening, especially for organic vegetables. Each vegetable has its own season, and understanding this can lead to a bountiful harvest. For instance, cool-season crops like lettuce, peas, and spinach thrive in early spring. Aim to get these seeds in the ground after the last frost. Conversely, warm-season crops such as tomatoes, peppers, and cucumbers love the heat. Wait until all frost risks are gone and the soil temperature rises to around 60°F.
To maximize your growing season, keep track of your local frost dates, which can be found through local agricultural extensions. If you’re feeling adventurous, techniques like using cold frames allow you to start planting weeks earlier. These handy structures trap heat and protect plants from chilly weather, giving your garden a head start. So, check your calendar, grab your seeds, and get ready to plant!
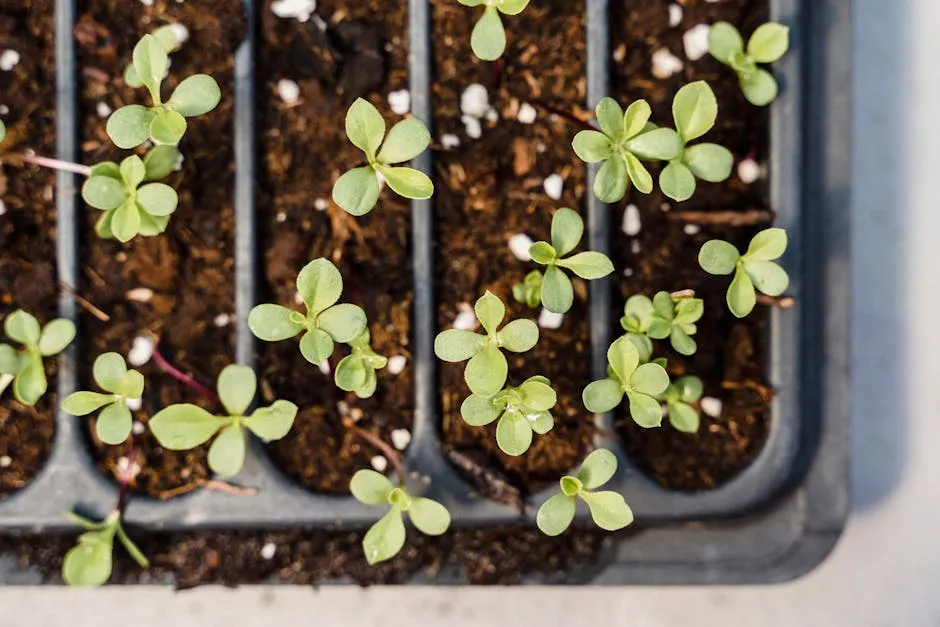
Seed Starting vs. Transplanting
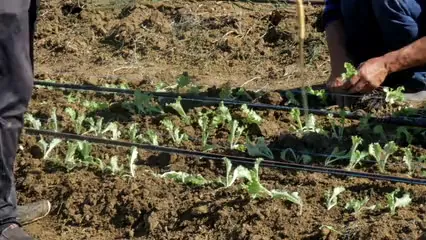
Next up, let’s talk about seed starting versus transplanting. Direct sowing seeds means planting them right in the garden bed. It’s simple and straightforward. Just prepare your soil, sprinkle in the seeds, and water them gently. Vegetables like radishes and carrots do well this way, as they prefer to grow where they’ll eventually flourish.
On the other hand, transplanting involves starting seeds indoors or purchasing seedlings from a nursery. This method works wonders for longer-season crops like tomatoes and peppers. By starting them inside, you give them a head start before the outdoor conditions are just right. Make sure to harden off your seedlings before planting them outside. This process involves gradually exposing them to outdoor conditions over a week, so they don’t face shock when moved to the garden.
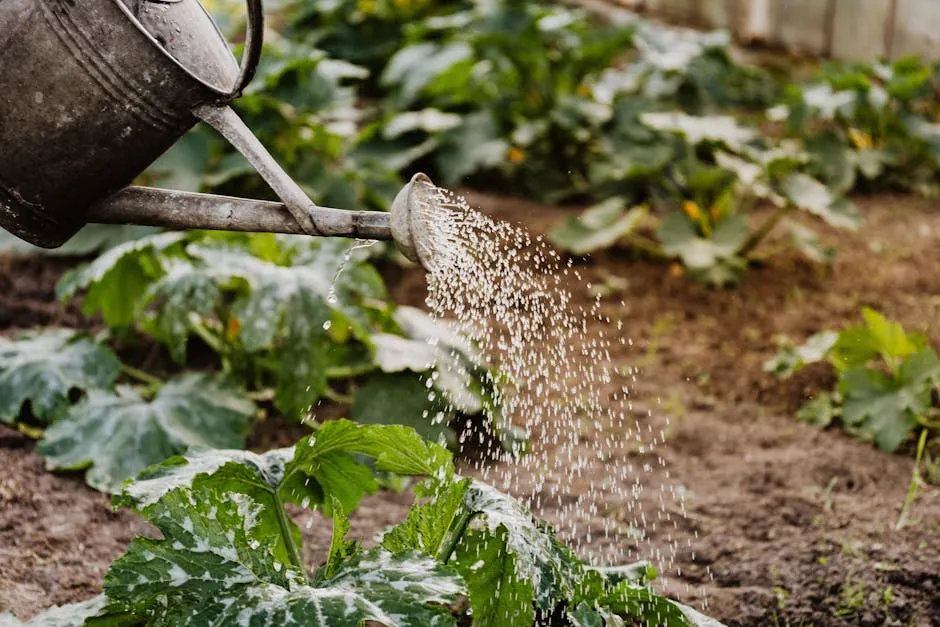
Care and Maintenance After Planting
Once your garden is planted, the real fun begins! Regular care ensures your vegetables thrive. Watering is crucial—most plants need about an inch of water per week. However, it’s better to give deep, infrequent waterings rather than shallow, frequent ones. This encourages strong root systems that can better withstand dry spells.
Pest control is another essential task. Instead of reaching for harsh chemicals, consider organic options. Invite beneficial insects like ladybugs and lacewings into your garden, as they feast on harmful pests. You might also want to try natural repellents like neem oil or homemade sprays from garlic or hot peppers to keep unwanted guests at bay. For tips on attracting these helpful creatures, check out our article on Tips for attracting beneficial insects to your garden.
Nutrient management is key too. Using compost as a top dressing or Organic Fertilizers can replenish your soil’s health. Regularly check for signs of nutrient deficiencies, such as yellowing leaves. A well-fed plant is a happy plant! By tending to these practices, you’ll be on your way to a thriving organic vegetable garden, bursting with delicious produce. Happy gardening!
Harvesting and Enjoying Your Produce
When and How to Harvest
Harvesting your organic vegetables is like hitting the jackpot! But how do you know when it’s time to reap those rewards? Each vegetable has its own cues. For leafy greens like spinach, look for vibrant color and tender leaves. If they start to look a bit too tall and spindly, it’s time to snip! For root veggies like carrots and radishes, gently pull one from the soil. If it’s the size you want, go for it!
Remember, timing is everything. If you wait too long, your veggies might become bitter or woody. On the flip side, harvesting too early means you miss out on their full flavor potential.
When you’re ready to harvest, do so with care. Use clean, sharp scissors or pruners to avoid damaging the plant. For greens, cut from the outer leaves first, encouraging regrowth. This method keeps your little garden bustling! And don’t forget to enjoy the fresh taste—nothing beats a salad made from your backyard!

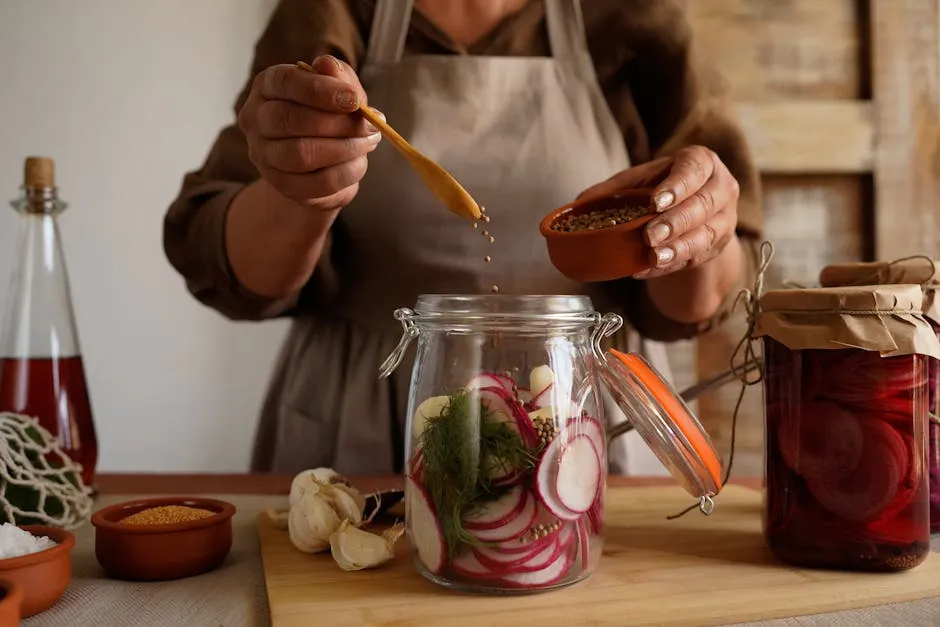
Preserving Your Harvest
So, what do you do with all that glorious produce? First, let’s talk preservation! Canning, freezing, and drying are fantastic ways to keep the garden vibes alive long after harvest. Canning lets you enjoy that summer sweetness in the dead of winter. Just ensure your jars are sterilized! Freezing is super easy—just wash, chop, and pop those veggies into freezer bags.
If you’re feeling adventurous, drying herbs can pack a flavor punch, and they take up hardly any space. Simply hang them upside down in a cool, dark place. Voila! You’ve got homegrown seasoning ready for your culinary masterpieces.
And let’s not forget the joy of sharing! Nothing brings people together like a basket of fresh veggies. Share your bounty with friends and family. It’s a great way to foster community spirit and maybe even inspire someone else to start their own garden. After all, nothing says “I care” quite like a homegrown gift!
FAQs
Please let us know what you think about our content by leaving a comment down below!
Thank you for reading till here 🙂
All images from Pexels


