![]()
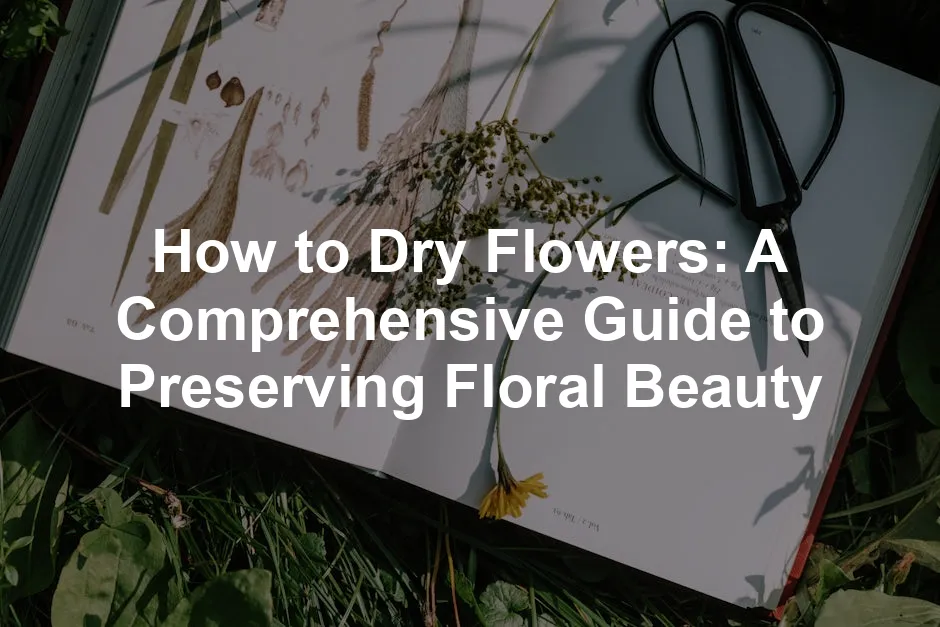
How to Dry Flowers: A Comprehensive Guide to Preserving Floral Beauty
Introduction
Drying flowers is a wonderful way to preserve their beauty and memories. Various methods exist for this craft, allowing you to choose what suits you best. Dried flowers enhance home decor and serve as beautiful keepsakes, reminding us of special moments.
Summary and Overview
This article educates you on effectively and creatively drying flowers. Dried blooms are long-lasting, low-maintenance, and versatile for decoration. We will cover several methods, including air drying, pressing, silica gel, microwave, and oven techniques. Choosing the right flowers and the best time to dry them is crucial for success. By following these methods, you can create stunning arrangements that bring joy for years to come.
The Best Flowers for Drying
When it comes to drying flowers, choosing the right types is crucial. Hardy flowers tend to retain their shape and color better. Roses, lavender, and hydrangeas are excellent choices. These blooms are sturdy and can withstand the drying process without losing their beauty. For more detailed tips on growing roses, check out our article on tips for growing award-winning roses organically.
For those interested in enhancing their rose gardening skills, our article on tips for growing award-winning roses organically provides valuable insights.
On the flip side, delicate flowers like pansies and daisies can also be dried but require more care. They may not hold up as well and can easily lose petals. Avoid flowers with high moisture content, such as lilies. Their water-filled structure makes them prone to mold and decay when dried.
Timing plays a vital role in the drying process. Harvest flowers when they are fully open but not yet wilting. This ensures they are at their freshest, leading to better drying results. Cut them in the late morning, after the dew has evaporated, to minimize moisture.
Check your garden for these flowers before starting your drying project! They can bring vibrant beauty to your home long after their initial bloom. And don’t forget to grab a Dried Flower Press Kit to make the process even easier!

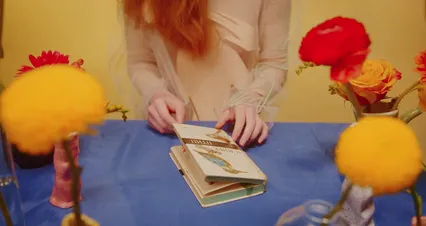
Pressing Flowers
Pressing flowers is a delightful way to preserve their beauty and create lasting keepsakes. This method works best with small, flat blooms like pansies, daisies, or violets. To start, you need a few simple materials: heavy books, blotting paper, and maybe some parchment paper. Speaking of materials, don’t forget to stock up on Heavyweight Crafting Paper for your pressing projects!
First, gather your fresh flowers on a dry day. Remove excess leaves to prevent mold. Then, place the flowers between two sheets of blotting paper inside a book. Close the book and add weight on top to ensure even pressure. Leave them undisturbed for two to four weeks.
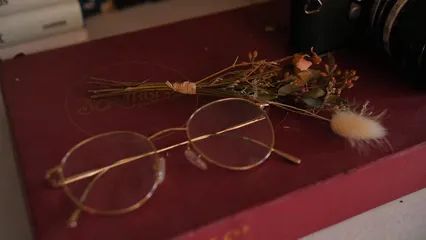
Once dried, you can use pressed flowers in various crafts. They make beautiful decorations for cards, bookmarks, or framed art. You can also create unique coasters or jewelry. Speaking of coasters, a Coaster Making Kit can add an extra touch to your DIY projects!
When displaying pressed flowers, consider using glass frames or shadow boxes. This protects them while showcasing their beauty. Remember to keep them out of direct sunlight to maintain their colors.
Get creative with your pressed flowers in DIY projects!
Drying Flowers Using Silica Gel
Drying flowers with silica gel is a fantastic technique for preserving their shape and color. Silica gel absorbs moisture effectively, making it ideal for delicate flowers like roses or orchids. Start by gathering your flowers and trimming their stems short. You can find Silica Gel for Flower Drying on Amazon!
Next, find a sealable container and pour 1-2 inches of silica gel at the bottom. Place the flowers upright in the gel, ensuring they are covered completely. Gently pour more silica gel over the flowers, filling every space without squishing them. Seal the container and let it sit for about four to six days.
One advantage of using silica gel is how well it retains color and shape. Flowers dried this way look almost fresh! However, handle silica gel carefully, as it can irritate your skin. Always work in a ventilated area and consider wearing gloves and a mask.
Consider using silica gel for your most delicate flowers! This method will give you stunning results that last. And don’t forget to check out the Flower Drying Guide Book for more tips!
Microwave Drying Flowers
Microwave drying is a fast and efficient way to preserve flowers. This technique uses heat to remove moisture quickly, making it ideal for those who need dried blooms in a hurry. It’s perfect for creating beautiful arrangements or gifts without waiting weeks.
To start, gather your flowers and silica gel. Trim the stems and place a layer of silica gel in a microwave-safe container. Arrange the flowers face up and cover them completely with more gel. This helps retain their shape and color. You can find a great Microwave-Safe Container for your drying needs!
Microwave the flowers in short bursts, checking every 30 seconds. Generally, it takes about 2-5 minutes, depending on the flower type. Once dried, let them sit in the gel for 24 hours before carefully removing and brushing off excess silica.
While microwave drying is quick, it’s essential to be cautious. Use lower power settings to avoid overheating and damaging the blooms. Flowers like roses, gerbera daisies, and tulips work best with this method.
The pros include speed and vibrant color retention, but the cons are the risk of burning delicate petals. Need flowers dried fast? Try the microwave method!

Oven Drying Flowers
Using an oven to dry flowers is another effective method. It offers speed, especially when time is of the essence. This technique requires careful monitoring, as the risk of burning is higher than other methods.
Begin by preheating your oven to the lowest temperature, around 200°F (93°C). Prepare your flowers by removing any excess leaves and laying them flat on a baking tray lined with Parchment Paper for Crafting. Ensure the flowers don’t touch each other for even drying.
Place the tray in the oven and check them every 30 minutes. Generally, drying can take anywhere from 1 to 2 hours, depending on the flower size and moisture content. Flowers like lavender and statice work well with this method.
The pros? Quick results that let you enjoy your dried flowers sooner. However, the cons include the risk of burning if left unattended. Looking for a quick solution? Utilize your oven!

How Long Does It Take to Dry Flowers?
The drying time for flowers varies based on the method used. Air drying typically takes 2 to 3 weeks. Pressing flowers can take around 2 to 4 weeks. For silica gel, expect drying to last about 1 to 3 weeks. Microwave drying is the fastest, usually taking just a few minutes.
Several factors can influence drying time. Humidity levels play a significant role; higher humidity can slow the process. The type of flower also matters. Hardy blooms like roses and lavender tend to dry faster than delicate varieties. Knowing these timelines helps you plan effectively.
Plan your project timeline by knowing how long it takes to dry your flowers! And if you’re looking for a great way to keep track of your gardening ideas, consider a Personal Journal for Craft Ideas!
Caring for Dried Flowers
To maintain your dried flowers’ quality and appearance, follow some simple tips. First, store them in a cool, dark, and dry place. Avoid areas with direct sunlight or high humidity, as these can cause fading and deterioration.
Dust your dried flowers gently using a Feather Duster for Dusting Dried Flowers. If they accumulate dust over time, this simple step can keep them looking fresh.
Keep your dried flowers looking fresh with these care tips! And if you’re looking to add a little flair to your arrangements, consider using some Floral Wire for added structure!

Conclusion
Drying flowers brings numerous benefits to your home decor. Not only do they add beauty, but they also preserve memories from special occasions. With various methods available, you can choose the one that suits you best.
Give it a try! Dry your flowers using the techniques discussed, and enjoy the lasting joy they bring to your space. If you’re feeling crafty, a DIY Candle Making Kit could be a fun addition to your crafting collection!
Please let us know what you think about our content by leaving a comment down below!
Thank you for reading till here 🙂
All images from Pexels


