![]()

How to Create an Eco-Friendly Raised Garden Bed with Reclaimed Wood
Introduction
In a world increasingly aware of its environmental footprint, transforming your gardening practices can be a delightful way to contribute to sustainability. Imagine growing fresh produce in a raised garden bed crafted from reclaimed wood—an eco-friendly option that not only reduces waste but also enhances the charm of your garden. This guide will take you through the process of building your very own eco-friendly raised garden bed using reclaimed materials, ensuring that you can cultivate your green thumb while caring for Mother Earth.
Using reclaimed wood not only gives a second life to discarded materials but also provides a unique aesthetic that can’t be replicated. It’s like giving your garden a personality, with each piece of wood telling a story. So, whether you’re a seasoned gardener or just starting out, using reclaimed wood can be a rewarding endeavor. Plus, you get to feel good about your choices. So grab your tools, and let’s get started on this fun and sustainable journey!

Summary
Creating an eco-friendly raised garden bed with reclaimed wood offers numerous benefits, from reducing waste to enhancing your gardening experience. This comprehensive guide will cover everything you need to know, including the advantages of using reclaimed materials, the tools and materials required, step-by-step construction methods, and tips for maintaining your garden bed.
You’ll learn how to select the right location, prepare your wood, build the frame, fill it with soil, and choose the best plants for your raised bed. By the end of this article, you’ll not only have the skills to create a sustainable gardening solution but also the confidence to grow your own vegetables and herbs—an endeavor that will nourish both your body and soul.
Ready to transform your gardening space? With reclaimed wood, you’re not just creating a bed; you’re making a statement about sustainability and creativity. Let’s get started!

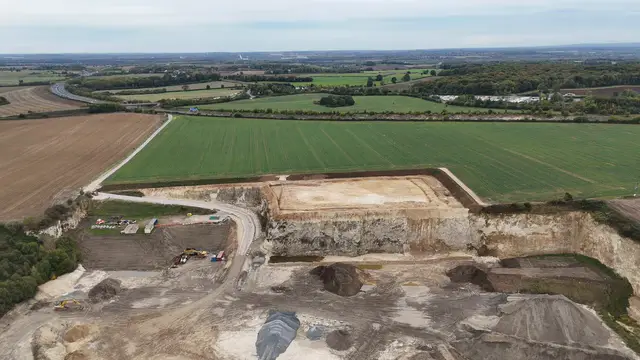
Choosing the Right Location for Your Raised Bed
Factors to Consider
- Sunlight Exposure: Start by observing your garden throughout the day. Identify areas that bask in full sun, as most vegetables thrive in bright light. If you notice some spots are bathed in sunlight for six to eight hours daily, that’s your golden ticket! Conversely, areas with partial shade can be great for plants that prefer cooler temperatures, such as leafy greens.
- Accessibility: Position your raised bed where it’s easily accessible. You don’t want to be doing the gardening tango every time you need to water or harvest. Ensure you can comfortably reach all sides of the bed, especially when it’s time to pick those juicy tomatoes or fragrant herbs.
- Drainage: Waterlogging is a gardener’s nightmare. Look for a site that drains well, especially after heavy rain. If the area tends to hold water, consider elevating your bed further or adding a drainage layer. After all, soggy soil can turn your garden dreams into a muddy mess!
With these factors in mind, you’ll be well on your way to securing the perfect spot for your eco-friendly raised garden bed. Happy gardening!

Materials and Tools Needed
Essential Materials
- Reclaimed Wood: When it comes to building your raised garden bed, the type of wood you choose is crucial. Cedar and redwood stand out as top choices for their natural resistance to rot and pests. Cedar is like the superhero of garden woods, lasting for years while adding a lovely aroma to your garden. You can often find reclaimed cedar and redwood at local construction sites, salvage yards, or even through social media marketplaces like Facebook Marketplace. Just keep an eye out for any wood that might be structurally sound but a little rough around the edges—those character marks just add charm!
- Hardware: A few essential hardware items are necessary for assembling your raised bed. You’ll need wood screws or nails to hold everything together. Opt for galvanized screws to avoid rust, ensuring your structure remains intact even through rain showers. Depending on your design, you might also need corner brackets for extra stability. Don’t forget about a few sturdy hinges if you plan to add a lid for your garden bed!
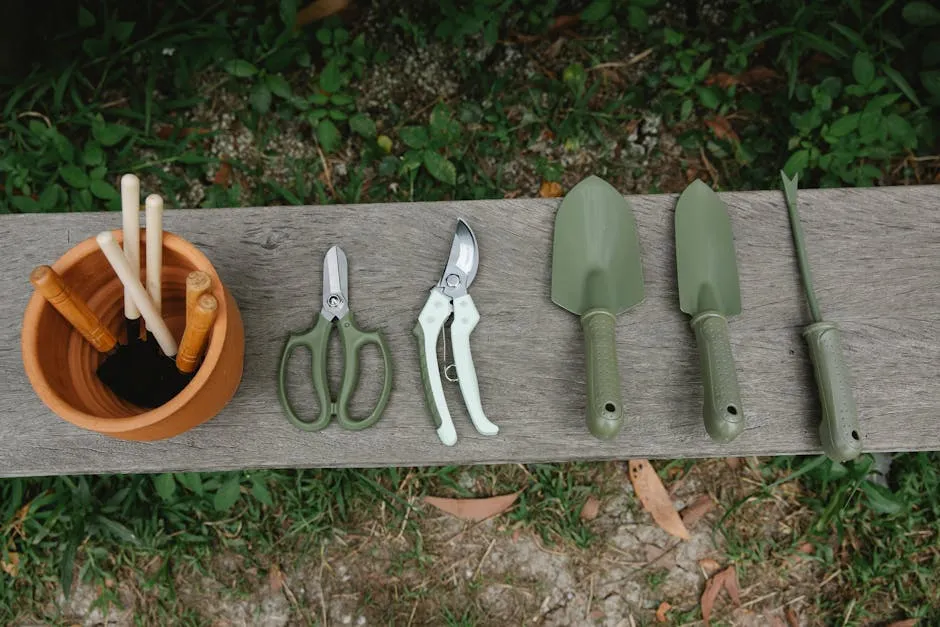
Required Tools
- Basic Tool List: Before you start your project, gather the following tools. A saw will help you cut the wood to the desired lengths. A drill is essential for driving those screws into place. You’ll also need a measuring tape to ensure everything fits snugly. A level is your best friend to make sure your bed isn’t slumping to one side like an old sofa. Lastly, safety gear is a must! Grab some goggles to shield your eyes from any flying debris. Remember, safety first, garden dreams second!
By collecting these materials and tools, you’re setting yourself up for success. With reclaimed wood and a few handy items, you’ll be well on your way to creating a beautiful and eco-friendly raised garden bed!
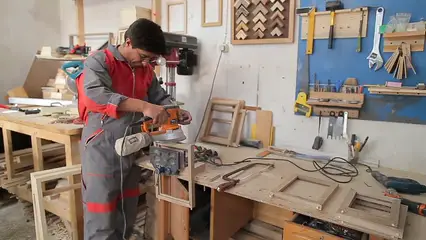
Preparing Your Reclaimed Wood
Steps to Clean and Prepare Wood
- Removing Nails and Splinters: First things first—let’s deal with those pesky nails and splinters. Safety is key! Wear your gloves and goggles as you turn your reclaimed wood over. Use a hammer to gently tap out any stubborn nails. For the ones that refuse to budge, a pry bar will do the trick. Don’t forget to check for splinters; a quick sand with medium-grit sandpaper can smooth those rough edges. Trust me, your hands will thank you later!
- Cutting to Size: Now that your wood is clean and splinter-free, it’s time to cut it down to size. For a standard raised bed, a common dimension is 4 feet by 8 feet. Measure twice, cut once—it’s a timeless rule! Mark your cuts with a pencil, and use a saw for precision. If you’re not confident in your cutting skills, don’t hesitate to ask a friend for help. It’s all part of the fun!
- Treating the Wood: Here comes the million-dollar question: Should you treat the wood? While cedar and redwood have natural preservatives, you might want to apply a non-toxic wood preservative for added longevity, especially if your bed will be exposed to moisture. Just be sure it’s safe for growing edible plants. A quick coat will keep your raised bed looking fabulous for years to come, allowing you to focus on growing those veggies instead of worrying about rot.
With these steps completed, your reclaimed wood will be ready for its next act as a lovely raised garden bed. Happy building!

Building the Raised Garden Bed
Step-by-Step Instructions
1. Frame Construction
Design and Layout: Start by measuring your desired dimensions. A standard size is 4 feet by 8 feet. Lay out your reclaimed wood pieces on the ground to visualize the frame. Use a measuring tape and a square to ensure everything is perfect. Join the wood pieces together using outdoor screws. Pre-drilling holes can prevent the wood from splitting. Don’t be afraid to channel your inner carpenter here—this is where the magic begins!
2. Assembling the Bed
Tips for Stability: Once your frame is constructed, it’s time to assemble it. Make sure each corner is reinforced. Use corner brackets for added strength, especially if your garden will endure strong winds. Check if the frame is level by placing a level on the top edges. Adjust as needed. You want this bed to withstand the test of time—and your gardening skills!

3. Positioning the Bed
Installation: Choose a sunny spot for your raised bed. Once you’ve settled on the perfect location, clear the area of grass and weeds. Next, carefully lift your assembled frame and place it in position. Use a level to ensure the bed is even. If necessary, dig out any high spots or fill in low areas with soil. A stable, level frame will make gardening much easier in the long run.

Filling Your Raised Bed with Soil
Best Soil Mixture
Soil Composition: The ideal soil mix for a raised garden bed consists of topsoil, compost, and organic matter. Aim for a blend of one-third topsoil, one-third compost, and one-third organic matter like shredded leaves or straw. This combination promotes excellent drainage while providing essential nutrients for your plants.
Layering Techniques: Start by adding a base layer of coarse materials like small branches or straw to enhance drainage at the bottom of the bed. Next, layer your soil mixture, leaving a few inches of space at the top for mulch. This method not only improves drainage but also nourishes the soil over time as the materials break down. Water the soil well after filling to eliminate air pockets. Your plants will have a cozy home to thrive in!
Planting and Maintaining Your Raised Garden Bed
Choosing Plants
Best Crops for Raised Beds: When it comes to selecting plants for your raised garden bed, the options are tantalizing! Tomatoes, carrots, and lettuce flourish in these elevated plots. Herbs like basil, rosemary, and parsley also love raised beds. These plants enjoy the warm soil and excellent drainage that raised beds offer, making for happy, healthy growth. You can even add colorful flowers like marigolds or nasturtiums. They not only beautify your garden but also attract beneficial insects.
Companion Planting: Pairing plants wisely can boost your garden’s success. For example, plant basil alongside tomatoes. Basil repels pesky hornworms, which can wreak havoc on your tomato plants. Another dynamic duo is rosemary and cabbage; rosemary keeps moths at bay. Chives are best friends with carrots, warding off aphids while enhancing the flavor of your carrots. These partnerships can create a thriving garden ecosystem and boost your harvest!

Maintenance Tips
Watering and Weeding: Keeping your plants happy requires consistent watering. Raised beds can dry out quicker than traditional gardens, so aim to water deeply once or twice a week. Check the soil moisture by sticking your finger about an inch deep; if it feels dry, it’s time to water! As for weeding, hand-pulling weeds is the most effective method. Use a hoe to tackle larger patches. Mulching around your plants can help suppress weed growth while retaining moisture. A great choice for mulch is garden mulch, which can also help with moisture retention.
Winter Preparation: Before winter arrives, give your garden bed some TLC. Start by clearing out any dead plants and debris. This helps prevent pests and diseases from overwintering. Consider adding a thick layer of mulch or straw to insulate the soil and protect the roots from freezing temperatures. You might also plant a cover crop like clover or rye. These crops will improve soil health and prevent erosion during the cold months. Come spring, you’ll be ready to roll!

Conclusion
Creating an eco-friendly raised garden bed with reclaimed wood is not just a rewarding gardening project; it’s a significant leap toward sustainable living. By repurposing materials, you breathe new life into discarded wood while cultivating a vibrant space to grow your own food. This endeavor helps reduce your carbon footprint while providing fresh produce right from your backyard. Armed with the knowledge and skills from this guide, you are now ready to embark on your gardening adventure. Let your green thumb flourish as you enjoy the fruits (and vegetables) of your labor! Happy gardening!

FAQs
Common Questions
Is reclaimed wood safe for growing edible plants?
Yes, reclaimed wood can be safe for growing edible plants, but caution is key. The primary concern lies in potential chemical treatments from the wood’s past life. For instance, old pressure-treated wood may contain harmful preservatives. If you’re unsure about the wood’s history, consider sealing it with a food-safe wood treatment. This creates a barrier between the soil and any potential toxins. Always inspect the wood for signs of rot or decay; using structurally sound wood is essential for your plants’ health. When in doubt, opt for untreated wood from reputable sources.
How long will a reclaimed wood raised bed last?
The lifespan of a reclaimed wood raised bed can vary based on the wood type and environmental conditions. Cedar and redwood are fantastic choices, often lasting 10 to 15 years due to their natural resistance to rot. Other woods, like fir, may not hold up as long, typically lasting 5 to 10 years. To extend the life of your raised bed, keep it off direct soil contact and consider applying non-toxic wood sealants. With proper care, your garden bed can be a long-lasting investment.
Can I use pressure-treated wood?
The use of pressure-treated wood in gardening is a hot topic. Modern pressure-treated lumber often uses chemicals like ACQ and MCA, which are considered safer than older treatments that contained arsenic. However, these chemicals can still leach into the soil over time. If you choose to use pressure-treated wood, line the inside of your raised bed with a food-safe plastic barrier. This will minimize contact between the soil and the wood, providing peace of mind while you grow your veggies.
Finding Reclaimed Wood
Sourcing reclaimed wood can be a treasure hunt! Start by checking local construction sites, where leftover materials are often discarded. Building supply stores and salvage yards are gold mines for finding quality reclaimed wood. Social media platforms like Facebook Marketplace can connect you with people selling old fence panels or barn wood. Don’t overlook asking friends or neighbors; you might be surprised by what they have lying around. Just remember to check for structural integrity before committing!
Budget-Friendly Gardening
Gardening doesn’t have to break the bank! To keep costs down, consider starting seeds indoors instead of buying expensive starter plants. Look for local community gardens that may share resources or tools. Creating a compost pile from kitchen scraps is a great way to enrich your soil for free. Additionally, barter with friends for gardening supplies or plants. Swapping seedlings or tools can be a fun way to save money while expanding your garden. Happy gardening!
If you’re interested in sustainable practices, check out our guide on permaculture principles for sustainable gardening.
Please let us know what you think about our content by leaving a comment down below!
Thank you for reading till here 🙂
All images from Pexels


