![]()
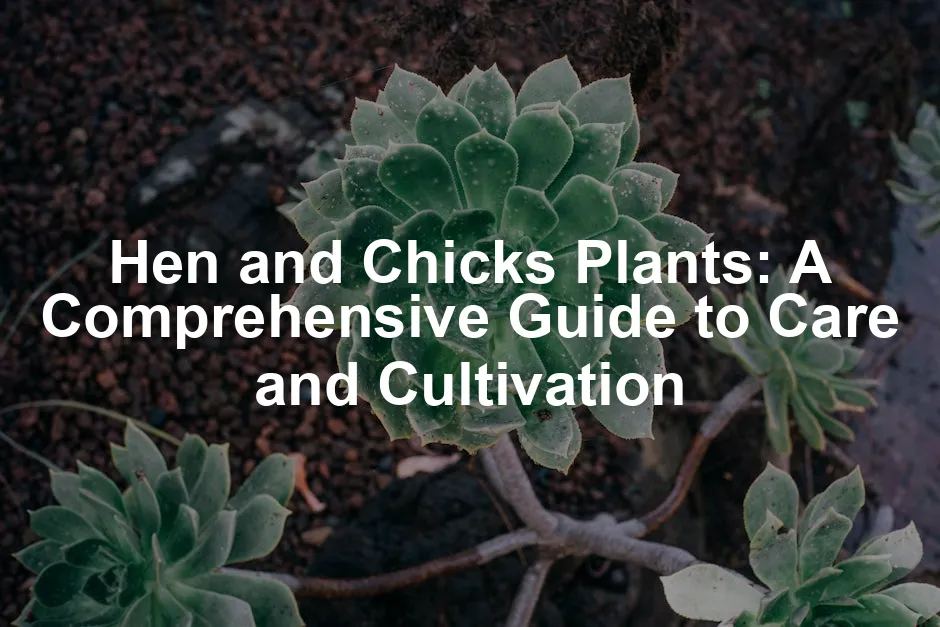
Hen and Chicks Plants: A Comprehensive Guide to Care and Cultivation
Introduction
Hen and chicks plants, scientifically known as Sempervivum, capture hearts in gardens. Their charming rosette shapes and vibrant colors make them appealing to many. These succulents are easy to care for and thrive in various conditions. Understanding their needs and propagation methods can help you enjoy their beauty for years.
To get started on the right foot, consider using a succulent soil mix that will help your plants flourish. A good soil mix can make all the difference in creating the perfect environment for your hen and chicks to thrive!

Summary and Overview
Hen and chicks plants are unique succulents known for their rosette growth habit. Typically, the larger, central rosette is called the “hen,” while the smaller offsets surrounding it are the “chicks.” This growth pattern not only adds visual interest but also allows for easy propagation.
Understanding their care needs is essential. These plants are hardy and drought-resistant, making them perfect for both novice and experienced gardeners. They can brighten up rock gardens, containers, or even indoor spaces. In the following sections, we will cover their care, popular varieties, propagation techniques, and how to tackle common pests in japanese friendship gardens and how to control them.
Understanding how to manage pests is crucial for maintaining the health of your hen and chicks plants. common pests in japanese friendship gardens and how to control them
What Are Hen and Chicks Plants?
Characteristics of Sempervivum
Hen and chicks plants are easily recognizable due to their stunning rosette shapes. These rosettes can vary in color, ranging from rich greens to deep purples and even reds. The offsets, or “chicks,” cluster closely around the “hen,” creating a delightful display.
The terminology reflects their growth style. The “hen” is the main plant, while the “chicks” are the smaller offshoots. This visual resemblance to a mother hen and her chicks adds charm to any garden.
These plants are incredibly resilient. They thrive in poor soil and require minimal water, which makes them perfect for low-maintenance gardens. Their drought resistance means they can withstand dry spells without a hitch. Whether you’re new to gardening or a seasoned pro, hen and chicks plants make a fantastic addition to your green space.
Speaking of resilience, don’t forget to equip yourself with a sturdy pair of gardening gloves to protect your hands while tending to your plants. After all, gardening can be a dirty job, but someone’s got to do it!

Popular Varieties
Hen and chicks plants come in various delightful types. Here are a few popular ones:
- Sempervivum tectorum: Commonly known as the houseleek, this variety features lush rosettes with fleshy, pointed leaves. It can display vibrant greens and reddish hues, making it a favorite for gardens and rockeries.
- Sempervivum arachnoideum: Also called the cobweb houseleek, this plant is unique due to its leaves covered in fine white hairs. This charming feature resembles delicate cobwebs and adds texture to your collection.
Each of these varieties thrives in diverse environments. For example, Sempervivum tectorum is perfect for sunny spots, while Sempervivum arachnoideum can tolerate slightly shadier locations. These traits make them versatile choices for both outdoor and indoor gardening.
How to Care for Hen and Chicks Plants
Sunlight and Temperature
Hen and chicks plants thrive in bright light. Aim for 4 to 6 hours of direct sunlight daily. Ideal spots include sunny windowsills, outdoor gardens, or patios.
During the day, they prefer temperatures between 65°F and 75°F. At night, they can tolerate cooler conditions down to 40°F. To protect them from harsh weather, offer shade during the hottest hours. In colder months, bring them indoors to shield them from frost.
To ensure your plants are happy and hydrated, invest in a quality watering can. It makes the task of watering your plants a breeze and keeps your hands clean at the same time!

Watering Requirements
Watering hen and chicks plants requires a bit of strategy. The best practice is to water deeply but infrequently. Check the soil by poking about an inch deep; if it’s dry, it’s time to water. Typically, watering every 1-2 weeks during the growing season works well.
Watch for signs of overwatering, like yellowing leaves or mushy stems. On the flip side, underwatering can cause shriveling. Adjust your routine seasonally, reducing water in winter while they’re dormant. This approach helps keep your plants healthy and thriving.
Common Pests and Diseases
Identifying Common Pests
Hen and chicks plants can attract a few pesky critters. Two of the most common offenders are mealybugs and aphids.
Mealybugs are tiny, white insects that look like cotton fluff. You’ll often find them hiding in leaf axils. Their presence can lead to yellowing leaves and stunted growth. Not a pretty sight!
Aphids are equally unwelcome. These small, green (or black) insects suck sap from the plants. If your hens and chicks start to look distorted or weak, check for aphids.
Keep an eye out for these pests. Early detection is key to keeping your plants healthy. If you need a little extra help, consider using organic insecticidal soap to keep those pesky bugs at bay!

Disease Management
Along with pests, hen and chicks plants can face diseases like root rot and powdery mildew.
Root rot happens when the soil retains too much moisture. If you notice mushy roots or a foul smell, that’s a clear sign. To prevent this, always use well-draining soil.
Powdery mildew appears as a white, powdery coating on leaves. It can show up in humid conditions. To manage it, remove affected leaves and ensure good air circulation around your plants.
Prevention is better than cure! Keep your plants dry and well-spaced. For treatment, apply fungicides for powdery mildew and adjust watering habits to combat root rot. Regular monitoring can help catch these issues early.
In summary, being aware of pests and diseases is crucial. With some vigilance, you can keep your hen and chicks thriving.

Propagation Techniques
Propagating from Offsets
Propagating hen and chicks plants is a rewarding experience. The easiest method involves using offsets, or “chicks.” Here’s how to do it:
- Identify Offsets: Look for healthy chicks clustered around the main plant, or “hen.”
- Separate Carefully: Gently twist or cut the offset from the hen. Aim to retain some roots for better growth.
- Prepare the Soil: Use a well-draining succulent soil mix. You can also add sand or perlite to improve drainage.
- Plant the Offsets: Place the chicks in the soil at the same depth they were growing. Fill in with soil and lightly pat down.
- Water Lightly: After planting, give them a light watering. Make sure the soil dries out completely between waterings.
After propagation, care is crucial for success. Place the newly potted chicks in bright, indirect sunlight. Avoid direct sunlight initially to prevent shock. Water sparingly until new growth appears, indicating they’re settling in.
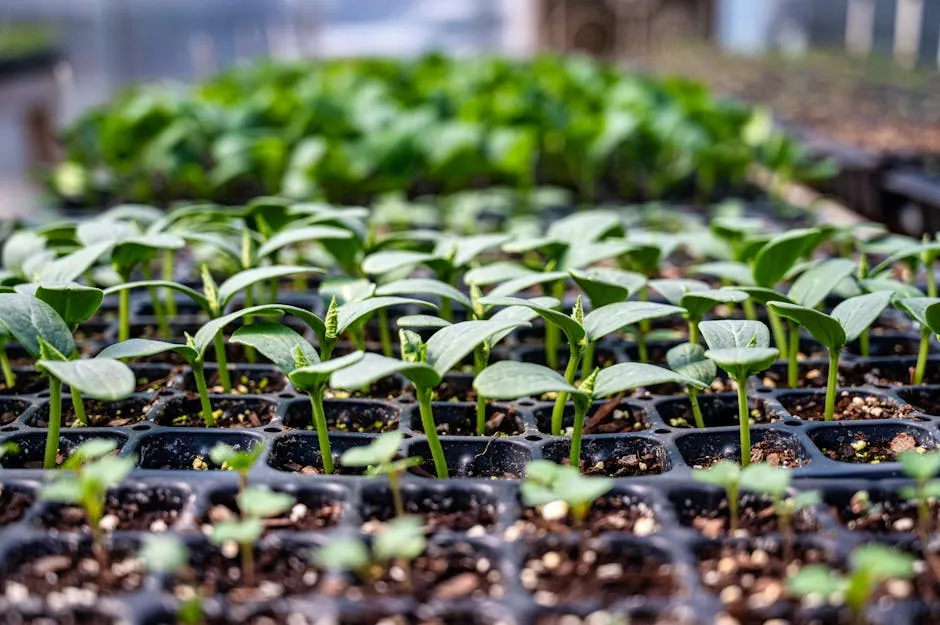
Seed Propagation
While propagating from offsets is simpler, seed propagation offers a fun challenge. Here’s a straightforward guide to get started:
- Collect Seeds: Wait for flowers to bloom and set seeds. Gently collect seeds once they mature and turn brown.
- Prepare Your Soil: Use a seed-starting mix that drains well. This prevents excess moisture, which can lead to rot.
- Plant the Seeds: Scatter seeds on the surface of the soil. Do not cover them with soil, as they need light to germinate.
- Water Carefully: Mist the soil to keep it moist but not soggy. Too much water can be detrimental at this stage.
- Provide Warmth and Light: Place the tray in a warm area with indirect sunlight. A warm windowsill works well until seedlings sprout.
As seedlings grow, provide them with adequate light and ventilation. Once they have a few sets of true leaves, you can transplant them into individual pots. Be patient, as growing from seed can take time, but the results are incredibly rewarding.
Blooming and Lifespan
Understanding the Blooming Cycle
Hen and chicks plants are monocarpic. This means they flower only once before dying. The blooming process typically occurs in summer and can take several years to reach maturity.
During blooming, a tall flower stalk emerges from the center of the hen. This stalk produces small, star-shaped flowers that can be quite stunning. However, once the flowers fade, the hen will die, leaving behind chicks that ensure the plant continues.
While this may sound sad, it’s a natural part of their life cycle. The chicks, which are the offsets, will thrive and grow into new hens. This cycle ensures the survival of the species, allowing gardeners to enjoy their beauty for years to come.
Notable Blooms
Hen and chicks plants not only offer unique shapes but also produce lovely blooms. Varieties like Sempervivum arachnoideum showcase delicate pink flowers, creating a striking contrast against their green rosettes. Another standout is Sempervivum tectorum, which features vibrant star-shaped flowers that attract pollinators.
To care for flowering plants, ensure they receive enough sunlight. Aim for at least four to six hours daily. Keep the soil well-draining to avoid root rot during blooming. Water lightly, allowing the soil to dry between waterings. This ensures the plant focuses energy on producing beautiful flowers instead of dealing with excess moisture.

Creative Uses for Hen and Chicks Plants
In Garden Design
Incorporating hen and chicks plants into your landscape design can add texture and color. Use them in rock gardens, where their hardy nature shines. Arrange them in clusters for a more dynamic look. Their compact growth makes them perfect for borders or ground cover.
When it comes to companion planting strategies for increased yield, consider pairing them with drought-tolerant herbs like thyme or rosemary. These plants thrive in similar conditions, creating a harmonious garden space. You can also mix different varieties of hen and chicks for visual interest.
Companion planting can enhance your garden’s productivity and aesthetics. companion planting strategies for increased yield

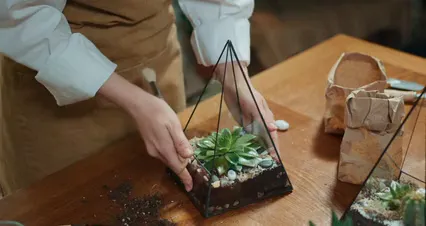
Indoor Displays
Bringing hen and chicks indoors is a fantastic way to liven up your space. Choose decorative plant pots that complement your home decor. Group several plants together for an eye-catching display on shelves or coffee tables.
For seasonal decoration, consider placing them in themed pots for holidays. For example, use vibrant containers in the spring, or opt for earthy tones in fall. Adding a touch of greenery indoors not only enhances aesthetics but also improves air quality.
Conclusion
Proper care is essential for enjoying the benefits of hen and chicks plants. Their resilience and beauty can elevate any garden or indoor space. Explore the various species and propagation methods to expand your collection.
If you’re serious about keeping track of your plant care, consider using a plant care journal. It’ll help you keep everything organized and ensure your plants get the love they need!
Have you tried growing hen and chicks? Share your experiences or ask questions in the comments below!
Please let us know what you think about our content by leaving a comment down below!
Thank you for reading till here 🙂
All images from Pexels


