![]()
Guide to Starting Seeds Indoors for Early Harvest
Introduction
Starting seeds indoors is like giving your garden a warm hug before the chilly outdoor air arrives. It’s an essential technique for garden enthusiasts who want to get a jump on the growing season. By starting seeds indoors, gardeners can enjoy a bounty of fresh produce earlier in the year. This method allows for more control over the growing environment, resulting in healthier plants and a more varied selection.
In this guide, we’ll cover everything you need to know about indoor seed starting. We will discuss the techniques that ensure success, the ideal timing for various plants, essential supplies, and tips to make your seed starting journey a breeze. Whether you’re a seasoned gardener or a curious beginner, you’ll find valuable insights to help you cultivate a thriving indoor garden.
Why Start Seeds Indoors?
Head Start on Growing Season: Imagine biting into a sun-warmed tomato in June instead of waiting for August! Starting seeds indoors grants you that advantage. By giving your plants a head start, you can plant them outside when conditions are just right, leading to earlier harvests and a longer growing season.
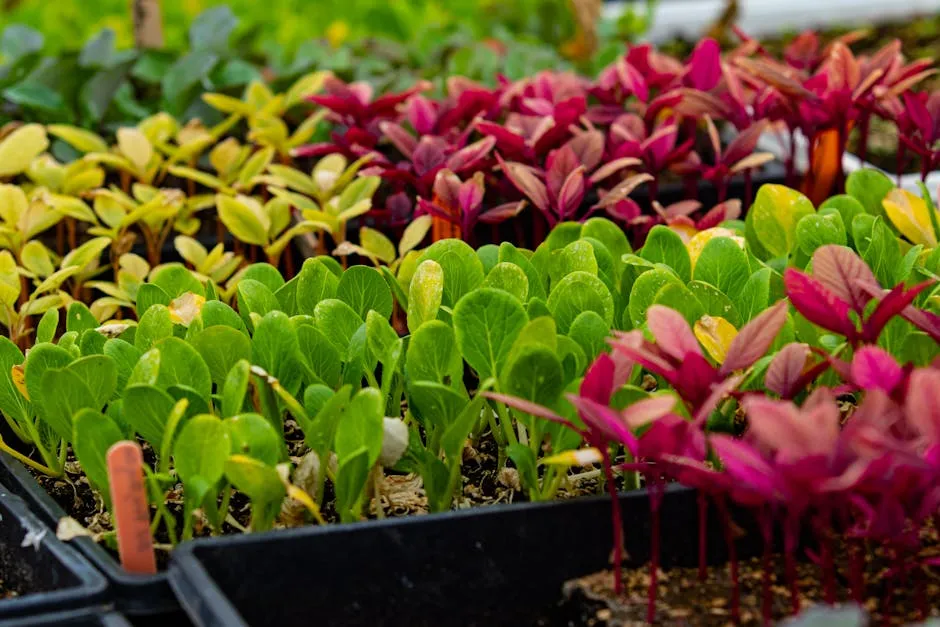
Variety and Cost-Effectiveness: Why settle for the limited selection at your local nursery? Starting seeds indoors opens the door to a rainbow of choices. You can grow heirloom varieties, unique colors, and even rare plants that are hard to find. Plus, seeds are often more affordable than buying established plants. So, you can garden on a budget while still enjoying an impressive variety.
Healthier Plants: When you sow seeds indoors, you nurture them from day one. This means you can ensure they get the right light, warmth, and moisture. As a result, you’ll end up with robust seedlings, ready to tackle the great outdoors. Plus, growing your own seedlings helps you avoid any unknown chemicals that might come with store-bought plants. Healthier plants mean a happier garden!
And speaking of healthier plants, don’t forget to check out this Organic Fertilizer that can give your plants the nutrients they need to thrive.
Planning Your Indoor Garden
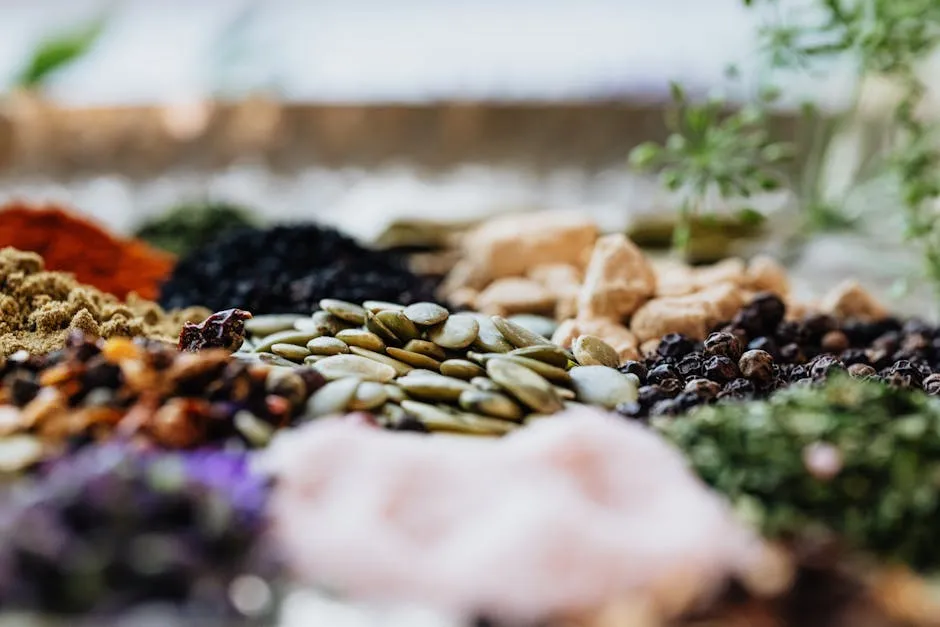
Choosing the Right Seeds
Now that you’re convinced of the benefits, it’s time to pick the seeds! Some plants thrive best when started indoors. Here’s a handy table to guide your choices:
| Plant | Best for Indoor Starting |
|---|---|
| Tomatoes | Yes |
| Peppers | Yes |
| Lettuce | Yes |
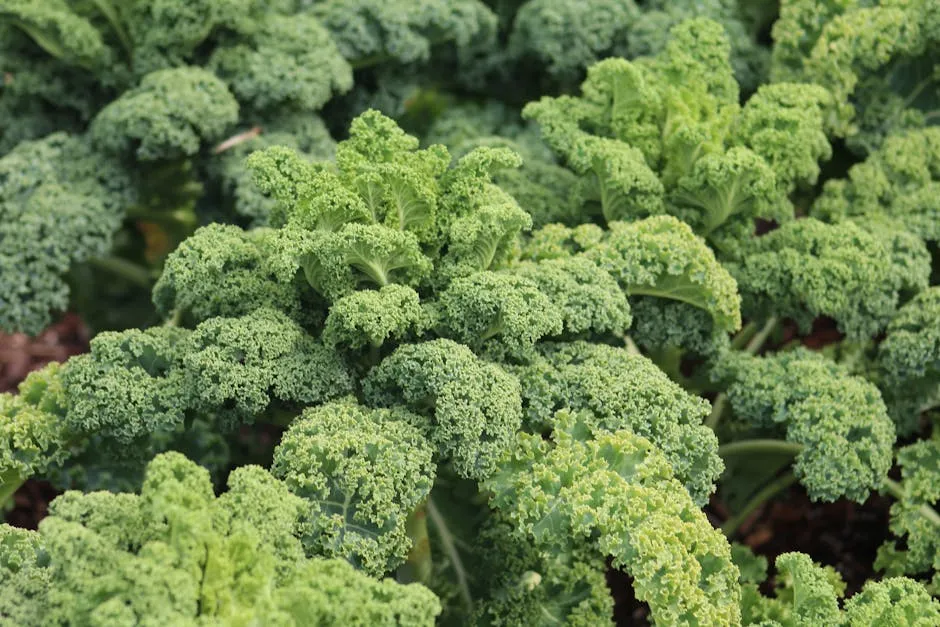
| Broccoli | Yes |
| Cabbage | Yes |
| Zucchini | No |
| Cucumbers | No |
| Carrots | No |
The stars of the indoor seed starting show include tomatoes and peppers, which benefit immensely from extra warmth and care. On the other hand, crops like cucumbers and carrots prefer direct sowing in the garden.
Remember, successful indoor gardening is about selecting the right seeds and planning for their journey from cozy indoors to the great outdoors!
Essential Supplies for Indoor Seed Starting
Containers
When it comes to containers, you have a variety of options. Seed trays, pots, or even recycled containers can do the trick.
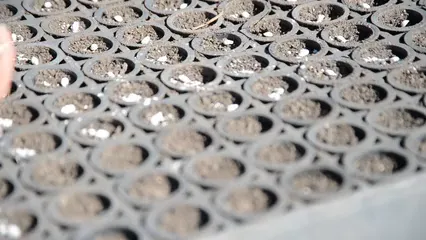
Seed Trays: These are designed specifically for starting seeds. They’re often made from plastic and come with small cells for each seed. The pros? They promote good drainage and are reusable. The cons? If not cleaned properly, they can harbor diseases. Check out these Seed Starting Trays for your next planting adventure!
Pots: Standard pots are versatile and come in many sizes. They allow for more space as seedlings grow. However, they can take up more room and require more soil.
Recycled Containers: Ever thought about using yogurt cups or egg cartons? They can be a cost-effective solution! Just ensure they have drainage holes. The downside? They might not last as long, and they can dry out faster than traditional containers.
Ultimately, choose what suits your gardening style and space!
Growing Medium
Now, let’s chat about soil. Using a quality seed starting mix is crucial. Unlike garden soil, which can be dense and packed with pests, seed starting mixes are light and fluffy. They promote healthy root growth and provide just the right nutrients.
Why avoid garden soil? It can be too heavy, leading to poor drainage and root rot. So, stick to a specially formulated seed starting mix for the best results.
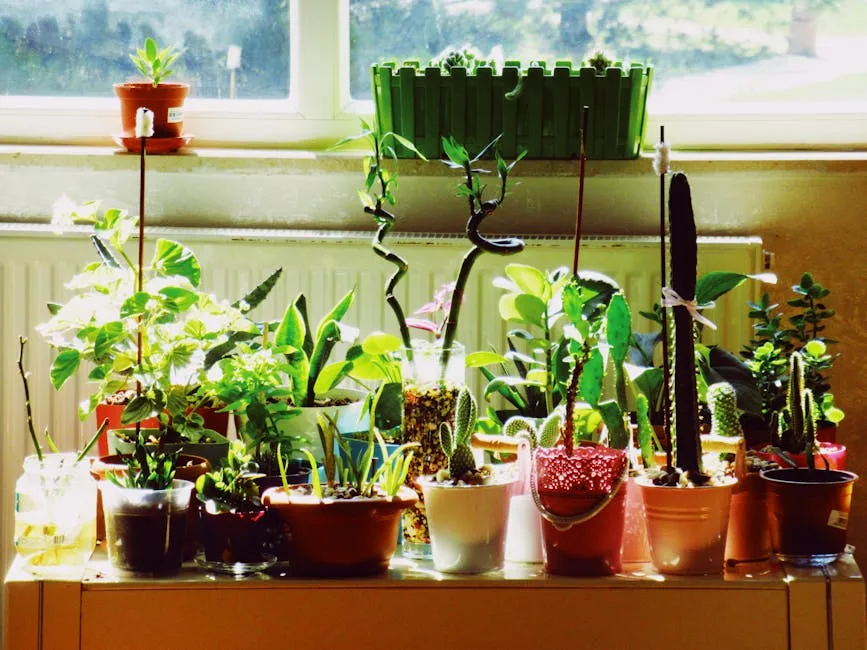
Lighting
Light, light, light! Seedlings are like teenagers—they need a lot of it. While a sunny window might seem tempting, it often doesn’t provide enough light for strong growth. That’s where grow lights come in.
Ideal conditions call for 12-16 hours of light daily. LED grow lights are excellent choices because they’re energy-efficient and emit the right spectrum for plant growth. Position the lights just a few inches above the seedlings to prevent them from getting leggy.
Watering and Humidity
Maintaining moisture is key for successful germination. Too little water can lead to shriveled seeds, while too much can cause damping off. Aim for consistently moist, not soggy, soil.
Humidity also plays a vital role. Using a humidity dome or plastic wrap can help retain moisture. Just remember to remove it once your seedlings sprout to prevent mold. Keeping an eye on both moisture and humidity will give your seeds the best chance to thrive!
Now, with these essential supplies in hand, you’re well on your way to starting seeds indoors like a pro!
Step 3: Plant the Seeds
Planting seeds is one of the most exciting parts of indoor gardening. First, check the seed packet for specific planting depth and spacing. Generally, larger seeds like tomatoes should be planted about 1/4 to 1/2 inch deep. Smaller seeds, such as lettuce, prefer a shallow planting of about 1/8 inch.
Space seeds according to the recommendations on the packet. This prevents overcrowding and allows each seedling to thrive. For instance, if you’re planting tomatoes, place them 2-3 inches apart. Use a pencil or your finger to make holes in the soil mix, drop in the seeds, and cover them gently. Keep it light—no need for a soil mountain here!
Step 4: Water and Cover
After planting, it’s time for a drink! Water the seeds gently with a spray bottle or a watering can with a fine spout. Aim for moist soil, not soggy. Overwatering can drown those delicate roots and lead to damping off, a common seedling killer.
To maintain humidity, cover the trays with a humidity dome or a sheet of plastic wrap. This creates a cozy greenhouse effect. But don’t forget to check regularly! Once the seeds sprout, remove the cover to prevent mold from crashing the party.
Step 5: Provide Light
Light is the lifeblood of your seedlings. Position them under grow lights for optimal growth. Aim for 12-16 hours of light each day. LED grow lights are a fantastic choice—they’re energy-efficient and provide the perfect light spectrum for your green babies.
Hang the lights just a few inches above the seedlings. This helps prevent them from stretching toward the light, which can result in leggy plants. Rotate your trays occasionally for even growth. Everyone deserves their moment in the spotlight!
Step 6: Monitor Conditions
Keep an eye on temperature and moisture levels. Most seeds germinate best in a cozy zone of 65-75°F. A heat mat for seedlings can provide that extra warmth for heat-loving varieties like peppers.
Moisture is equally important. The soil should remain consistently damp, but not soaking wet. Use your finger to check the soil moisture—if it feels dry, it’s time for a sprinkle. Monitoring these conditions will pave the way for strong, healthy seedlings ready to make their outdoor debut!
Hardening Off Seedlings
What is Hardening Off?
Hardening off is the process of acclimating your indoor seedlings to the great outdoors. Think of it as their not-so-fun boot camp. Seedlings grow up in a cozy, controlled environment, but outdoor conditions are different—temperature swings, wind, and bright sunlight can be shocking. The hardening-off process helps them adjust, reducing transplant shock and increasing their chances of thriving once planted outside.
By gradually exposing seedlings to outdoor conditions, you toughen them up. This transition is essential, especially for tender young plants. Without it, you risk watching your precious seedlings wilt and wither in the face of the elements. So, let’s get those babies ready for an outdoor adventure!

Step-by-Step Hardening Off Process
Ready to embark on the hardening off journey? Here’s a straightforward schedule to follow:
- Day 1: Move seedlings outside into a shaded area for 1-2 hours. They’ll appreciate a little fresh air without getting overwhelmed. Then, bring them back in.
- Day 2: Repeat the outdoor jaunt, but this time, allow them to bask in dappled sunlight for 2-3 hours. They’ll start to get a feel for the outdoors while still having a safety net.
- Days 3-5: Gradually increase their time outside. Aim for 4-5 hours in partial sunlight. This is the time for them to soak in the rays and enjoy the breeze!
- Days 6-8: If the weather cooperates, move them to a location with direct sunlight for several hours. Keep an eye on them—if they start to droop, it’s time to retreat to the shade!
- Days 9-14: By now, your seedlings should be ready for full days outside. Continue to monitor temperature and weather conditions. If it’s too windy or sunny, provide them some shelter.
- Final Step: After about two weeks, once they’ve adjusted, it’s time to transplant them into the garden. Choose a cloudy day or late afternoon to minimize shock.

Following this gradual process will ensure your seedlings are ready to thrive in their new home! And speaking of homes, why not give them a stylish upgrade with some plastic plant pots?
Troubleshooting Common Issues
Leggy Seedlings: If your seedlings are stretching toward the light, they might not be getting enough. Check their light source. Move them closer to grow lights or a sunny window. Consider rotating them to ensure even growth.
Damping Off: This pesky problem can occur when seedlings are overwatered or crowded. Prevent it by using a sterile seed starting mix, ensuring good drainage, and avoiding excessive moisture. If it strikes, remove affected seedlings immediately.
Poor Germination Rates: If your seeds seem to be taking their sweet time, double-check the planting depth and temperature. Some seeds might need specific conditions for germination. Also, consider the age of your seeds—fresh ones typically yield better results.
Yellowing Leaves: Yellow leaves can indicate a nutrient deficiency or overwatering. Test your watering routine—are you keeping the soil too soggy? If the soil is good, consider a diluted fertilizer to give your seedlings the nutrients they need.
With these troubleshooting tips, you’ll be well-equipped to tackle common seedling issues and keep your indoor garden thriving! And for the ultimate plant care, grab a soil moisture meter to keep track of your plants’ hydration needs!
Conclusion
Starting seeds indoors is like giving your garden a VIP pass to an early harvest! You get to take control of the growing process, ensuring your plants get a head start on the season. With this method, you can enjoy fresh produce weeks, if not months, earlier than if you waited for the outdoor planting season. Not to mention, the satisfaction of nurturing tiny seeds into vibrant plants is truly unmatched.
Imagine biting into that juicy tomato or crisp cucumber, all thanks to your green thumb! So, gather your supplies, pick your favorite seeds, and give it a go. It’s a rewarding adventure that connects you to nature, saves you money, and brightens your table. You’ve got this—your indoor garden awaits!
For more information on the best practices for indoor gardening, check out our Guide to starting seeds indoors for early harvest.
FAQs
What seeds should I start indoors?
Great choices for indoor starting include tomatoes, peppers, broccoli, and lettuce. These plants thrive in controlled conditions and benefit from the extra care you can provide.
How long before the last frost should I start seeds?
As a rule of thumb, start seeds indoors about 6 to 8 weeks before your last expected frost date. This timing helps ensure they’re ready for the great outdoors when the weather warms up.
What is the best soil for starting seeds?
Opt for a high-quality seed starting mix. It’s lighter and fluffier than garden soil, promoting healthy root development and preventing issues like damping off.
Do I need grow lights?
While a sunny window can work, grow lights are ideal. They provide consistent, bright light that prevents seedlings from becoming leggy. Aim for 12-16 hours of light daily for best results.
How do I prevent damping off?
To prevent damping off, ensure you use sterile containers and soil. Keep seedlings well-ventilated and avoid overwatering. A fan can help circulate air and strengthen young plants!
Please let us know what you think about our content by leaving a comment down below!
Thank you for reading till here 🙂
All images from Pexels


