![]()

Enclosed Garden Fencing All in One: The Ultimate Guide to Protect Your Greenery
Introduction
In the world of gardening, protecting your plants can feel like a full-time job. Enter enclosed garden fencing, the unsung hero of green thumbs everywhere! Imagine strolling through your garden, free from the worry of hungry deer, pesky rabbits, and the occasional bird raid. This guide will explore the ins and outs of “enclosed garden fencing all in one,” ensuring your garden remains the sanctuary you envision.
Understanding the importance of enclosed garden fencing is essential for any gardener.
Enclosed garden fencing acts like a protective shield for your beloved plants. It keeps out unwanted visitors while offering a cozy space for your flora to thrive. Not all fencing is created equal, though; the right choice can mean the difference between a thriving garden and a buffet for local wildlife.
From material choices to installation tips, we’ve got you covered. Wooden fences bring rustic charm, while metal options offer durability. Poly fencing is lightweight and budget-friendly, making it perfect for temporary setups. If you’re looking for a reliable solution, check out this Garden Fencing Kit that can help you create a sturdy barrier for your plants.
But wait, there’s more! This guide will also delve into the benefits of enclosed fencing, comparing DIY methods with pre-made kits. We’ll even share some expert tips on installation and maintenance.
With the right information, you’ll be equipped to create a garden fortress. So, grab your favorite gardening gloves, and let’s dig into the world of enclosed garden fencing. Your plants will thank you, and you’ll enjoy a garden free from pesky interruptions. Let’s get started on this journey to a more secure and flourishing garden!

Summary of Key Points
Enclosed garden fencing is not just a boundary; it’s a protective embrace for your beloved plants. This comprehensive guide covers:
- Types of Enclosed Garden Fencing: Understanding material options such as wood, metal, and poly.
- Benefits of Enclosed Fencing: How it protects plants from pests, harsh weather, and enhances the aesthetic appeal of your garden.
- DIY vs. Pre-made Kits: Weighing the pros and cons of building your own fencing versus purchasing a ready-made kit.
- Installation Tips: Step-by-step guidance on how to properly install your fencing to ensure durability and effectiveness.
- Cost Considerations: A breakdown of potential expenses associated with various types of fencing and where to find the best deals.
- Maintenance and Upkeep: Tips for ensuring your enclosed fencing lasts for years to come.
Curious about what type of fencing will best suit your garden? Or perhaps you’re wondering how to install it without a hitch? Stay tuned as we explore these topics in detail!

Types of Enclosed Garden Fencing
Wooden Fencing
Wooden fencing brings a warm, natural feel to any garden. Its rustic charm enhances the beauty of traditional gardens, creating a cozy and inviting atmosphere. Picture a classic wooden picket fence with climbing roses intertwining, or a sturdy cedar fence that frames your vegetable patch beautifully.
However, wooden fencing has its pros and cons. On the plus side, it’s often cost-effective compared to other materials. You can find various styles and finishes, allowing for personalization. But, the flip side? Maintenance. Wood requires regular staining and sealing. Otherwise, it’s prone to rot, warping, and insect damage. To keep your wooden fencing looking fresh, consider using a weatherproof sealant to protect it from the elements!
Ideal applications for wooden fencing include traditional gardens and backyard spaces. Whether you want to keep pets in or critters out, wood offers a perfect blend of function and aesthetics. Just be ready for a little upkeep!

Metal Fencing
Metal fencing options, like welded wire and chain link, offer a robust alternative. They come with a sleek, modern look that can suit various garden styles. If you’re after durability, metal is your friend. It stands tall against harsh weather and wild animals, creating an effective barrier.
What’s the catch? While metal fencing is incredibly durable and low maintenance, it can lack the charm of wood. Some styles may not blend well with a flower garden, turning your green oasis into a fortress. If aesthetics are a concern, consider painting your metal fence with rust-resistant paint to give it a pop of color!
Best applications for metal fencing often include high-security areas. Think backyards in urban settings or properties with valuable plants. Metal can also be a decorative option when paired with climbing plants or colorful flowers.

Poly Fencing
Poly fencing is lightweight and often more budget-friendly. Made from durable materials, this fencing is easy to install and can be moved with relative ease. However, don’t expect it to last as long as wood or metal.
Poly fencing is perfect for temporary enclosures or specific plant protection. If you’re experimenting with new garden layouts or want a quick solution for a particular season, poly fencing delivers flexibility. For the best results, consider using a garden trellis to support your plants while using poly fencing!
On the downside, it may not be as sturdy in harsh weather conditions. While it’s a great choice for quick setups, you might find yourself replacing it more often than traditional materials.
Each type of fencing offers unique benefits. Consider your garden’s needs, style, and your willingness to maintain your chosen material. Happy fencing!

Benefits of Enclosed Garden Fencing
Pest Protection
Enclosed garden fencing serves as a formidable barrier against pests. Whether it’s rabbits nibbling on your favorite veggies or deer grazing on your flower beds, fencing keeps them at bay.
Take, for example, a local gardener who struggled with deer raiding their garden nightly. After installing a sturdy fence, the problem vanished. The garden flourished, and the harvest improved significantly. To help attract beneficial birds while deterring pests, consider adding a bird feeder to your garden!
Fencing not only blocks access but also deters birds and smaller critters. With various materials available, you can find the perfect solution to safeguard your plants. It’s an investment that pays off in bountiful harvests and beautiful blooms.

Weather Defense
Enclosed garden fencing acts as a formidable barrier against harsh weather. It shields your plants from relentless winds, heavy rain, and intense sunlight. Think of it as a cozy blanket for your greenery!
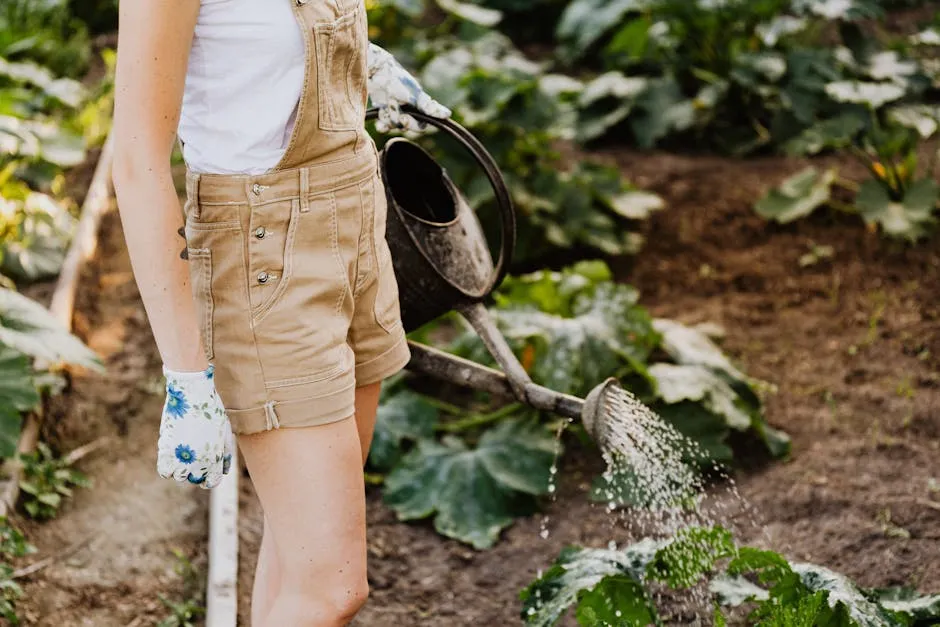
With the right fencing, your plants can thrive year-round. The protection of an enclosure leads to improved plant health and higher yields. Less stress from environmental factors means happier plants. And happier plants mean a bountiful harvest! To keep your plants hydrated, consider investing in a garden hose with nozzle for easy watering!

Aesthetic Enhancement
Fencing isn’t just functional; it adds charm to your garden. Picture a beautifully designed border that compliments your flowers and veggies. The right fencing can transform a simple garden into a breathtaking landscape.
Consider integrating natural wood or colorful metal fences that harmonize with your plants. Got a flair for creativity? Try climbing plants on your fence or paint it in a vibrant hue. These design ideas can turn your garden into a visual feast, making it a delightful retreat for you and your visitors. If you’re looking for more ideas, a decorative garden item can really tie the whole space together!

DIY vs. Pre-made Kits
DIY Fencing
Building your own fencing brings personalization to the game. You can customize size, style, and material to match your garden’s vibe. Plus, DIY often saves you some cash, which is always a win!
However, it does come with its challenges. A DIY project requires time and a dash of skill. If you’re not handy with tools, it could become a bit daunting. But hey, the satisfaction of creating something with your own two hands is priceless! To make your DIY project easier, consider investing in a gardening tools set to help with the construction!
Pre-made Kits
Pre-made kits offer convenience and simplicity. They come with all the parts you need for installation. Types range from metal frames to poly options, each catering to different needs.
Comparing the pros and cons of pre-made kits versus DIY? Pre-made options save time and reduce complexity. But they might not fit your exact specifications, which is where DIY shines.
Looking to buy quality kits? Stores like Critterfence and Benners offer fantastic selections. They even have seasonal discounts and free shipping on orders over $99! So, you can snag a great deal while protecting your garden. For an efficient storage solution, consider an outdoor storage shed for all your gardening tools!

Installation Tips
Preparing the Site
Before you start building your enclosed garden fencing, a little prep work goes a long way. Here’s how to set the stage for success.
Steps:
- Clear the Area: Remove any debris, rocks, or plants from your designated fencing site. A clean slate makes for easier installation.
- Measure Twice: Use a tape measure to determine the dimensions of your fence. Mark the corners with stakes or spray paint. This ensures you know exactly where to dig and place your posts.
Tools Needed:
- Tape measure
- Stakes or spray paint
- Garden kneeler and seat (to keep your knees comfy!)
- Shovel or post hole digger
- Level (for that perfect alignment)
Having these tools handy will make the installation process smoother and more efficient!

Step-by-Step Installation Guide
Now, let’s get down to business with a simple step-by-step guide for different types of fencing. Remember, every fence is unique, so adapt as necessary.
- Digging the Post Holes:
- For wooden and metal fences, dig holes about 2 feet deep (or one-third of the post height) for stability.
- Space them every 6 to 8 feet apart.
- Setting the Posts:
- Place posts into the holes and fill them with concrete. Ensure the posts are level before the concrete sets.
- For poly fencing, you can secure the posts directly into the ground without concrete.
- Attaching the Panels:
- For wooden fencing, attach panels using screws or nails. Ensure everything is aligned properly.
- For metal fencing, use fencing clips or brackets to secure the wire to the posts.
- Adding Gates:
- Install gates as needed, ensuring they swing freely without obstruction. Gate hardware typically comes with the kit.
- Finishing Touches:
- Once your fence is up, check for any loose panels or gaps. Make adjustments as needed to keep those pesky critters out.
Visual Aids: Consider adding diagrams or photos of each step. Visual aids help clarify each stage of the installation, making the process even easier to follow.

Common Mistakes to Avoid
Even seasoned DIYers can run into hiccups during installation. Here are some common pitfalls to steer clear of:
- Neglecting to Check Local Codes: Always check local regulations regarding fence height and placement. Avoid fines or having to take down your hard work.
- Skipping the Level Check: Fences that aren’t level can look unprofessional and may not function properly. Always double-check before securing everything.
- Underestimating Material Needs: Running out of materials halfway through is a hassle. Calculate your needs carefully to avoid multiple trips to the store.
- Ignoring the Ground Conditions: Soft or rocky ground can affect stability. Adjust your installation method according to what you find.
With these tips, your fence installation should be smooth sailing. Remember, a little preparation and caution can lead to a beautifully enclosed garden that keeps your plants safe!

Cost Considerations
Average Costs
Understanding the financial aspect of your fencing project is crucial. Here’s a breakdown of what to expect when budgeting.
- Materials:
- Wooden fencing typically ranges from $10 to $30 per linear foot, depending on the type of wood.
- Metal options, like chain link, usually cost around $7 to $15 per linear foot.
- Poly fencing is often more budget-friendly, averaging $5 to $10 per linear foot.
- Complete Kits:
- Pre-made garden fence kits generally fall between $500 to $1,200, depending on size and material.
- For example, a 7.5′ tall poly garden fence kit can start around $800.

Budget-Friendly Options
Saving money while ensuring quality is possible! Here are some savvy tips:
- Look for Sales: Keep an eye on seasonal promotions or discounts. Stores like Critterfence and Benners often have sales, like 15% off on fence kits.
- Consider DIY: If you’re handy, building your fence can save you labor costs and allow for customization.
- Buy in Bulk: Purchasing larger quantities of materials can often lead to discounts. If you need help starting from seeds, consider using seed starter trays for your gardening needs!
With a bit of research, you can secure quality materials without breaking the bank. Happy fencing!
Where to Shop
Finding the perfect enclosed garden fencing can be a breeze if you know where to look. For top-notch quality, check out local hardware stores or specialized garden centers. They often offer a variety of materials from wood to metal. Online retailers like Critterfence and Benners are fantastic for convenience. They provide a range of pre-made kits and fencing rolls, making your shopping experience smooth and efficient. Don’t forget about Amazon! It’s a treasure trove for garden supplies, including fencing options that fit various budgets and styles. If you’re looking for garden lighting, check out solar LED lights to enhance your garden’s ambiance!
Deals and Discounts: Who doesn’t love a good bargain? Keep your eyes peeled for seasonal sales at your favorite stores! Critterfence, for instance, often runs promotions where you can save up to 15% on fence kits and rolls. They even offer free shipping on orders over $99! Benners frequently matches prices, so if you find a lower deal elsewhere, they’ll beat it. Sign up for newsletters from these retailers to stay updated on upcoming sales. It’s the perfect way to snag great deals while preparing to fortify your garden!

Maintenance and Upkeep
Routine Maintenance
Keeping your enclosed garden fencing in tip-top shape is essential for longevity. Here’s a handy checklist to follow regularly:
- Inspect for Damage: Look for cracks, loose panels, or rust.
- Clean: Remove dirt, debris, and plant overgrowth from the fence.
- Check Fasteners: Ensure screws, nails, or clamps are tight.
- Paint or Stain: Wooden fences benefit from a fresh coat every few years.
Seasonal tips can help prepare your fencing for the elements. Before winter, check for any weak spots, and apply a weatherproof sealant to wooden fences. In spring, clear away any snow or ice that might have accumulated. This simple attention to detail ensures your fencing remains sturdy and effective year-round.
Repairing Damage
Even the sturdiest fences face issues over time. Common problems include:
- Rotting Wood: Check for soft spots or discoloration on wooden fences. Replace damaged boards promptly.
- Rust on Metal: Look for rust spots and sand them down before applying a rust-resistant paint.
- Loose Panels: Tighten any loose panels or posts to prevent further damage.
Preventative measures are key! Regularly maintaining your fence will reduce the need for extensive repairs. Use quality materials during installation and consider a protective coating for wood. This will help shield your investment from weather-related wear and tear. To simplify your gardening tasks, a garden cart can really help transport your tools and supplies!
Conclusion
In conclusion, enclosed garden fencing is an essential investment for any gardener looking to protect their plants. By understanding the various types of fencing, the benefits they offer, and the best practices for installation and maintenance, you can create a thriving garden oasis. Whether you choose to go the DIY route or opt for a pre-made kit, the right fencing will ensure your garden flourishes for years to come. For a final touch, consider keeping a garden journal to track your progress and ideas. Happy gardening!
Please let us know what you think about our content by leaving a comment down below!
Thank you for reading till here 🙂
All images from Pexels


