
Best Practices for Fall Garden Cleanup and Prep
Introduction
Fall garden cleanup is more than just a chore; it’s a vital preparation for a thriving spring garden. As the temperatures dip, taking the right steps now can make all the difference later. Cleaning up your garden in the fall prevents pests and diseases from overwintering, promotes soil health, and enhances the overall beauty of your outdoor space.
Think of fall cleanup as a spa day for your garden. It involves tidying up, nourishing the soil, and preparing your plants for the chilly months ahead. The tasks at hand can seem daunting, but breaking them down into manageable steps makes it easier. From removing debris to composting leaves, each task plays a crucial role in ensuring a healthy garden come spring. So grab your garden gloves and let’s dive into the essential practices for a successful fall garden cleanup!
1. Understanding the Importance of Fall Cleanup
A fall cleanup is essential for the health of your garden. It’s not just about tidiness; it’s about creating a thriving ecosystem. By clearing out dead plants and debris, you reduce the risk of pests and diseases overwintering in your garden. This is particularly important if you’ve had issues in previous seasons.
Regular cleanup helps to manage lingering pests, like aphids or spider mites, which can wreak havoc come spring. Moreover, fall cleanup prepares your garden for winter by ensuring that your soil remains healthy. Adding compost or organic matter at this stage enriches the soil, providing nutrients that will benefit your plants as they wake up from dormancy.
Finally, a clean garden is a beautiful garden. An orderly space not only looks good but also encourages you to spend time outdoors. So, roll up your sleeves and embrace the fall cleanup—it’s an investment in your garden’s future!

2. General Cleanup Tasks
2.1 Removing Debris
First things first: let’s tackle the debris. Old plants, fallen fruit, and leaves left to rot can create a cozy winter home for pests. Clearing out these materials is crucial for a healthy garden. Make it a ritual! Grab a wheelbarrow, put on some upbeat tunes, and start collecting.
Once you’ve gathered your debris, it’s time to decide what to do with it. Healthy plant materials can go into your compost pile—consider this your garden’s recycling program. However, diseased plants must be thrown in the trash. Composting them can spread disease, and nobody wants that!

2.2 Raking and Composting Leaves
Ah, the leaves—nature’s confetti! While they add beauty in autumn, they can suffocate your lawn if left in thick layers. Rake them up, but don’t fret; they can be incredibly useful. Instead of bagging them, consider mulching. Run your mower over the leaves to chop them into smaller pieces, then spread them as mulch in your garden beds.
This leaf mulch does wonders for your soil health. It retains moisture, suppresses weeds, and as it breaks down, it adds nutrients back into the ground. Plus, it’s a great way to recycle! So, grab that rake and those leaves—your garden will thank you for it come spring.
With these straightforward tasks, your fall cleanup will be off to a great start. Happy gardening!

3. Vegetable Garden Cleanup
3.1 Timing Your Cleanup
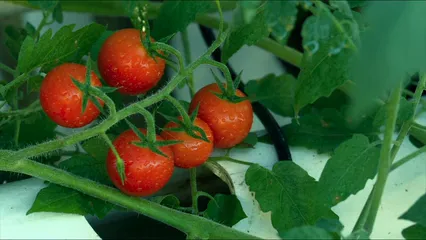
Timing is everything in gardening. After the first frost, your vegetable garden will show signs of slowing down. This is your cue to start cleanup. If you live in a frost-free area, keep an eye out for when your plants stop producing. Waiting too long can lead to unwanted pests and diseases making themselves at home in your garden. So, grab your gloves and get ready—it’s showtime!
3.2 Specific Steps for Vegetable Cleanup
Let’s break down the steps for an effective vegetable cleanup.
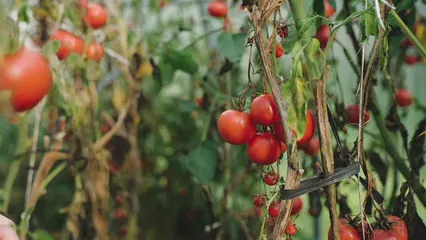
First, remove all spent plants. Pull them out and toss any diseased varieties in the trash. Don’t risk spreading illness! For the healthy plants, chop them up and compost them. Think of it as giving back to the soil.
Next, take a close look at your garden beds. Weeds love to party in the fall, so this is your chance to evict them. A quick weeding session prevents those pesky plants from going to seed and causing chaos in the spring.
Now, let’s talk about soil. Once your plants are out and the weeds are banished, it’s time to prepare the soil for the next growing season. Incorporate organic fertilizer or well-rotted manure into the top few inches of soil. This enriches the ground and helps your crops thrive come spring.
But don’t forget about crop rotation! Keeping track of where you plant different veggie families is crucial. Rotating crops reduces the risk of soil-borne diseases and pests. It’s like giving your soil a fresh start each year.
3.3 Cover Crops
Speaking of fresh starts, let’s discuss cover crops. Planting cover crops, like clover or rye, is a fantastic way to enhance soil health during winter. These crops prevent erosion and suppress weeds while adding organic matter as they decompose. It’s a win-win situation!
Cover crops are also great for fixing nitrogen in the soil, which benefits your plants in the spring. Plus, they create a habitat for beneficial insects, helping your garden ecosystem flourish. So, consider adding a few cover crops to your fall routine. Your soil will thank you come spring!

4. Flower Garden Cleanup
4.1 Perennial Care
When it comes to perennials, opinions vary on whether to cut them back in the fall. Some gardeners prefer to leave them standing for winter interest and wildlife benefits. Others argue that cutting back helps prevent pests and diseases.
If you choose to cut, trim back spent foliage and remove any dead stems. But don’t go overboard! Leave some seed heads for hungry birds and beneficial insects. And remember, a little clutter can provide shelter for overwintering pollinators.
Cleanup is simple. Rake out the leaves and debris from perennial beds, but consider leaving some organic material to protect roots from frost. This helps insulate and even enriches the soil as it breaks down.

4.2 Annuals and Seed Saving
Now, let’s tackle the annuals. As the season wraps up, it’s time to remove any fading annuals. But wait—don’t toss everything! If you have annuals that you love, consider saving seeds for next year. Just shake them over the ground to encourage volunteer plants for next season.
For those that won’t be returning, pull them up and compost the healthy ones. Just remember, diseased plants go straight to the trash. And if you’ve got plants like cosmos or calendula, they may reseed themselves naturally, adding a lovely surprise to your garden next year.
So, as you clean, think ahead. Saving seeds and allowing some plants to reseed not only brings joy but also keeps your garden evolving. Happy cleaning!

5. Container Gardens Cleanup
5.1 Emptying and Cleaning Containers
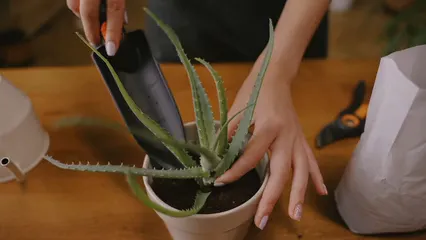
Fall is the time to show your containers some love! Start by emptying out all your pots. This helps prevent pests from nesting in leftover soil. Grab a garden cart and make this a fun task!
After emptying, it’s cleaning time. Use soapy water to scrub down your containers. This removes any lingering dirt and prevents the spread of diseases. Rinse thoroughly and let them dry completely.
For terracotta pots, consider storing them upside down to avoid freezing damage. If you’re in a cooler climate, store non-frost-proof containers indoors. Don’t forget to keep any remaining soil! You can mix it with fresh potting mix in spring to give your plants a nutritious boost.
Now, let’s prepare for spring planting! Before the snow falls, think about what you want to grow next year. Make notes about which plants worked well and what you might want to try. This is also a great time to gather any bulbs you want to force indoors.
By cleaning and preparing your containers, you set the stage for a bountiful spring garden. Plus, you’ll have a head start on your gardening goals!
5.2 Protecting Tender Plants
As the temperatures drop, take steps to protect your tender plants and bulbs. For potted plants, bring them indoors if possible. They’ll appreciate the warmth and light! If indoor space is limited, consider grouping pots together outside and covering them with frost cloth for added protection.
For tender bulbs like dahlias and gladiolus, wait until after the first frost to dig them up. Clean off the dirt, let them dry, and store them in a cool, dry place. Check them regularly for mold or rot.
If you have tender perennials, create a protective layer over them. Use mulch or straw to insulate their roots. Avoid using leaves as they can mat down and smother the plants.
Consider wrapping the base of young trees and shrubs with burlap to shield them from cold winds and hungry critters. With a little extra care, your tender plants will survive the winter, ready to flourish in the spring!
6. Preparing New Garden Beds
6.1 Lasagna Gardening Method
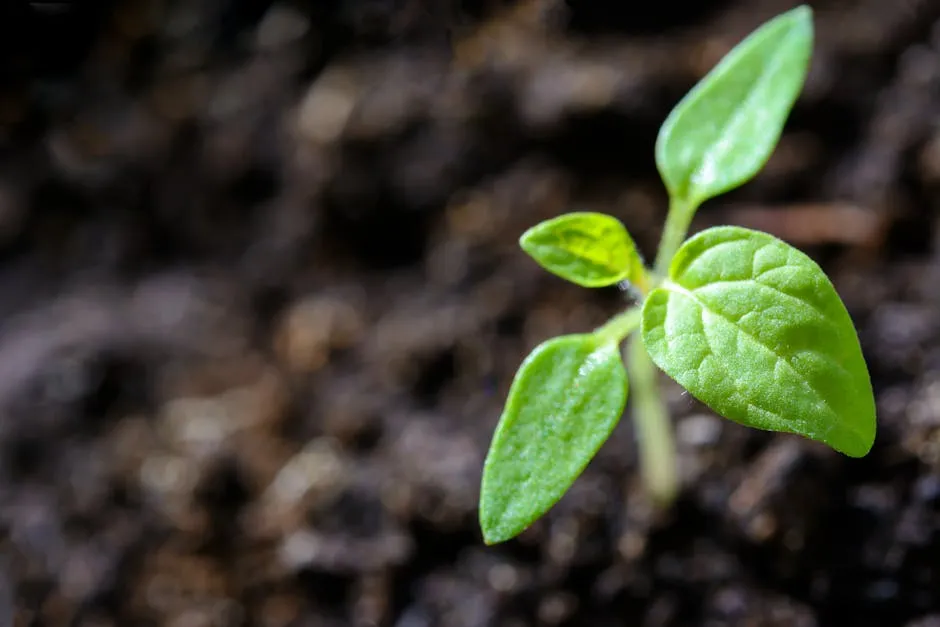
If you’re looking to create new garden beds, the lasagna gardening method is a fantastic option! This technique layers organic materials to build rich, nutritious soil without tilling.
Start by staking out your new garden bed area. Mow down any grass or weeds as low as possible. Next, layer down cardboard or newspaper to suppress future weeds. This will also help retain moisture.
Now, it’s time to add your organic materials. Alternate layers of green materials like kitchen scraps with brown materials like leaves and straw. Aim for a thickness of about 2-3 inches for each layer.
Once you’ve built your layers, water thoroughly to help the materials begin breaking down. If no rain is on the horizon, give your bed a good soak.
In spring, simply till the area lightly and rake it smooth. You’ll have a lovely new garden bed ready for planting! This method not only enriches the soil but also reduces the need for weeding and tilling in the future. It’s a win-win for gardeners!
7. Protecting Trees and Shrubs
7.1 Watering and Mulching
As winter approaches, your newly planted trees and shrubs need a drink! Water them deeply before the ground freezes. This hydration is crucial. It helps roots establish and prepares them for harsh winter conditions. Think of it as giving them a cozy blanket of moisture.
Mulching is another essential step. A thick layer of mulch around the base of your trees and shrubs acts as an insulator. It keeps the soil temperature stable and protects the roots from freezing. Plus, it retains moisture! Organic mulches, like wood chips or straw, break down over time. They enrich the soil, making your plants even happier. It’s like giving them a multi-vitamin!

7.2 Wildlife Protection
Ah, wildlife, our garden’s adorable little thieves! Protecting young trees and shrubs from critters is crucial. Wrap tree trunks with burlap or use wire hardware cloth to create a barrier. This keeps rabbits and deer at bay. Trust me, your plants will thank you!
Also, consider adding a protective layer of mulch around the base. This not only helps insulate roots but also deters some small animals from digging. If you have evergreens, wrap them loosely in burlap. This protects them from harsh winds and sunscald during winter.
Lastly, don’t forget to clear away any debris around your trees. Piles of leaves or branches can provide cozy hiding spots for pests. Keeping your garden tidy not only looks lovely but also helps your plants thrive. With these tips, your trees and shrubs will be snug and secure through the winter months!

8. Storing Tools and Equipment
As the gardening season winds down, it’s time to give your tools some TLC. Cleaning and storing your garden tools properly can extend their lifespan significantly. A little effort now saves you headaches next spring!
Start by removing dirt and debris from your tools. Use a mixture of water and bleach to disinfect them. This prevents the spread of diseases next season. After cleaning, dry them thoroughly to avoid rust. Nobody likes rusty tools!
Next, oiling is vital. Apply a thin layer of vegetable oil to metal parts. This keeps them from sticking and protects them from moisture. Trust me, your tools will shine like new! Consider investing in a gardening tools set that includes everything you need!
Finally, store your tools in a dry area. A well-organized shed or garage keeps them safe from the elements. Hang them on hooks or place them in bins. This not only protects your tools but also makes them easy to find when spring arrives. With these steps, your tools will be ready to tackle new gardening adventures!

FAQs
When is the best time to start fall garden cleanup?
The ideal time to kick off your fall garden cleanup is after the first killing frost. This signals that most summer plants have finished their life cycle. If you live in a frost-free region, start when you notice your annuals fading or wilting.
Can I leave some plant debris in my garden over winter?
Leaving some plant debris can be a mixed bag. On the pro side, it provides winter shelter for beneficial insects and birds. However, on the con side, it can harbor pests and diseases. If you had issues with pests or diseases, it’s best to clean up thoroughly.
What should I do with diseased plants during cleanup?
Diseased plants should be handled with care. Remove them promptly and dispose of them in the trash—don’t compost! This prevents the spread of disease to healthy plants. Always be vigilant about checking for signs of disease during your cleanup.
How can I prepare my soil for spring during fall cleanup?
To prepare your soil for spring, incorporate organic matter like compost or well-rotted manure into the top few inches. This enriches the soil and improves its structure. It’s a great way to ensure your plants have the nutrients they need when they wake up from their winter slumber.
What are some easy fall gardening projects for beginners?
For beginners, consider simple projects like planting cover crops, creating compost piles, or even starting a small herb garden. You can also save seeds from your favorite plants for next season. These tasks are manageable and provide a great sense of accomplishment as you prepare for the spring!
Please let us know what you think about our content by leaving a comment down below!
Thank you for reading till here 🙂
For more information on enhancing your garden’s health through composting, check out our Guide to composting in small backyard spaces.
All images from Pexels
