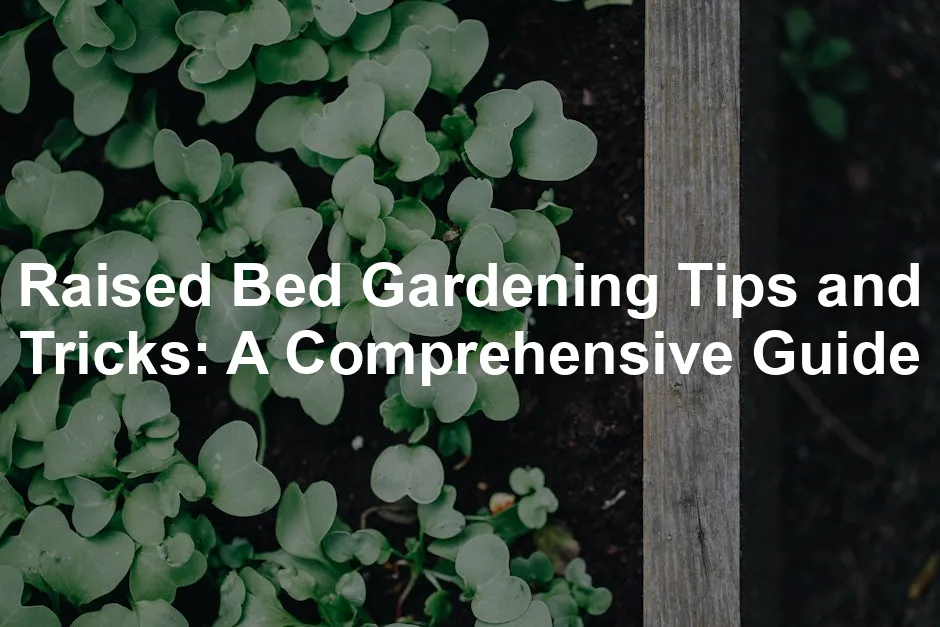
Raised Bed Gardening Tips and Tricks: A Comprehensive Guide
Introduction
Raised bed gardening is gaining traction among home gardeners. This method allows you to create an elevated planting area, improving your gardening experience. It’s like giving your plants a luxurious penthouse suite!
Why the surge in popularity? Well, let’s talk benefits. First, raised beds offer better soil control. You can customize your soil mix to suit your plants. No more fighting with clay or rocky ground! Improved drainage is another plus. The elevated structure prevents waterlogging and root rot, which are the gardening nightmares we all dread.
Accessibility is a game changer too. With raised beds, you won’t be bending over like a pretzel. This makes gardening a breeze for everyone, including those with mobility issues. You can spend more time enjoying your garden and less time in awkward positions! And speaking of comfort, don’t forget to grab a pair of Gardening Gloves with Claws. They make digging and planting a breeze, and your hands will thank you!
The purpose of this article is to provide practical tips and tricks to help you succeed in your raised bed gardening adventure. So, grab your gardening gloves and let’s dig in!
Understanding the Basics of Raised Bed Gardening
What is Raised Bed Gardening?
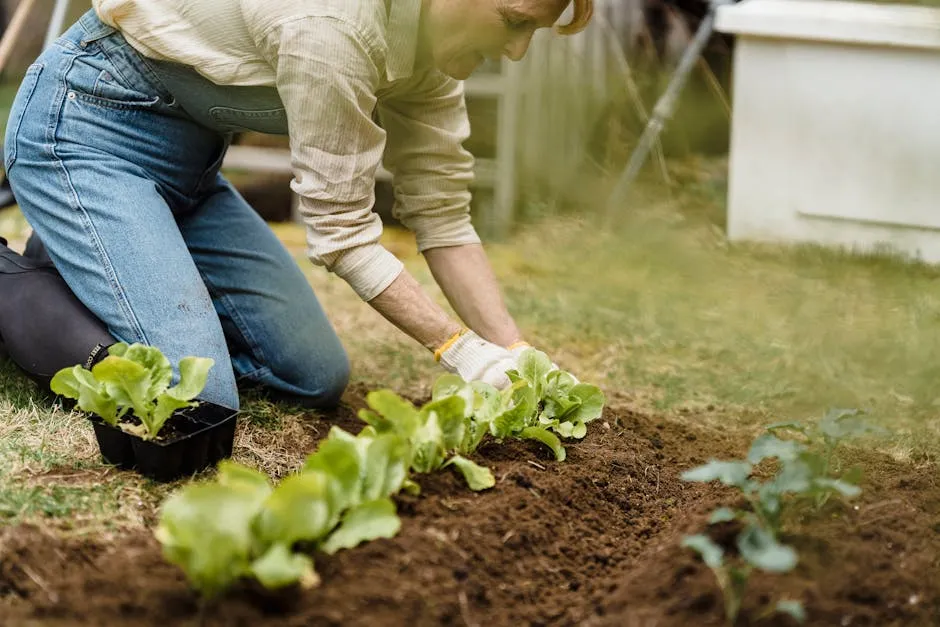
Raised bed gardening involves creating a garden structure elevated above the surrounding soil. Typically, these beds are framed with wood, stone, or other materials. This method has been around for centuries, but it’s recently seen a renaissance among gardeners of all levels.
Historically, raised beds were used to improve growing conditions in areas with challenging soil. Today, they’re beloved for their efficiency and ease of use. And if you’re looking for a comprehensive guide, check out How to Build a Raised Bed Garden by Melinda Myers. It’s packed with everything you need to know!
Benefits of Raised Bed Gardening
So, what makes raised bed gardening such a hit? Let’s break it down:
Soil Control: You have the power to customize your soil mix! Want a loamy paradise? You got it! This control helps ensure your plants get exactly what they need. Want to ensure you’re testing your soil? Grab a Soil Test Kit for Gardens. It’s essential for understanding your garden’s needs!
Pest Management: Raised beds make it easier to monitor pests. You can spot trouble before it starts, reducing pest access to your precious plants. If pests do invade, consider using Pest Control Netting to protect your garden.
Accessibility: Say goodbye to backaches! Raised beds minimize the need for bending and kneeling. Gardeners of all ages can enjoy planting, weeding, and harvesting with ease. And to make it even easier on your knees, consider a Garden Kneeler and Seat. It’s like having a personal assistant for your gardening tasks!
In short, raised bed gardening combines convenience, control, and comfort. It’s a fantastic way to enhance your gardening experience while reaping the rewards of a flourishing garden.
Planning Your Raised Bed Garden
Choosing the Right Location
Selecting the perfect spot for your raised bed garden is crucial. Think of it as choosing the right stage for your gardening performance. Here are some key factors to consider:
Sunlight: Your plants are like sunbathers, soaking up rays. Aim for a location that receives at least 6-8 hours of direct sunlight. Vegetables love sunshine, and without it, they’ll sulk, leaving you with less-than-stellar crops. Place your beds where they’ll bask in the glory of the sun, and you’ll reap the rewards. If you need to start them early, consider a Greenhouse Seedling Starter Kit for that extra boost!
Water Access: Don’t forget about hydration! Proximity to a water source is essential for irrigation. Dragging a hose across your yard every time you water can turn into a chore. Ensure your raised beds are conveniently located near a spigot or a rain barrel. This will make watering a breeze, ensuring your plants stay happy and hydrated. And speaking of rain barrels, consider getting a Rain Barrel for Water Collection. It’s a sustainable way to keep your garden hydrated!
Environmental Factors: Wind can be a sneaky foe in the gardening realm. Look for a spot that offers some protection from strong gusts. A windbreak, like a fence or shrub, can keep your plants from being tossed about. Also, avoid frost pockets—those sneaky low spots where cold air settles. A slightly elevated area can help your plants stay warm and cozy during chilly nights.
Designing Your Raised Beds
Now that you’ve picked the perfect location, it’s time to get creative with your raised bed design. Let’s break down the essentials.
Size and Shape: Common dimensions for raised beds are typically 4×4 feet or 4×8 feet. This size allows you to reach the center comfortably without stepping into the bed. Consider shapes that fit your space. Rectangular beds provide ample planting area, while square ones can be aesthetically pleasing. Don’t hesitate to mix it up with L-shaped or curved designs for a unique touch. To make the process easier, check out a Raised Garden Bed Kit to simplify your setup!
Height Considerations: The height of your raised bed matters! Standard heights range from 12 to 18 inches, but you can go as low as 6 inches for shallow-rooted plants. Taller beds, around 30 inches, are perfect for those who prefer to garden standing up. Plus, they can deter pesky critters like rabbits. Just remember, higher beds require more soil, so plan your budget accordingly! If you’re looking for a good soil mix, consider Raised Bed Garden Soil for optimal growth!
Material Choices: Choosing the right materials is vital for your raised beds. Wood is a popular choice, but be cautious about treated lumber. Look for untreated options like cedar or redwood, which resist rot naturally. If you want a modern twist, consider metal beds. They’re durable and can add a sleek look to your garden. Just avoid anything that might leach harmful chemicals into the soil, like treated railroad ties.
Materials: Recommended Types of Wood and Alternatives
When it comes to constructing your raised bed, choosing the right materials is crucial. Not all woods are created equal, and some can be more harmful than helpful.
Wood Options: Untreated woods like cedar and redwood are the stars of the show. They resist rot and can last for years. However, you might find them a bit pricey. If you’re on a budget, consider using pine. Just know that it won’t last as long—around 5 to 7 years at best. And if you want to keep your tools organized while you work, a Heavy Duty Garden Tool Set might be just what you need!
Treated Wood: Modern pressure-treated wood is safer than its older counterparts. Newer treatments use copper instead of arsenic, which reduces the risk of leaching harmful chemicals. Still, if you’re growing edibles, it’s wise to research before committing.
Alternatives: Don’t limit yourself to just wood! Bricks and stones can add a rustic charm while providing durability. Metal beds are also gaining popularity. They’re sturdy and can last decades. Just be cautious of heat absorption; plants might prefer a little shade from the sun on particularly hot days.
Assembly: Instructions for Building a Sturdy Frame
Building a sturdy frame for your raised bed is easier than you think. Follow these steps to create a solid foundation for your garden.
- Choose Your Dimensions: Decide how big you want your raised bed. A common size is 4 feet by 8 feet. This allows easy access without stepping into the bed.
- Prepare the Site: Clear the area of grass and weeds. Level the ground to prevent water pooling. A flat surface helps your bed drain properly.
- Cut the Wood: Using your selected material, cut the wood to your desired lengths. For a 4×8 bed, you’ll need two 8-foot pieces and two 4-foot pieces.
- Assemble the Frame: Use screws or nails to secure the corners. If you’re using long boards, consider reinforcing the corners with brackets for added strength.
- Add a Bottom Layer: If your bed is on solid ground, you can skip this step. But if it’s on concrete, place landscaping fabric or hardware cloth at the bottom to prevent soil loss and pests.
- Fill with Soil: Now for the fun part! Fill the frame with your soil mix, leaving a little space at the top to accommodate settling. For the best results, consider adding Organic Compost to enrich your soil!
With the frame secure and filled, you’re ready for the next steps in your raised bed gardening journey!

Filling Your Raised Bed
Filling your raised bed with the right soil mix is vital for plant health. Aim for a blend that supports growth and drainage.
Soil Mix: The ideal mix consists of one-third topsoil, one-third compost, and one-third organic matter. This combination provides a nutrient-rich environment while ensuring proper drainage. Avoid using heavy native soil, as it may compact and hinder root growth.
Hugelkultur Method: Looking for a unique twist? Try the Hugelkultur method! This technique involves layering decomposing wood at the bottom of your raised bed. As the wood breaks down, it retains moisture and provides nutrients, creating a thriving ecosystem for your plants. Plus, it reduces the need for frequent watering, making your gardening life a tad easier. If you’re interested in learning more about innovative gardening techniques, check out Organic Gardening: A Beginner’s Guide.
For more in-depth information on raised bed gardening techniques, check out these raised bed gardening tips and tricks.

Maintaining Your Raised Bed Garden
Watering and Irrigation
Watering is key to a thriving raised bed garden. But how often should you water? Here’s the scoop!
Best Practices for Watering: Deep watering is often better than frequent light watering. Why? Deep watering encourages roots to grow deep into the soil, making them more resilient. Aim for a good soak once or twice a week. Check your soil; if it’s dry an inch down, it’s time to water.
Now, let’s talk about watering methods.
Irrigation Systems: Drip irrigation is a fantastic option. It delivers water directly to the roots, minimizing evaporation. It’s like a spa day for your plants! Alternatively, soaker hoses allow for a slower, more gentle soak. Lay them in your beds, turn on the water, and watch your plants thrive. If you’re looking for a great kit, try a Drip Irrigation Kit for hassle-free watering!

Fertilizing and Mulching
Importance of Composting: Composting is the secret sauce for healthy soil. Adding compost enriches your soil over time, providing nutrients your plants crave. Think of it as a buffet for your plants! You can top-dress your beds with a 1-2 inch layer of compost each season. This boosts soil health and helps retain moisture. If you’re looking for a good composting system, check out a Compost Bin for easy composting!
Types of Mulch: Mulch isn’t just for looks; it’s a garden superhero! Organic mulch, like shredded leaves or straw, breaks down over time, enriching your soil while suppressing weeds. Inorganic options, like plastic or rubber mulch, can help retain moisture and keep weeds at bay, but they won’t feed your soil. Choose what suits your garden’s needs best!
With these watering, irrigation, fertilizing, and mulching tips, you’re well on your way to maintaining a healthy and productive raised bed garden. Happy gardening!

Seasonal Care and Harvesting
Preparing for Seasonal Changes
Winterizing your raised beds is essential for plant survival during colder months. Start by cutting back perennial plants and removing any decaying foliage. This prevents pests from overwintering in your garden. Add a thick layer of mulch to insulate the soil and protect roots from freezing temperatures. Covering your beds with a frost cloth can also shield your plants from harsh winds and frosts.
As spring approaches, it’s time to prepare for new growth. Begin by removing any remaining mulch and debris from winter. Check for any signs of pests or diseases that may have taken hold during the colder months. Loosen the soil and amend it with fresh compost, ensuring your plants have all the nutrients they need to thrive. This is a great time to plan your planting schedule, considering which crops you want to grow this season. If you’re considering starting from seeds, don’t forget to use Seed Starter Trays to give your plants a head start!

Harvesting Techniques
Knowing when to harvest your crops is crucial for optimal flavor and yield. For leafy greens, harvest them when they reach about 4-6 inches tall, cutting outer leaves first to encourage continuous growth. Root vegetables like carrots and beets can be harvested once they reach the desired size, usually around 1-2 inches in diameter. Timing can vary, so keep an eye on your plants; they’ll often tell you when they’re ready.
To maximize your yields, consider staggered planting. This technique involves planting seeds at intervals. This way, you can enjoy a continual harvest throughout the growing season. Additionally, using row covers can help extend your harvest periods by protecting crops from harsh weather and pests. For effective pest control, you might want to try Organic Pest Control Spray to keep those critters at bay!
By following these seasonal care and harvesting techniques, you’ll find that your raised bed garden not only thrives but also rewards you with bountiful produce. Happy gardening!

Conclusion
Raised bed gardening offers numerous advantages, from improved soil control to better pest management. By following best practices, you can create a thriving garden that brings joy and nourishment. Incorporating seasonal care, proper harvesting techniques, and thoughtful planning ensures your efforts yield fruitful results.
Ready to start your own raised bed garden? With the tips shared in this guide, you’re equipped to make it a success. Don’t forget to share your experiences or post questions in the comments. Let’s cultivate a vibrant gardening community together! And as you embark on this journey, consider documenting your progress with a Garden Journal. It’s a great way to track your successes and learn from your challenges!
FAQs
How deep should my raised bed be?
For most vegetables, 12-18 inches is ideal. Root crops like carrots may need deeper beds.
Can I use treated wood for my raised beds?
Modern treated wood is safer than older types. Research the treatment used before making a decision.
What should I do about drainage?
Ensure proper drainage by placing gravel or coarse sand at the bottom of your bed.
What are the best plants for beginners?
Herbs, lettuce, and radishes are easy options for first-time gardeners.
How often should I water my raised bed garden?
Water deeply but less frequently, ideally once or twice a week, depending on weather conditions.
Please let us know what you think about our content by leaving a comment down below!
Thank you for reading till here 🙂
All images from Pexels
