
How to Successfully Grow Heirloom Tomatoes from Seed for Beginners
Introduction
Growing heirloom tomatoes from seed is among the most delightful gardening endeavors a novice can embrace. These vibrant, flavorful fruits not only elevate your kitchen creations but also offer a taste of history. Did you know that heirloom tomatoes come from seeds passed down through generations? That’s right! Growing them connects you to a rich tapestry of gardening traditions. This guide will walk you through the essential steps to cultivate your very own heirloom tomatoes. With a little patience, you’ll be on your way to impressing family and friends with your delicious homegrown produce. Imagine creating a mouthwatering caprese salad or a savory tomato sauce bursting with flavor. Starting heirloom tomatoes can be a bit overwhelming, but fear not! Whether you’re a seasoned gardener or just beginning, our tips will help you navigate the journey. We’ll cover everything from selecting the right heirloom varieties to soil preparation and planting techniques. You’ll learn about the best practices for nurturing your seeds, ensuring they thrive and produce a bountiful harvest. Plus, we’ll share insights on how to troubleshoot common issues and when to expect your first ripe tomatoes. So, grab your gardening gloves, and let’s dig into the dirt—your heirloom tomato adventure is about to take root!
Summary
Growing heirloom tomatoes from seed is a gratifying venture, blending patience, knowledge, and a passion for gardening. This comprehensive guide will equip you with everything you need to know, from understanding heirloom varieties to specifics about soil preparation and planting techniques. First, you’ll learn about what makes heirloom tomatoes unique and why they are popular among gardeners and chefs alike. Understanding the difference between determinate and indeterminate varieties will help you choose the right type for your climate and culinary needs. Next, timing is vital! Discover the best time to start your seeds indoors and when to transplant them outside. Knowing your local frost dates will be crucial for ensuring your plants flourish without frost damage. Gathering essential supplies is the next step. You’ll need seed trays, seed-starting mix, and containers for your seedlings. Learn how to create optimal conditions for germination, including maintaining humidity and warmth. When it comes to planting techniques, we’ll provide step-by-step instructions for planting heirloom tomato seeds. You’ll learn about optimal planting depth, watering practices, and the significance of light exposure for healthy seedlings. Caring for your heirloom tomato plants is essential too. Understand the necessary maintenance, including watering, fertilization, and pest management. We’ll help you identify common problems such as blossom end rot and blight. Finally, we’ll guide you through the harvesting process. Get tips on when to pick your heirloom tomatoes for the best flavor and enjoyment. With these insights, you’ll be ready to embark on your heirloom tomato-growing journey, leading to a rewarding and delicious harvest!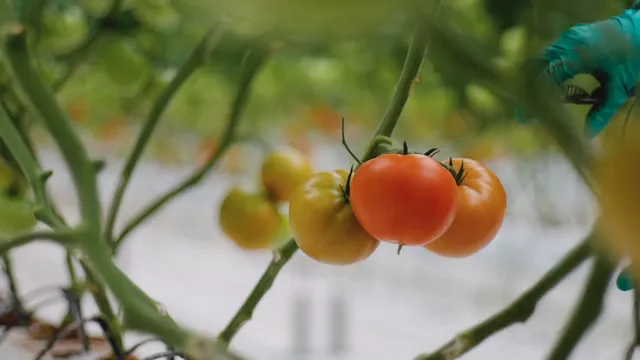
4. Planting Techniques
Planting heirloom tomato seeds is thrilling! Here’s how to do it right. First, gather your supplies. You’ll need seed trays, quality seed-starting mix, and water. Start by preparing your seed trays. Fill them with the seed-starting mix, pressing it down gently. Keep it airy—not too compact. Now, it’s time to plant! Place each seed about half an inch deep in the soil. Cover them lightly, then give them a gentle sprinkle of water. Remember, tomatoes like moisture but hate soggy conditions. Humidity is key during germination. Cover your trays with a clear plastic lid or a plastic bag. This creates a mini-greenhouse effect, trapping warmth and moisture. Place your trays in a warm spot, ideally between 70°F and 80°F. After about 7 to 14 days, you should see those tiny green shoots popping up! Once they do, remove the cover. Now, give your seedlings plenty of light. If you lack sunny windows, consider using grow lights. Aim for at least 14 hours of light a day. Rotate your trays every few days to ensure all sides get equal light. This helps your plants grow sturdy and straight.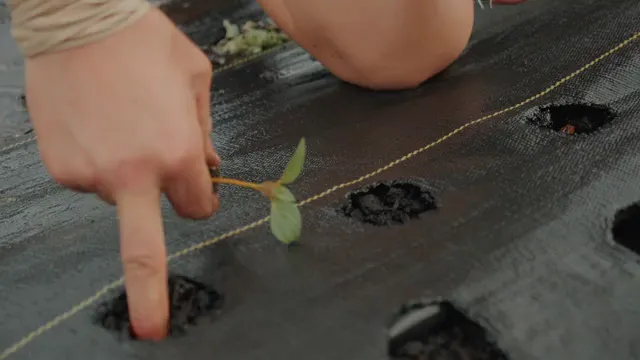
5. Care and Maintenance
Caring for your heirloom seedlings is crucial for a fruitful harvest. Start with watering. Keep the soil moist but not drenched. Water them deeply 1-2 times a week, allowing the top layer to dry out between waterings. Next, let’s talk fertilization. After your seedlings develop their first set of true leaves, you can begin feeding them. Use a diluted, balanced organic fertilizer every two weeks. This gives your plants the nutrients they need to thrive. Pest management is also vital. Keep an eye out for common nuisances like aphids and spider mites. Organic options like neem oil or insecticidal soap can help. Watch for common problems like blossom end rot and blight. Blossom end rot shows as dark spots on the bottoms of tomatoes, often due to inconsistent watering. Maintaining a steady watering routine helps prevent this. Blight, a fungal disease, causes yellowing leaves and wilting. If you spot it, remove infected leaves immediately and ensure good airflow around your plants.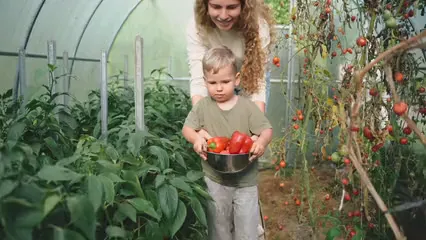
6. Harvesting
Harvesting heirloom tomatoes is the most rewarding part! But when should you pick them? The best time is when they show full color and feel slightly soft to the touch. Gently twist or cut the fruit from the vine. Avoid pulling, as this can damage the plant. For the sweetest flavor, let them ripen fully on the vine. After harvesting, store your tomatoes at room temperature, away from direct sunlight. Enjoy them fresh in salads or sauces, and savor the taste of your hard work. With these tips, you’re ready to grow heirloom tomatoes like a pro. Happy gardening!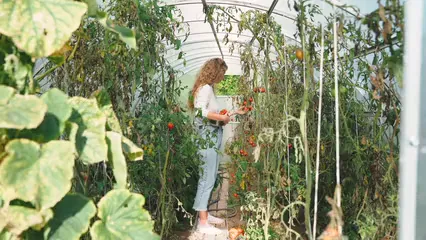
3. Essential Supplies for Seed Starting
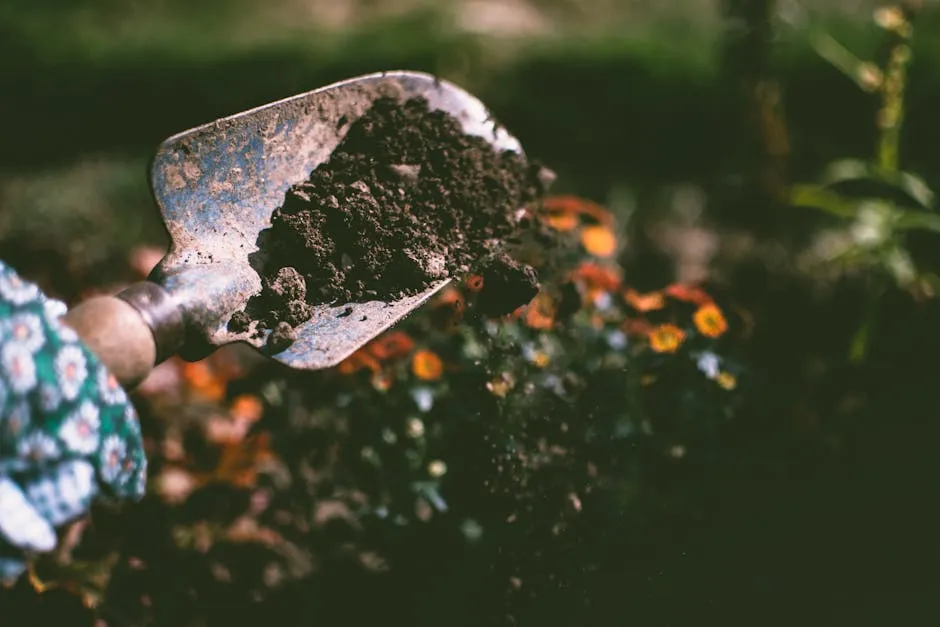
When starting heirloom tomatoes from seed, having the right supplies is crucial. Here’s what you need to kick off your gardening adventure! Seed Starting Supplies First up are the containers. Seed trays, peat pots, or even recycled options like yogurt cups work wonders! Just ensure they have drainage holes. Your seeds will thank you for not drowning them. If you’re feeling creative, use those takeout containers—perfect for a mini greenhouse! Next, let’s talk soil. You must use a quality seed-starting mix. This special blend is lighter than regular garden soil, allowing roots to breathe easily. Avoid using heavy garden soil that can suffocate those little seedlings. A good mix should contain peat moss, perlite, and vermiculite for optimal drainage and moisture retention.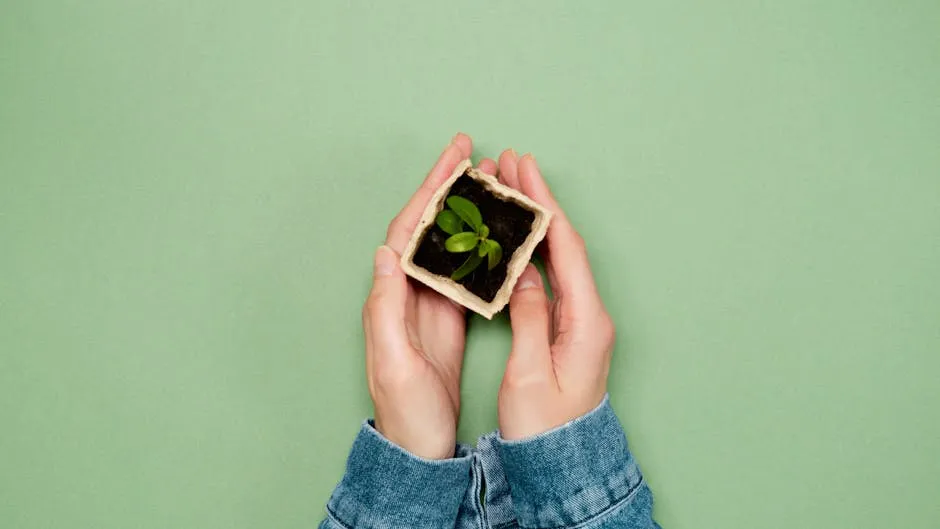
4. Planting Heirloom Tomatoes from Seed
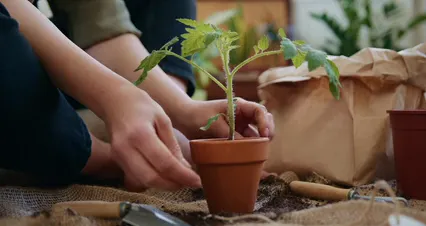
Planting heirloom tomatoes from seed is an exciting process! Let’s break it down step by step. Step-by-Step Planting Instructions First, prepare your containers. Fill them with your quality seed-starting mix, leaving about half an inch of space at the top. Press down lightly to eliminate air pockets—your seeds need contact with the soil. Now, it’s time to plant! Make small holes about half an inch deep in the soil. Place one or two seeds in each hole, then cover them with the mix. A light sprinkle of water is all they need. Remember, tomatoes prefer moisture but dislike soggy conditions. Next, maintain humidity. Cover your trays with a clear plastic lid or plastic wrap. This mini greenhouse effect traps warmth and moisture. Place your trays in a warm spot, ideally between 70°F and 80°F. After 7 to 14 days, you’ll see those adorable green seedlings popping up! Once they emerge, remove the cover to prevent mold.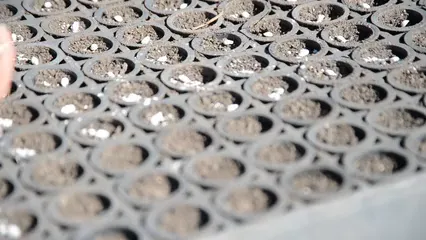
5. Caring for Your Heirloom Tomato Seedlings
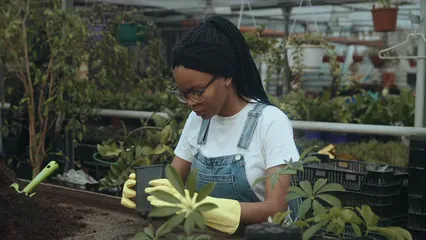
Caring for your heirloom tomato seedlings is vital for a thriving harvest! Let’s discuss how to keep them healthy and happy. Watering Practices Watering is essential. Aim for consistency. Water your seedlings about 1-2 times a week, depending on moisture levels. The soil should feel moist but not soggy. A good rule of thumb is to allow the top inch of soil to dry out between waterings. Overwatering can lead to root rot, and nobody wants that! Fertilization Once your seedlings develop their first set of true leaves, it’s time to fertilize. Use a diluted balanced fertilizer every two weeks. Look for organic options to provide your plants with essential nutrients. This helps them grow strong and healthy. Pest and Disease Management Keep an eye out for pesky pests! Common issues include aphids and spider mites. If you spot them, don’t panic. Use organic solutions like neem oil or insecticidal soap. These natural remedies are effective and safe for your plants. Be vigilant about diseases too. Blossom end rot shows as dark spots on the bottoms of tomatoes, often due to inconsistent watering. Regular moisture helps prevent this issue. Blight can be another concern, causing yellowing leaves and wilting. If you see it, remove infected leaves immediately. Ensuring good airflow around your plants can help combat this disease.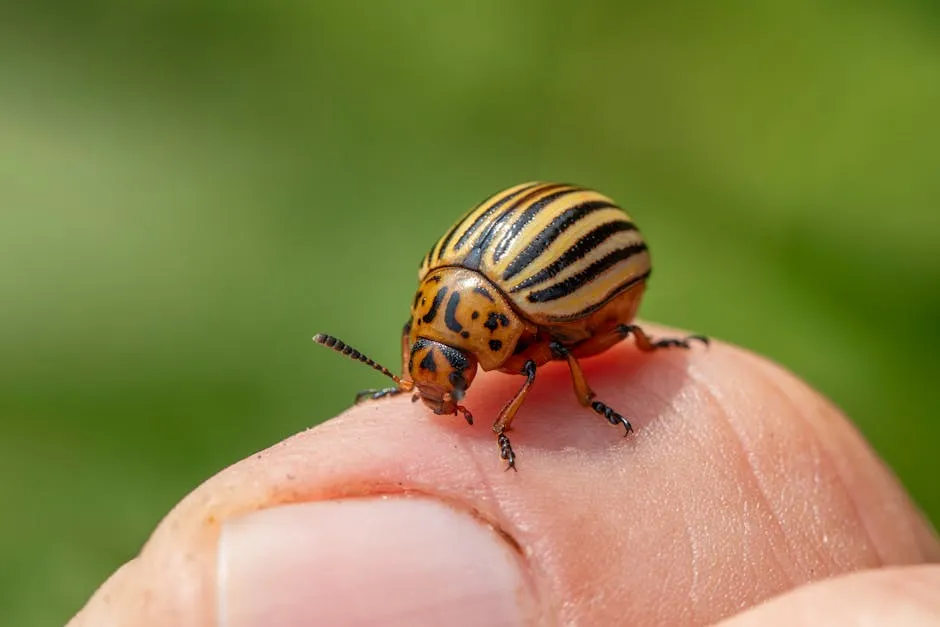
6. Transplanting and Maintenance
When to Transplant Timing is everything when transplanting heirloom tomato seedlings. Wait until the seedlings are about 5-6 inches tall and have a good set of true leaves. This typically happens around 5-7 weeks after germination. Before you uproot them, ensure nighttime temperatures consistently stay above 50°F. If frost threatens, hold off a bit longer; tomatoes aren’t fans of chilly weather! Another sign your seedlings are ready? They’ll be a bit root-bound, meaning their roots are starting to fill their containers. Don’t worry! This is perfectly normal. Just remember, a little root crowding is okay, but too much can cause stress.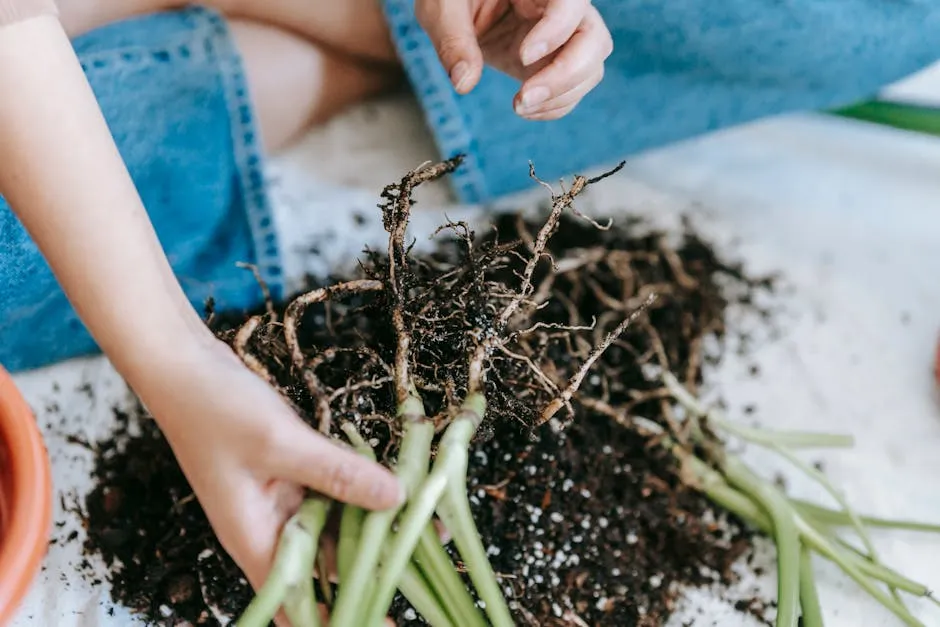
7. Harvesting Your Heirloom Tomatoes
When to Harvest Harvest time is the moment every tomato gardener eagerly anticipates! Knowing when to pick your heirloom tomatoes is key to enjoying peak flavor. The best time to harvest is when the tomatoes are fully colored and slightly soft to the touch. The specific color depends on the variety—some are deep red, while others may be yellow, purple, or even striped.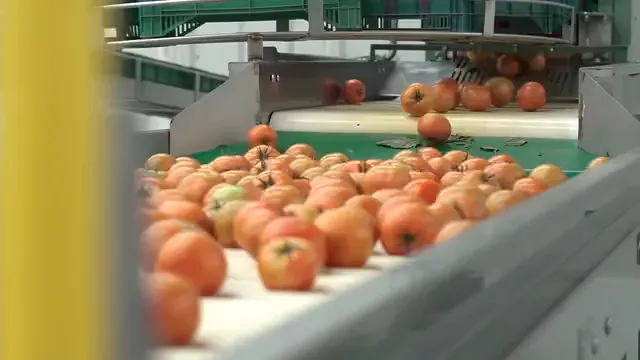
FAQs
Heirloom tomatoes are old-fashioned varieties, cherished for their exceptional flavor and rich history. Unlike hybrid tomatoes, heirloom varieties are open-pollinated, meaning they can be saved and replanted year after year. This delightful genetic diversity offers a range of shapes, colors, and tastes. They’re often more nutritious and flavorful than their commercial counterparts. Plus, growing them connects you to gardening traditions that span generations! Learn more about growing heirloom tomatoes from seed.What are heirloom tomatoes?
Heirloom tomatoes are old-fashioned varieties, cherished for their exceptional flavor and rich history. Unlike hybrid tomatoes, heirloom varieties are open-pollinated, meaning they can be saved and replanted year after year. This delightful genetic diversity offers a range of shapes, colors, and tastes. They’re often more nutritious and flavorful than their commercial counterparts. Plus, growing them connects you to gardening traditions that span generations!
How do I know when to plant my seeds?
Timing is crucial! First, determine your last frost date. This date varies by region, so check with local gardening resources or use online tools. Once you have that date, count backward about 6 to 8 weeks. This is when you should start your seeds indoors. For example, if your last frost is around May 15, begin sowing seeds between March 22 and April 5. You can then transplant them outdoors two weeks after the last frost.
Can I grow heirloom tomatoes in containers?
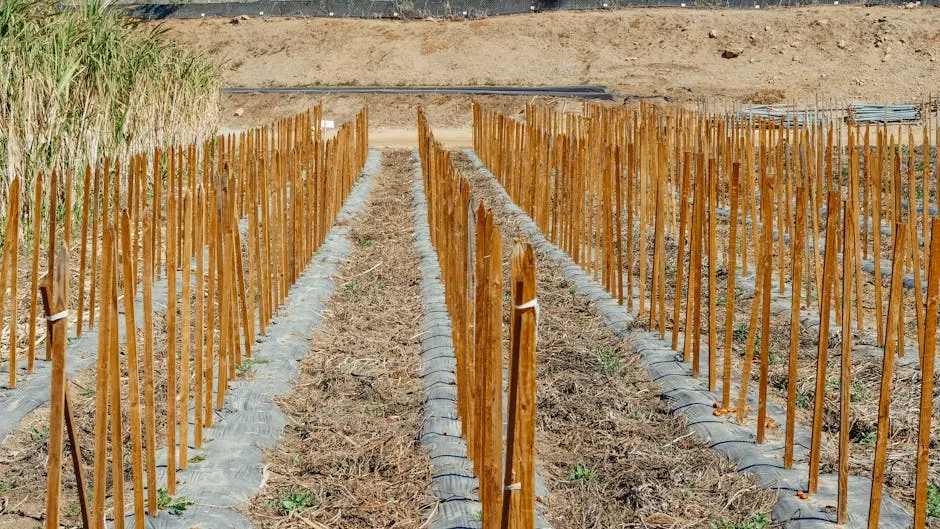
Absolutely! Heirloom tomatoes thrive in containers, making them perfect for small spaces or patios. Choose a container that’s at least 5 gallons for each plant. Use a quality potting mix and ensure proper drainage. Indeterminate varieties will need stakes or cages for support, while determinate types are bushier and require less vertical space. Container gardening can yield a bountiful harvest if you keep up with watering and feeding! Explore container gardening ideas for small spaces.
What pests should I watch for?
Common pests include aphids, whiteflies, and tomato hornworms. Keep an eye out for these little critters! You can manage them organically using neem oil, insecticidal soap, or even handpicking them off your plants. Encourage beneficial insects, like ladybugs, that feast on pests. Regularly inspect your plants to catch infestations early and maintain the health of your heirloom tomatoes.
How can I save seeds from my heirloom tomatoes?
Saving seeds is straightforward! First, choose ripe tomatoes and scoop the seeds from them. Rinse the seeds to remove any pulp and place them on a plate to dry for about a week. Once dry, store the seeds in a labeled brown paper envelope or a glass jar in a cool, dark place. Remember to note the variety and date—this way, you’ll be excited for next season’s planting!
All images from Pexels
