

How to Cultivate Beautiful Orchids for Indoor Gardening
Introduction
Orchids—those exotic beauties that seem to thrive in luxurious tropical paradises—might feel intimidating to the average indoor gardener. But fear not! With the right information and a bit of patience, you can cultivate these stunning plants right in your living room. Forget the old myths that orchids are high-maintenance; they can be surprisingly easy to care for. Picture vibrant flowers gracing your windowsill and filling your space with delightful fragrances. This guide will unlock the secrets to nurturing beautiful orchids, ensuring your indoor garden blooms with color and charm. So, roll up your sleeves and let’s dive into the world of orchids!
To get started, make sure you have the right tools. A Watering Can with Measurement will help you keep track of how much hydration your beauties are getting. Trust me, your orchids will appreciate the precision!
Summary of Key Points
In this guide, we will explore everything you need to know about growing beautiful orchids indoors, from selecting the right species to providing ideal care conditions. We’ll cover the most suitable types of orchids for beginners, such as Phalaenopsis and Dendrobium, along with tips on where to place them in your home for optimal light. You’ll learn about the critical elements of orchid care, including watering techniques, humidity levels, and fertilization schedules.
Understanding the importance of light is crucial. Orchids thrive in bright, indirect sunlight, so placing them near east or west-facing windows is ideal. You will discover the best watering practices—ensuring your orchids don’t suffer from overwatering or underwatering. Maintaining humidity levels is also vital, as orchids love a bit of moisture in the air.
Additionally, we’ll discuss common problems you might encounter, such as yellowing leaves or droopy stems, and how to encourage reblooming, making sure your orchids continue to flourish year after year. By the end of this article, you’ll feel confident and ready to create your own indoor orchid sanctuary, making your home a vibrant oasis. Happy gardening!

Choosing the Right Orchid
When it comes to growing orchids indoors, choosing the right type is crucial. Orchids can seem like the divas of the plant world, but some are just as friendly as that neighbor who always shares cookies. Let’s break down the top contenders for your indoor garden.
Types of Orchids
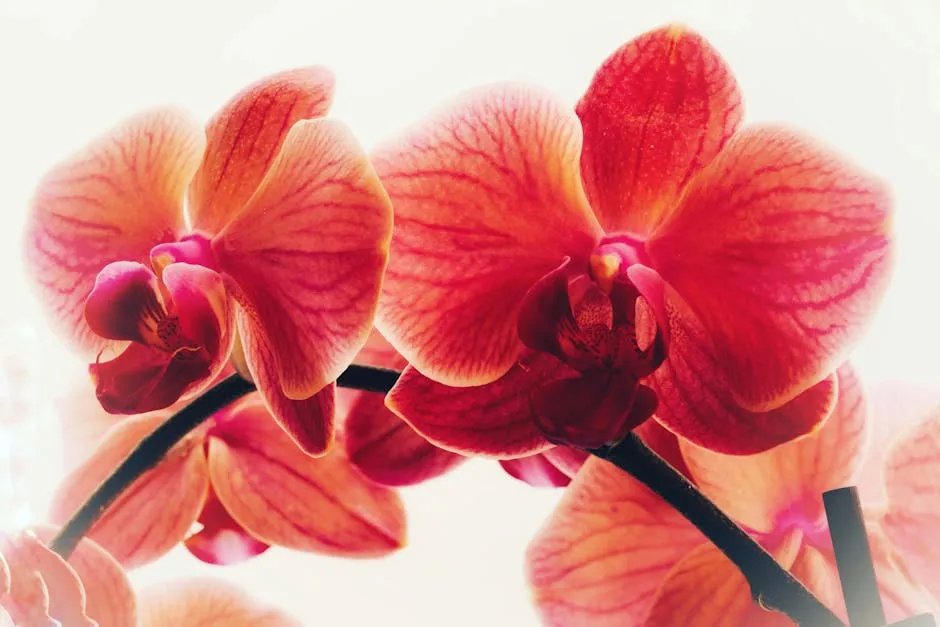
– Phalaenopsis (Moth Orchids): These are the rock stars of the orchid world! Phalaenopsis orchids are incredibly easy to grow and are often the first choice for beginners. They produce long-lasting blooms that can light up your space for months. With their stunning array of colors, they can match any decor. Just remember, they thrive in medium to bright light and love a good drink every week or so.
– Dendrobium: If you’re looking for a showstopper, Dendrobium orchids are known for their flashy flowers. They come in many varieties, boasting vibrant colors and unique shapes. However, they do require a touch more light than their Phalaenopsis cousins. So, if you have a sunny window, this orchid will be happy to take up residence.
– Cymbidium: For those who like a little challenge, Cymbidium orchids are your go-to. They enjoy cooler temperatures and can even be placed outside during the warmer months! Their beautiful, large blooms can be quite rewarding—like finding a twenty-dollar bill in an old coat pocket.
To keep your orchids thriving, consider using a quality Orchid Potting Mix. This specialized mix offers the perfect drainage and aeration, ensuring your orchid roots are happy and healthy!

How to Select Healthy Orchids
Now that we’ve narrowed down the types, let’s talk about how to pick a healthy orchid. First, inspect the roots. Healthy roots are firm and bright green or white. If they look brown and mushy, it’s a sign of overwatering—definitely not a good sign!
Next, check the leaves. Bright, stiff leaves indicate a happy plant. If the leaves are floppy or discolored, you might want to steer clear. Finally, look for orchids with buds just starting to open. This way, you’ll get to enjoy the blooming process for longer—think of it as the gift that keeps on giving.
By choosing the right type and selecting a healthy specimen, you’ll be well on your way to becoming an orchid whisperer. Happy planting!
Ideal Growing Conditions
Creating the perfect environment for your orchids is like setting the stage for a show—everything needs to be just right for those blooms to shine. Let’s break down the essential elements of orchid care: light, temperature, humidity, and potting medium.
Light Requirements
Orchids are light-loving plants, but they prefer bright, indirect light. Think of it as the difference between basking in the sun and hiding under a beach umbrella. Place your orchids near east or west-facing windows for optimal exposure. If the leaves turn yellow, it’s a sign they’re getting too much sun. On the other hand, dark green leaves may indicate they need a little more light.

Temperature and Humidity
Different orchids have varying temperature preferences. Most thrive in temperatures between 65°F and 80°F during the day, with a slight drop at night. For example, Phalaenopsis love warmth, while Cymbidium enjoys cooler conditions.
Humidity is another critical factor. Orchids prefer humidity levels between 40% and 70%. To maintain humidity, you can use Humidity Tray for Plants, mist your orchids, or group them together—like a plant party! This helps create a humid microclimate that orchids adore.

Potting Medium
Using the right potting medium is crucial. Regular potting soil just won’t cut it for orchids. Instead, opt for a special orchid potting mix that includes materials like bark, sphagnum moss, and perlite. This mix allows for proper drainage and aeration, essential for healthy roots. Remember, orchids hate sitting in water, so ensure your pot has drainage holes to keep those roots happy and hydrated!
By providing the right light, temperature, humidity, and potting medium, you’ll create a thriving environment for your orchids. Happy gardening!

Watering Techniques
How Often to Water
Watering orchids is an art. Too much water? You might as well host a root-rot party. Too little? Say goodbye to those gorgeous blooms. The golden rule is to let the potting medium dry out slightly between waterings. Check the top inch—if it feels dry, it’s time to water.
Signs of overwatering include yellowing leaves and mushy roots. If your plant looks like it’s auditioning for a sad plant movie, you might want to ease up on the watering. Conversely, underwatering shows up as wrinkled leaves and droopy stems. If your orchid looks like it just completed a marathon, it’s craving some hydration!
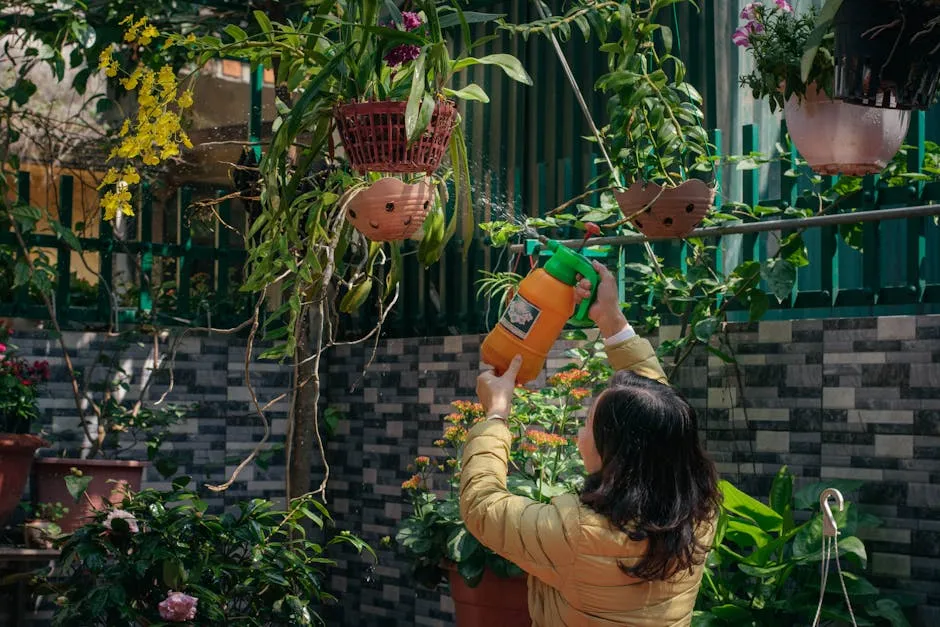
When it comes to techniques, deep watering is your best bet. Submerge the pot in water for 10-15 minutes, letting it soak up moisture. Drain it well to avoid soggy roots. Alternatively, try the ice cube method. Placing a couple of ice cubes on the soil allows for slow, steady hydration. Just don’t make it a daily routine—your orchid isn’t an ice cap!
Water Quality
Water quality? It matters more than you think! Orchids thrive on soft water. Distilled or rainwater is perfect, while tap water can be a mixed bag. Tap water often contains chlorine and other minerals that aren’t exactly plant-friendly. Think of distilled water as a spa day for your orchids—clean, refreshing, and pure.
Using high-quality water not only improves your orchid’s health but also helps prevent white mineral deposits on leaves and pots. Trust us, your orchids will thank you for the upgrade from tap water to something a bit more refined!
Fertilization
When and How to Fertilize
Fertilization timing is critical. During the growing season, which usually runs from spring to early fall, orchids are hungry little beasts. Use a balanced orchid fertilizer—something like a 30-10-10 blend works wonders. Apply it every 2 weeks, but reduce this frequency during the dormant winter months.
Always fertilize when the potting medium is moist, not dry. This helps prevent root burn. Think of it like feeding a toddler—only give them snacks when they’ve had a proper meal first!
Consider using a Orchid Fertilizer 30-10-10 to give your plants the nutrients they crave.

Common Fertilization Mistakes
Over-fertilization can lead to more problems than a soap opera. Signs include brown leaf tips or a general decline in plant health. If your orchid looks like it’s had one too many energy drinks, it’s time to cut back on the fertilizer.
To avoid this pitfall, always follow the recommended dosage on the fertilizer label. And remember, less is more when it comes to your beautiful orchids. Treat them kindly, and they’ll reward you with stunning blooms instead of a dramatic wilt!
Encouraging Reblooming
Factors Influencing Reblooming
Orchids are like divas—they need specific conditions to shine again after their initial show. First off, light is crucial. Orchids thrive in bright, indirect light. If they’re not getting enough, they might just sulk and refuse to bloom. So, give them a cozy spot near an east or west-facing window, ensuring they don’t get scorched by direct sunlight.
Temperature matters, too! Most orchids enjoy a temperature drop at night. This drop mimics their natural environment, signaling the plant that it’s time to prepare for blooming. Aim for a daytime temperature of around 70-80°F, and let it drop to 60-65°F at night. It’s like giving your orchids a gentle nudge to get ready for their next big debut.
After flowering, proper care is essential. Continue to water your orchids correctly—allow the potting mix to dry out slightly between waterings. A little neglect can spark motivation for new blooms!
Consider feeding them with a balanced fertilizer every two weeks during the growing season. This will provide the nutrients they need to produce those stunning flowers once more. Don’t forget to prune old flower spikes after they bloom. Cut just above the node to encourage branching and more blooms.
Troubleshooting Common Issues
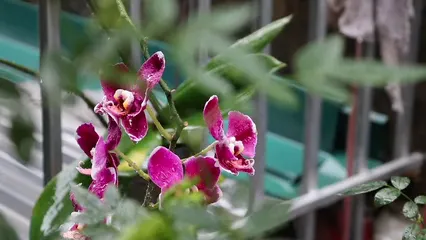
Orchids are like high-maintenance friends; they can have their fair share of issues. One common problem is yellow leaves. If you notice yellowing, it could be too much direct sunlight or insufficient watering. Adjust their location and watering routine accordingly.
Droopy leaves? They might be crying out for more hydration. Check the potting medium; if it feels dry, it’s time for a drink. On the flip side, brown, mushy roots indicate overwatering. If you spot these, hold off on watering until the top inch of the medium is dry.
Root rot is another sneaky issue. It often results from excessive moisture. Ensure your pot has good drainage and that you’re using an appropriate potting medium. If root rot occurs, repot your orchid using fresh mix and trim away any damaged roots.
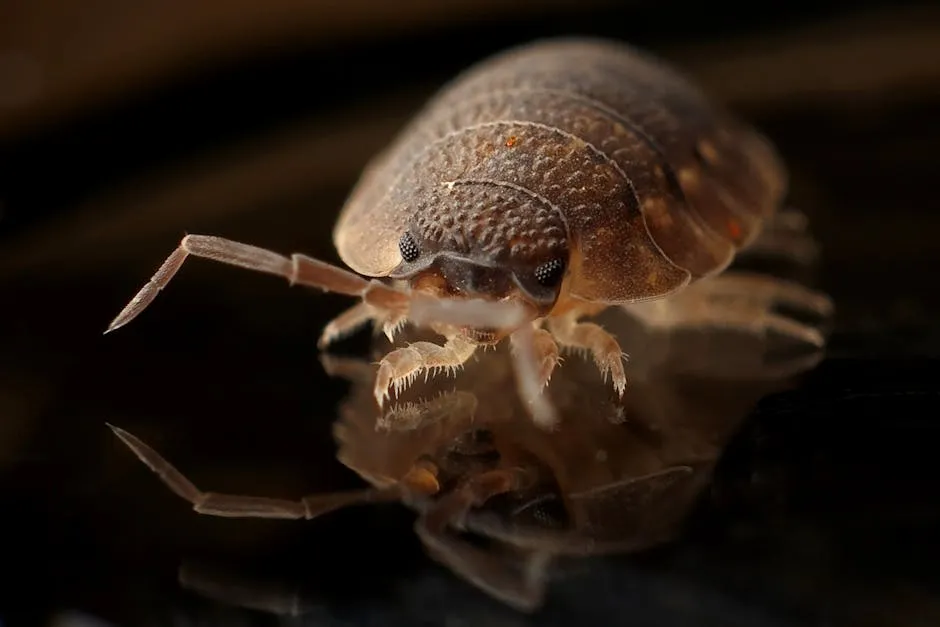
Pests can be a real nuisance too. Scale, mealybugs, and spider mites tend to love orchids. Regularly inspect your plants for these little intruders. If you spot any, treat them promptly with Insecticidal Soap for Plants to keep them in check.
Solutions
Now, let’s tackle these issues with some practical solutions. For yellow leaves, move your orchid to a spot with filtered light. If they’re droopy, adjust your watering schedule—less is more if they’re overwatered.
If you encounter root rot, repot your orchid in a fresh, well-draining mix. Ensure your pot has proper drainage holes to avoid this problem in the future.
For pest management, inspect your orchids regularly. A small Handheld Magnifying Glass can help spot pests early before they become a bigger headache. Treat infestations promptly with a gentle insecticidal soap, following the instructions to avoid harming your precious plant.
By staying proactive and attentive, you’ll keep your orchids thriving. Soon enough, they’ll reward you with their stunning blooms, bringing joy and beauty into your indoor garden.

Conclusion
Cultivating beautiful orchids for indoor gardening can transform your home into an oasis of color and elegance. With the right knowledge and care, these stunning plants can thrive, rewarding you with exquisite blooms that last for months. Remember, patience is key. Embrace the learning process, and soon you’ll find yourself not just growing orchids but flourishing alongside them. For more insights on gardening tips, check out our raised bed gardening tips and tricks.
Consider adding some decorative elements to your indoor garden! A set of Decorative Planters can elevate the aesthetic of your orchid display!
FAQs
How often should I water my orchids?
Watering frequency depends on the type of orchid and environmental conditions. For most orchids, a good rule of thumb is to water every 10 to 14 days. Phalaenopsis orchids enjoy a little more moisture, while Dendrobiums prefer slightly drier conditions. Always check the potting medium—if it feels dry an inch below the surface, it’s time for a drink. Remember, overwatering can lead to root rot, so less is often more!
Can orchids survive in low light?
Yes, but not all orchids thrive in low light. Moth orchids (Phalaenopsis) and slipper orchids (Paphiopedilum) can tolerate lower light levels. Place them near east or west-facing windows to ensure they receive filtered light. If your orchid’s leaves turn dark green, it may not be getting enough light. But don’t despair! With the right conditions, these beauties can flourish even in dim corners.
What should I do if my orchid stops blooming?
If your orchid stops blooming, don’t panic! First, check its light conditions. Make sure it’s getting bright, indirect light. Next, ensure you’re watering correctly—allow the potting medium to dry out slightly between waterings. After the bloom cycle, cut the spike just above a node to encourage new growth. A little patience and proper care can coax those blooms back to life!
Is it true that ice cubes are a good way to water orchids?
Ah, the ice cube debate! Some swear by it, while others raise an eyebrow. Using ice cubes can provide slow, steady moisture, but it’s not the best method for every orchid. It’s better to use room temperature water, especially for tropical varieties. If you do opt for ice cubes, limit it to one or two per week for smaller pots. Just remember, balance is key!
How can I tell if my orchid is healthy?
A healthy orchid displays vibrant, stiff leaves and firm roots. Check the roots—healthy ones should be bright green or white. If they appear brown and mushy, it’s a sign of overwatering. Yellowing leaves may indicate too much light, while wrinkled leaves often mean it’s thirsty. Regular checks can help you catch issues early, keeping your orchid happy and thriving!
Please let us know what you think about our content by leaving a comment down below!
Thank you for reading till here 🙂
All images from Pexels
