![]()
How to Build a Raised Garden Bed with Recycled Materials
Introduction
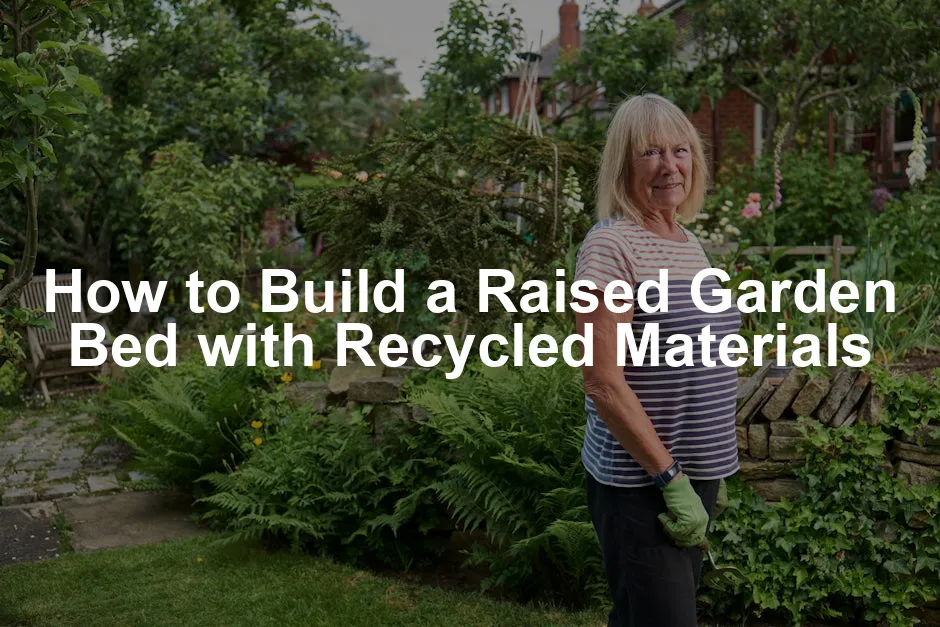
Imagine stepping into your garden and seeing a vibrant raised bed filled with fresh vegetables. Raised garden beds are a fantastic solution for gardeners of all levels. They offer improved drainage, better soil management, and easier access for those with mobility challenges. You can say goodbye to back pain from bending over too much!
Now, here’s the kicker: why spend a fortune on materials when you can use recycled ones? Building a raised garden bed from recycled materials not only helps the environment but also saves you some serious cash. Think about it—your old wooden pallets, discarded bricks, or even a broken dresser can be transformed into a functional and stylish garden bed.
In this guide, we’ll walk you through everything you need to know. From choosing the right materials to exploring various design options, we’ll cover it all. Plus, I’ll provide step-by-step building instructions that even a novice can follow. So, grab your tools and let’s get our hands dirty in the most eco-friendly way possible!
Before you dive into the building, make sure you have the right tools on hand. A good Garden Tools Set can make all the difference. From digging to planting, having the right tools will save you time and effort, letting you focus on what really matters—growing those delicious veggies!

Understanding Raised Garden Beds
What is a Raised Garden Bed?
A raised garden bed is an elevated planting area, typically enclosed by a frame made of wood, stone, or other materials. This structure holds soil above ground level, creating a defined garden space. The height can vary, allowing you to customize it to suit your gardening needs. Whether you want to grow vegetables, herbs, or even ornamental plants, these beds cater to all types of greenery.
Benefits of Raised Garden Beds
Raised garden beds are more than just a pretty face in your garden. They come with a host of benefits. For starters, they improve drainage, preventing waterlogging and root rot. The soil warms up quicker in spring, allowing for an extended growing season.
Plus, gardening becomes easier on your back and knees. No more crouching or bending down! These beds also help keep weeds at bay, making maintenance a breeze. And let’s not forget about aesthetics. They create an organized and attractive garden layout, turning your outdoor space into a stunning showcase of nature’s beauty.
So, whether you’re a seasoned gardener or just starting, raised garden beds offer a practical and appealing way to cultivate your green thumb. And to ensure your plants thrive, consider using a Garden Soil and Compost Mix for the best results!

Choosing Materials for Your Raised Garden Bed
Recycled and Repurposed Materials
Building a raised garden bed using recycled materials is not only eco-friendly, but it adds character to your garden. Here’s a fun list of materials you can use:
- Wooden Pallets: These are abundant and often free! They’re sturdy, but ensure they’re heat-treated and not chemically treated. A little sanding can go a long way to make them splinter-free. For a more polished look, consider using Outdoor Paint for Wood to give them a splash of color!
- Old Furniture: Think about that rusty old dresser or the broken chair. With a bit of creativity, they can become unique garden beds. Just remove any non-plant-friendly elements, like metal parts.
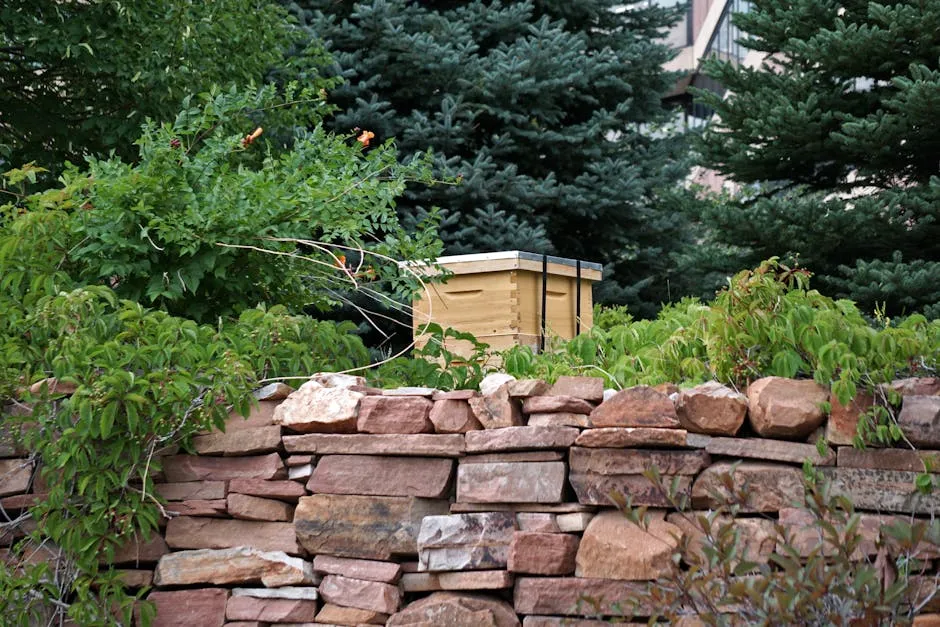
- Bricks: A classic choice! They’re durable and can be arranged in various shapes. Just ensure they’re not from a source that treated them with harmful chemicals.
- Concrete Blocks: These heavyweights are perfect for raised beds. Their hollow centers can be filled with soil or planted with herbs for easy access.
- Reclaimed Wood: Salvaged lumber from old fences or decks can work wonders. Just check for rot and avoid using wood treated with harmful chemicals.
- Old Tires: They can be stacked and painted for a quirky look, but make sure they’re free from toxins if you plan to grow edibles.
- Metal Containers: Old bathtubs or buckets can be repurposed into stylish beds. Just ensure there are drainage holes to prevent waterlogging.
Each material has its pros and cons. For instance, while wooden pallets are readily available, they may require regular maintenance. On the flip side, concrete blocks are durable but can be heavy to move. Always consider safety; avoid treated woods with harmful chemicals for anything you plan to grow food in.

Sourcing Recycled Materials
Now that you know what materials to consider, where do you find them? Here are some creative tips:
- Local Marketplaces: Check out Facebook Marketplace, Craigslist, or Freecycle. Many people give away unwanted items. You might score some great materials for free!
- Construction Sites: If you can, ask builders or contractors if they have leftover materials. Often, they’re happy to let you take scrap wood or bricks off their hands.
- Community Giveaways: Keep an eye on local community boards for giveaways or recycling events. Sometimes, you can find treasures that others want to discard.
- Thrift Stores: Old furniture or wooden items can be great resources. Don’t underestimate an ugly chair—its bones might be perfect for a raised bed!
- Neighbors: Chat with your neighbors. They might have items they’re looking to get rid of or even materials from previous home projects.
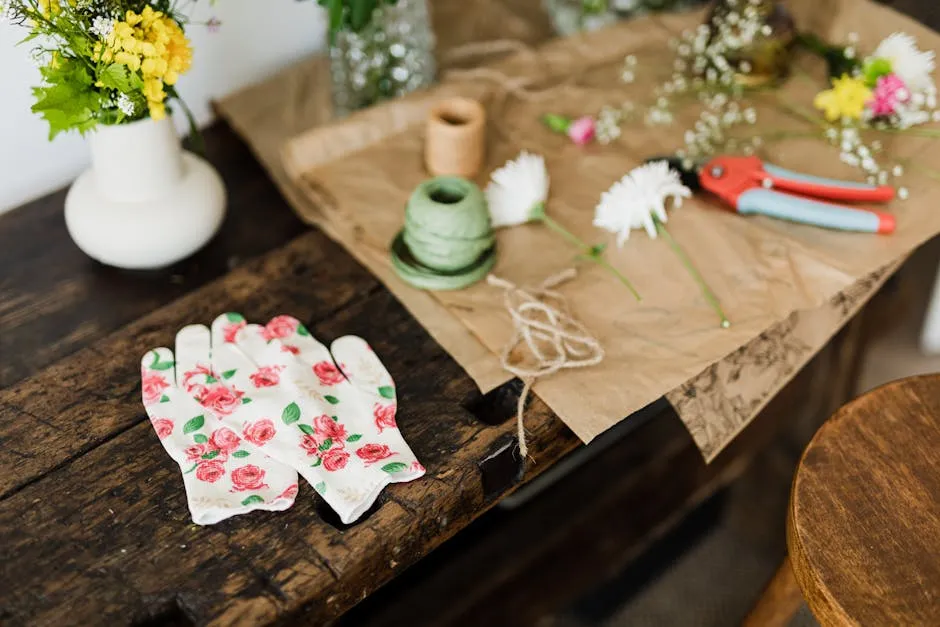
Encourage your inner scavenger! Repurposing items is not only budget-friendly but also a fun adventure. Each piece tells a story, adding personality to your garden. So, grab your gloves, put on your most adventurous hat, and start sourcing those materials. Your future plants will thank you for it!
Speaking of gloves, don’t forget to wear a quality pair while you’re at it. A good pair of Gardening Gloves will protect your hands while you dig, plant, and transform your garden into an oasis!
Step 2: Preparing the Site
Preparing the site for your raised garden bed is crucial. Clear the area of any debris, rocks, or pesky weeds. You want a clean slate for your gardening masterpiece!
Ensure the ground is free-draining. If water tends to pool in your chosen spot, consider adding drainage holes. Digging a few inches deep helps with this. If your soil is too compact, aerating it will improve drainage.
Now, let’s talk about the weed barrier. This is where cardboard or landscape fabric comes into play. Lay down a layer of cardboard to smother existing weeds and grass. It decomposes over time, enriching the soil. Landscape fabric is another option. It keeps weeds at bay while allowing water and nutrients to pass through. Your plants will thank you!
Step 3: Constructing the Bed
Time to get building! First, gather your selected recycled materials. If you’re using wooden pallets, make sure they’re in good shape. Once you have your materials, start assembling.
- Cut Your Materials: Measure and cut your materials to the desired dimensions. For a simple rectangular bed, you’ll want four sides.
- Screw It Together: Use outdoor wood screws to secure the corners. A power drill makes this job a breeze!
- Reinforce If Needed: For larger beds, add vertical support in the corners. This extra support will keep everything sturdy.
- Line the Inside: Line the interior with landscape fabric or cardboard. This helps keep the soil contained and prevents weeds from sneaking in.
- Position the Bed: Once assembled, carefully move your bed into place. Make sure it’s level and in a sunny spot.
Voilà! Your raised garden bed is taking shape!
Step 4: Filling the Bed
Now for the fun part—filling your raised bed! Start by layering materials for optimal soil health.
- Base Layer: Begin with larger items like old branches and logs. This is the foundation. It helps with drainage and adds organic matter as it breaks down.
- Add Nitrogen-Rich Materials: Next, add a layer of nitrogen-rich materials like grass clippings or kitchen scraps. This boosts soil fertility.
- Top It Off: Finally, fill the rest of the bed with quality garden soil mixed with compost. This creates the ideal environment for your plants.
Consider the Hugelkultur method for even better results. This involves layering wood and organic matter, creating a self-sustaining bed. Your plants will thrive as the materials decompose and retain moisture.
And don’t forget to label your plants! Using Plant Labels for Garden can help you keep track of your seedlings and ensure you know what’s growing in your raised bed!
Happy planting!
Creative Ideas for Customizing Your Raised Bed
Adding Features
Your raised garden bed doesn’t have to be a box of dirt—it can be a canvas! Unleash your inner Picasso and get creative. Start by giving your bed a splash of color. A simple coat of outdoor paint can make a dull wood palette pop! Want to go a step further? Try painting flowers or whimsical patterns.
Next up, trellises! They’re not just for climbing plants; they can add height and drama. Use old wooden ladders, branches, or even repurposed metal fencing to create striking vertical structures. Imagine your beans climbing and your peas reaching for the sky! To support your climbing plants, consider a Trellis for Climbing Plants to ensure they have the right support!
Consider adding decorative stones or gravel around the base. Not only does this help with drainage, but it also gives your garden a polished look. You could even create a path lined with pebbles to lead visitors to your flourishing plants. Adding Decorative Stones for Landscaping can add a unique touch to your garden’s aesthetic!
Feeling adventurous? Why not use an old bathtub as your raised bed? It’s quirky, charming, and a wonderful conversation starter. If you have space, tiered beds can add dimension to your garden. Stack one bed above another for a beautiful, cascading effect. Just make sure to plant herbs or flowers that can spill over the edge for that Instagram-worthy shot!
Companion Planting and Crop Rotation
Companion planting is like setting your plants up on a double date! Some plants thrive next to each other, while others just can’t get along. For instance, tomatoes love being near basil, which can enhance their flavor. Meanwhile, keep those pesky carrots away from dill, as they can hinder each other’s growth.
To keep your soil healthy, rotate your crops each season. This practice prevents nutrient depletion and reduces pest buildup. A simple rotation plan is to group plants into families—roots, legumes, and leafy greens. Each season, move them to a different spot in your raised bed. This not only keeps the soil lively but also maximizes your harvest.
With these tips, your raised garden bed will not only be a feast for the eyes but also a thriving ecosystem. And don’t forget to check out a Raised Bed Gardening Book for even more insights into maximizing your garden’s potential!
Conclusion
Building a raised garden bed with recycled materials is a fantastic way to enhance your gardening experience. You’re not only creating a beautiful space but also contributing to sustainability. By using items that might have ended up in a landfill, you’re doing your part for the planet.
The benefits are plenty! Improved drainage, better soil management, and easier access make gardening more enjoyable. Plus, personalizing your raised bed allows you to express your creativity. Don’t forget about the joy of watching your plants grow from Organic Vegetable Seeds Variety Pack!
So, gather those old materials, roll up your sleeves, and let your imagination run wild. Your garden awaits! We can’t wait to see what you create. Share your photos and stories with us in the comments! Happy planting!
FAQs
What is the best height for a raised garden bed?
The ideal height for a raised garden bed largely depends on your gardening needs. If you’re spry and have no trouble bending down, a height of 12 to 18 inches works wonders for vegetables. But for those who prefer a more luxurious gardening experience, consider a taller bed between 24 and 36 inches. This height is perfect for seniors or anyone with mobility challenges, allowing for easy access without the dreaded back strain. Plus, it can double as a place to rest your knees while you admire your handiwork!
Can I use treated wood for raised beds?
Using treated wood for raised garden beds can be a bit of a pickle. Many older pressure-treated woods contained harmful chemicals like arsenic. Yikes! However, modern treatments are often safer. If you’re unsure, opt for untreated wood or look for wood certified safe for gardening. Always better safe than sorry when it comes to your homegrown veggies!
How can I make my raised bed last longer?
To extend the life of your raised garden bed, start with a solid structure and keep it lined with landscape fabric. This prevents soil from escaping and deters pesky weeds. Regularly check for signs of rot or decay, especially if using wood. A protective coat of outdoor sealant can also help shield against the elements. Lastly, don’t forget to refresh the soil annually; it’s like giving your plants a spa day!
What can I grow in a raised garden bed?
Your raised garden bed is a versatile little powerhouse! In spring, consider planting leafy greens, radishes, and peas. As summer rolls around, tomatoes, peppers, and zucchini can take center stage. Come fall, you can switch gears to root vegetables like carrots and beets. In colder climates, herbs like thyme and rosemary thrive. The possibilities are endless, so plant what tickles your fancy!
Please let us know what you think about our content by leaving a comment down below!
Thank you for reading till here 🙂
All images from Pexels


