Growing Heirloom Tomatoes from Seed: A Comprehensive Guide to Tasty Triumph
Introduction
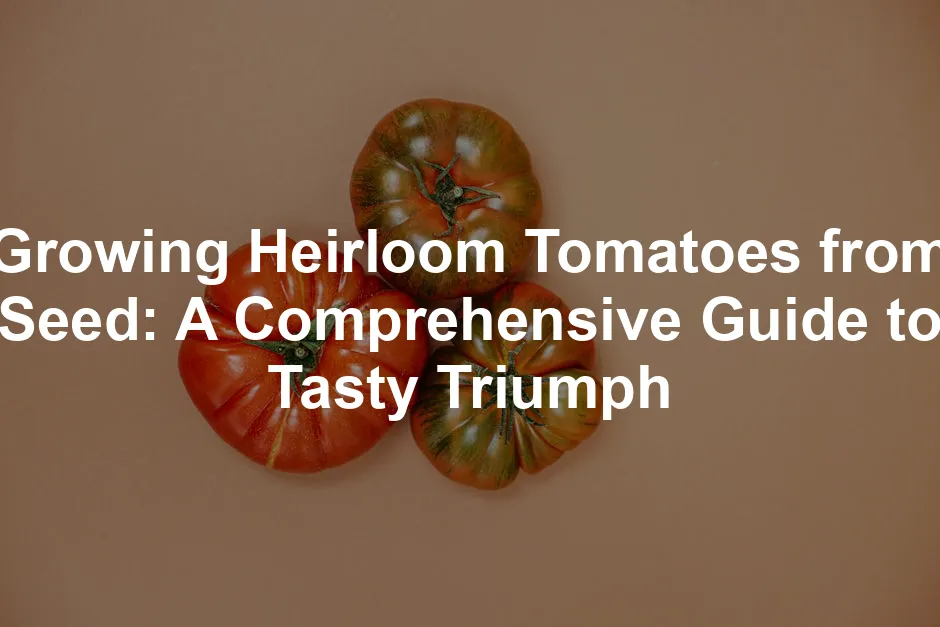
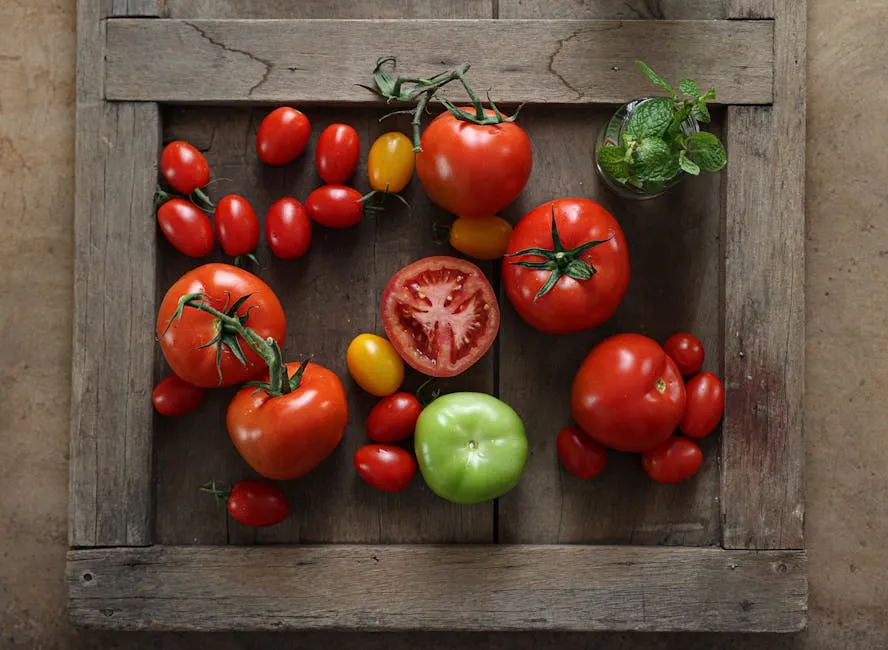
In a world where tomatoes often taste like cardboard, heirloom varieties stand out as the culinary stars they were meant to be. Growing heirloom tomatoes from seed not only gives you the chance to savor these flavorful gems but also connects you to a rich heritage of gardening. Picture these vibrant beauties: juicy reds, sunny yellows, and even whimsical stripes. With heirloom tomatoes, your garden can be a riot of color and flavor, turning each meal into a celebration.
So, why choose heirloom tomatoes? They boast flavors that make your taste buds sing! Unlike their bland supermarket counterparts, heirloom varieties bring a depth that transforms salads, sauces, and even sandwiches into culinary masterpieces. Plus, growing them from seed allows you to experiment with unique varieties that aren’t available in stores. You get to play the role of a tomato wizard, cultivating delightful flavors and beautiful shapes.
Starting this journey may seem daunting, but fear not! This guide will walk you through the process, breaking it down into manageable steps. From selecting the right seeds to nurturing your seedlings, we’ve got you covered. Don’t forget that the magic lies in the connection you’ll forge with these plants. Each heirloom tomato carries a story, often passed down through generations, making your gardening experience richer.
So grab your gardening gloves, and let’s dig into the delightful world of heirloom tomatoes! With a sprinkle of patience and a dash of care, you’ll grow not just tomatoes, but a garden filled with joy and satisfaction. Are you ready to transform your gardening game? Let’s get planting!
Summary of Key Points
Growing heirloom tomatoes from seed is not just an endeavor; it’s a journey into the past filled with rich flavors and gardening traditions. First, you need to determine your last frost date, which dictates when to start your seeds indoors, typically 6-8 weeks ahead. Quality soil and containers are essential, and many gardeners successfully use recycled items for seed starting. There are specific techniques for planting, watering, and nurturing your seedlings to ensure robust growth.
Once the seedlings are ready, the process of hardening them off before planting outdoors is crucial to their survival. Additionally, understanding the varieties and their specific needs can help you select the perfect heirloom tomatoes for your garden. This guide will provide insights into common challenges, the importance of companion planting, and best practices for harvesting the fruits of your labor. By the end, you’ll be equipped to grow a thriving garden filled with delicious heirloom tomatoes.
Companion planting can significantly enhance your gardening success. Explore companion planting strategies for increased yield.
Creating a vibrant tomato patch doesn’t just fill your plate; it fills your heart with the joy of gardening. So roll up your sleeves and get ready to embrace this flavorful adventure! And speaking of vibrant, don’t forget to get your Heirloom Tomato Seeds Variety Pack to kickstart your garden!
Getting Started
Timing Is Everything
Understanding your local last frost date is crucial for growing heirloom tomatoes. This date marks the end of frost risks, allowing you to safely plant your seedlings outdoors. You can find this information through local extension services or gardening centers. A quick online search can also uncover your area’s last frost date. Knowing this date helps you plan your planting schedule effectively.
For indoor seed starting, aim to sow your heirloom tomato seeds 6 to 8 weeks before the last frost. If your last frost date is around May 15, for example, start sowing seeds indoors by mid-March. This timing allows your seedlings to grow strong and healthy, ready for a glorious outdoor debut come spring. Remember, tomatoes thrive in warm weather, so starting them early indoors gives them a head start!
Gathering Supplies
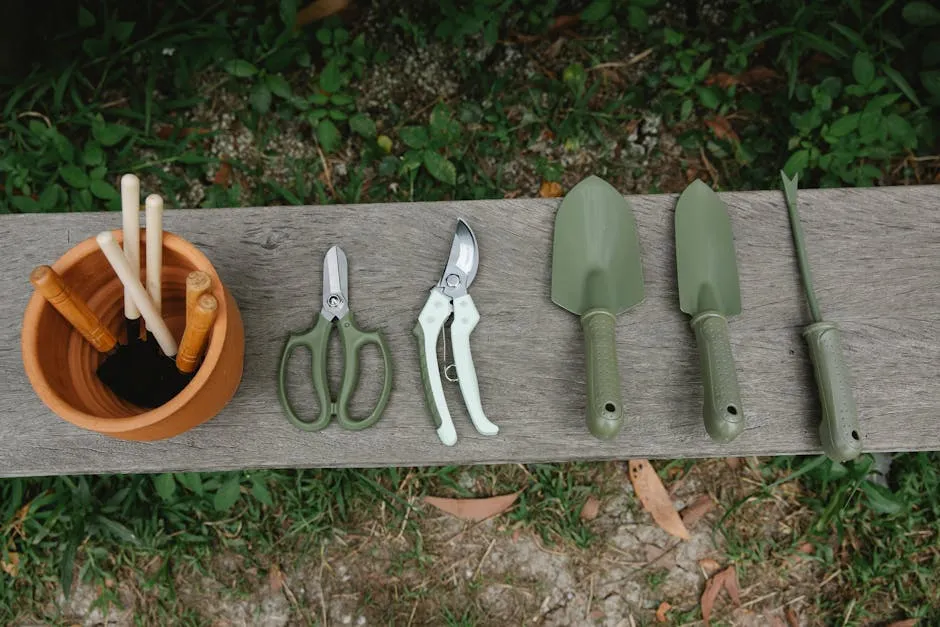
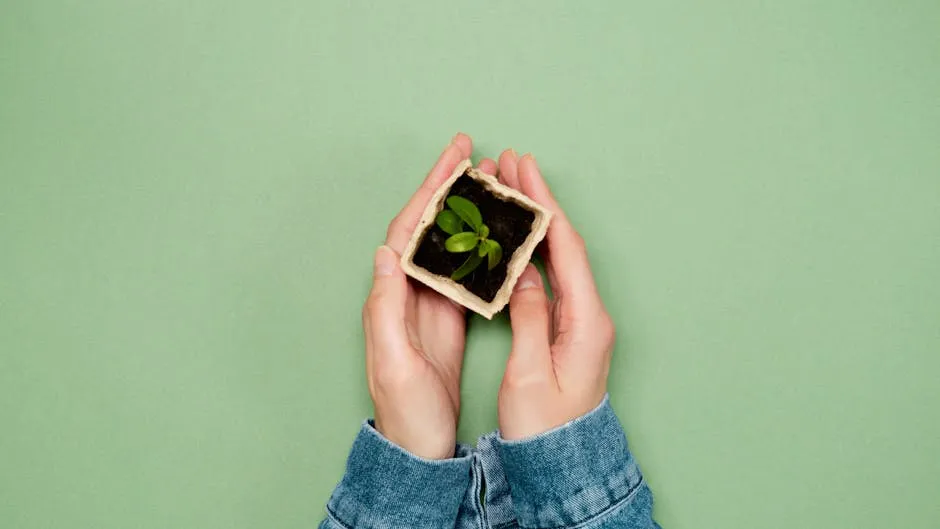
Gathering the right supplies can make your seed starting journey a breeze. First, choose your containers. Options abound, from peat pots to recycled items like egg cartons or yogurt cups. Just ensure that any container you use has drainage holes. Drainage is key to preventing root rot.
Next, let’s talk about soil. A quality organic seed starting mix is your best bet. These mixes are light and fluffy, providing the ideal environment for seed germination. Avoid using garden soil, as it can be too dense and may harbor pests. If you can’t find a commercial mix, you can create your own by combining peat moss with perlite. This combo provides excellent aeration and drainage, ensuring your seeds have the best start.
Creating the Perfect Environment
Creating an optimal environment for your seedlings is essential. Tomatoes love warmth and light. Keep your indoor temperature between 70°F and 80°F for the best germination rates. You can achieve this by placing your seed trays in a warm spot, like on top of your refrigerator or using a seedling heat mat.
Light is just as important. Once your seeds sprout, they’ll need 12-16 hours of bright light daily. A sunny windowsill works, but if natural light is scarce, consider using grow lights for seedlings. Position them a few inches above the seedlings, adjusting as they grow.
For an extra boost, you can create mini greenhouses. Simply cover your trays with plastic wrap or place them in a clear container to trap humidity. This added moisture is especially helpful during the germination phase. Just be sure to periodically check for moisture levels, removing the cover once your seedlings sprout to prevent mold.
With these steps, you’re well on your way to nurturing vibrant heirloom tomato seedlings. The journey from seed to plant is not only rewarding but also packed with delicious potential!
Planting Seeds
Step-by-Step Guide
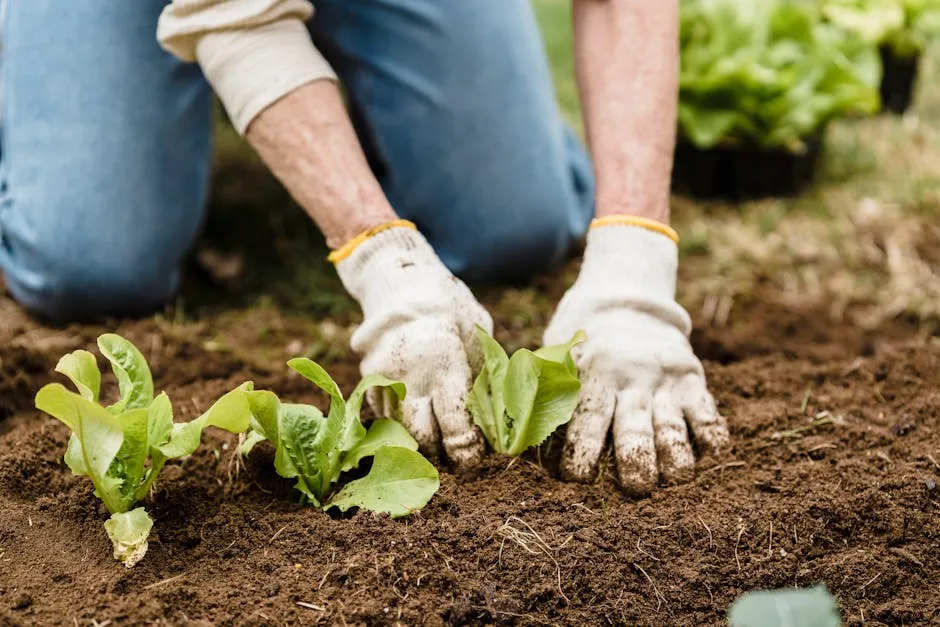
Let’s get to the fun part: planting your heirloom tomato seeds! Start by prepping your soil. Ensure it’s moist but not soggy. To do this, lightly soak your seed-starting mix with warm water. This ensures proper moisture levels without overwhelming your seeds.
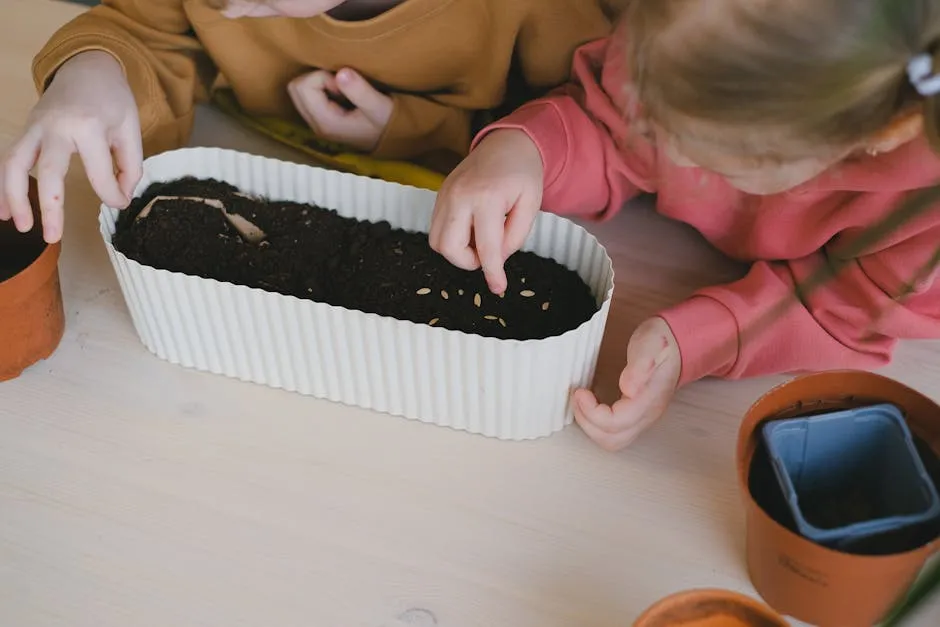
Next, sow your seeds. Plant them about 1/4 inch deep, spacing them according to the variety. For instance, many gardeners recommend placing 2-3 seeds in each container or module. Cover the seeds gently with soil and lightly press down to eliminate air pockets.
After sowing, it’s time for watering techniques. Use a fine-mist spray bottle or watering can with a long spout to avoid disturbing the seeds. Your goal is to keep the soil consistently moist, not drenched. Check daily, and if the top layer feels dry, give it a gentle mist.
As your seeds germinate, which usually takes about 5-14 days, keep them under bright light. Once they develop their first set of true leaves, it’s time to thin them out. Choose the strongest seedling in each container and snip the others at soil level to give your chosen plant the best chance to thrive.
By following these steps, you’ll be well on your way to a bountiful harvest of heirloom tomatoes! Each carefully planted seed brings you closer to enjoying fresh, flavorful tomatoes straight from your garden. Happy planting!
Germination and Seedling Care
Monitoring Seedlings
Caring for heirloom tomato seedlings is crucial! Check moisture daily. Keep the soil damp but not soggy. A quick poke with your finger can help gauge moisture levels. If the top inch feels dry, it’s time for a drink. Remember, too much water can drown your little green friends.
Light exposure is just as vital. Seedlings love bright light! If they don’t get enough, they might become leggy and weak. Position them under grow lights or in a sunny window. Turn the trays every few days to ensure even light distribution. This helps them grow straight and tall.
Transplanting
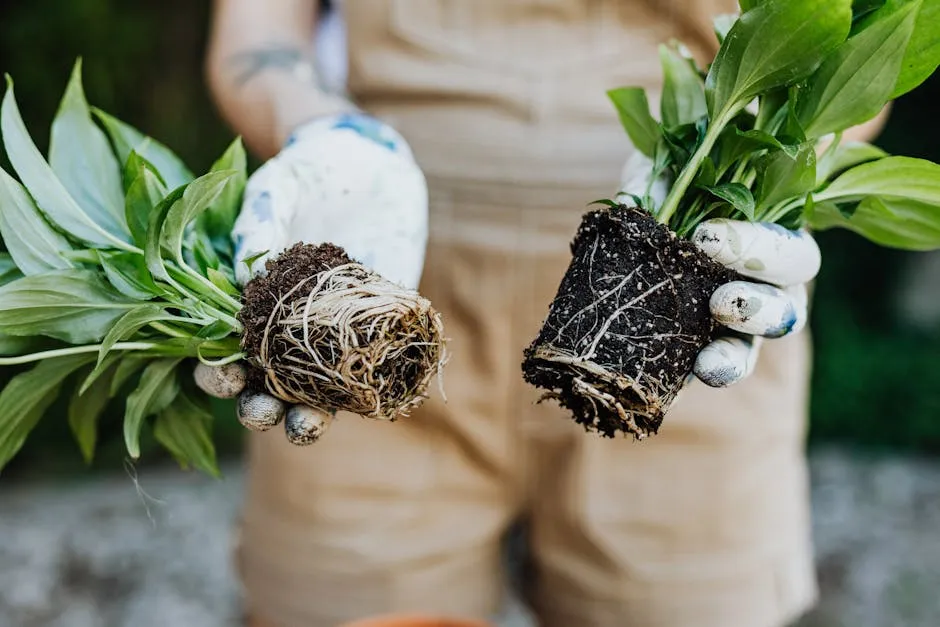
Transplanting seedlings is a rite of passage. Wait until they have their first set of true leaves. This usually happens around three weeks after germination. When your seedlings are ready, prepare larger pots. Use a quality potting mix and fill each pot about 2/3 full.
Gently remove the seedlings from their original containers. Take care not to damage their roots! Place each seedling in its new home, covering it with soil up to the first leaves. Water them well after transplanting to settle the soil around the roots. With proper care, your seedlings will thrive and be ready for the great outdoors soon!
Harvesting and Storing Heirloom Tomatoes
When to Harvest
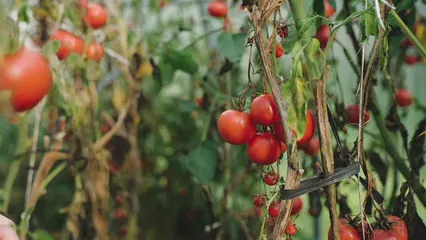
Heirloom tomatoes are like nature’s candy, but when do you know they’re ready for the picking? The signs of ripeness are more than just a gut feeling. First, check the color. Ripe tomatoes showcase their true hues. Reds should be vibrant, yellows should gleam, and purples should boast deep, rich shades. Next, feel the firmness. A gentle squeeze should reveal a little give. If the tomato feels rock-hard, it’s not ready for harvest.
Don’t forget about the smell! A ripe tomato emits a sweet, fragrant aroma. If your garden is filled with that delightful scent, it’s a clear sign they’re ready. Lastly, take a look at the stems. When they begin to brown and dry out, it’s time to reap what you’ve sown. Trust your instincts, and pick those beauties fresh!
Storing and Using Your Harvest
Now that you’ve harvested your heirloom tomatoes, how do you keep them fresh? First and foremost, avoid refrigeration. Cold temperatures can ruin their flavor. Instead, store them at room temperature, out of direct sunlight. A countertop or a basket works wonders. If your harvest is large, consider using a cardboard box lined with newspaper, allowing them to breathe while keeping moisture at bay.
But what to do with these luscious gems? The culinary possibilities are endless! Toss them in salads for a burst of color and flavor. Blend them into a tangy sauce for pasta. Craving something different? Try a fresh tomato pie or a delightful salsa. And let’s not forget about the classic BLT—nothing beats ripe heirloom tomatoes stacked high with crispy bacon and crunchy lettuce.
With these tips, you’ll not only enjoy the fruits of your labor but also share the deliciousness with family and friends. Remember, your harvest is a celebration of flavors, so relish every bite! And if you’re looking to preserve that deliciousness, consider getting some canning supplies for preserving your harvest!

FAQs
What are heirloom tomatoes?
Heirloom tomatoes are unique treasures in the gardening world. These varieties have been cultivated for generations, often passed down through families. They are open-pollinated, meaning they reproduce naturally. Unlike hybrids, heirloom tomatoes maintain their characteristics year after year. They come in various colors, shapes, and sizes, offering a delightful spectrum for the palate. Their flavors are rich and diverse, making them a favorite among chefs and home cooks alike. Plus, they tend to have thinner skins compared to commercial tomatoes, which is a big win for taste!
How long do heirloom tomatoes take to grow?
Patience is key when growing heirloom tomatoes! Typically, it takes about 60 to 80 days from planting the seeds to harvesting ripe fruits. However, this timeline can vary based on the specific variety you choose. Some quicker varieties may be ready in around 60 days, while others can take up to 80 days or more. Remember, the warmer the conditions, the faster they’ll grow. So, keep your plants cozy and enjoy the wait!
Can I grow heirloom tomatoes in containers?
Absolutely! Container gardening is a fantastic way to grow heirloom tomatoes, especially if you have limited space. Choose a container that’s at least 5 gallons for larger varieties. Ensure it has proper drainage holes to prevent waterlogging. Use quality potting mix to give your plants the nutrients they need. Position your containers in a sunny spot where they can soak up at least 6 to 8 hours of sunlight daily. Regular watering is essential, so keep an eye on moisture levels. With the right care, you’ll have delicious tomatoes right on your patio!
What are some recommended heirloom tomato varieties for beginners?
Starting your heirloom tomato journey? Here are some easy-to-grow varieties for beginners: Brandywine: Known for its sweet, juicy flavor and large size. Cherokee Purple: A unique, dark, and flavorful choice that thrives well. Black Krim: Offers a rich, smoky taste with excellent adaptability. Roma: Perfect for sauces, these are reliable and productive. Yellow Pear: Small, sweet, and playful, great for snacking. These varieties are forgiving and often yield a bountiful harvest, making them perfect for novice gardeners.
How do I save seeds from heirloom tomatoes?
Saving seeds from heirloom tomatoes is simple and rewarding! Here’s how to do it: 1. Choose a ripe tomato from a healthy plant. 2. Cut the tomato in half and scoop out the seeds and pulp into a bowl. 3. Add a little water to the bowl and let it sit for a few days. This fermentation helps separate the seeds from the pulp. 4. Once the seeds sink to the bottom, strain them out and rinse them to remove any remaining pulp. 5. Spread the seeds on a paper towel or plate to dry for a few days. 6. Store the dried seeds in a labeled paper envelope in a cool, dark place until next planting season. Voilà! You’re now ready for another round of gardening.
Are heirloom tomatoes more susceptible to diseases than hybrids?
Heirloom tomatoes can be a bit more vulnerable to certain diseases than hybrids. This is mainly due to their genetic diversity and the fact that they haven’t been bred for specific disease resistance. However, the risk can be managed through good gardening practices. Crop rotation, proper spacing for airflow, and regular monitoring are crucial. Additionally, some heirloom varieties are surprisingly resilient! Embrace their quirks, and with care, you’ll enjoy a thriving tomato garden. Remember, every gardening adventure comes with its challenges!
Please let us know what you think about our content by leaving a comment down below!
Thank you for reading till here 🙂 And don’t forget to check out our organic fertilizer for vegetables to keep your garden thriving!
All images from Pexels
