
How to Design a Rain Garden for Effective Stormwater Management
Introduction
Rain gardens: the eco-friendly superheroes of your yard! Not only do they add a splash of beauty to your landscape, but they also act as natural sponges, soaking up stormwater runoff and filtering out pollutants before they reach local waterways. In an era where urbanization leads to increased flooding and water pollution, designing a rain garden is not just a trendy home project but an essential step toward sustainable living. This guide will walk you through the step-by-step process of creating a rain garden that not only beautifies your space but also contributes significantly to stormwater management. So grab your shovel and let’s dig in!
A rain garden is a specially designed, shallow depression that collects rainwater runoff from rooftops, driveways, and sidewalks. When it rains, these gardens act like mini reservoirs, capturing excess water that would otherwise contribute to flooding. They allow rainwater to slowly seep into the ground, reducing the volume of stormwater that flows into sewer systems and waterways.
But wait, there’s more! Rain gardens not only manage stormwater; they also enhance the aesthetic appeal of your yard. With a variety of native plants, you can create a vibrant landscape that attracts butterflies, birds, and other beneficial wildlife. Plus, they require minimal maintenance once established, making them a win-win for both you and the environment. To get started, check out Native Plant Gardening: A Beginner’s Guide to understand the basics!
In this guide, we’ll cover everything from site selection to plant choices. We’ll provide tips to ensure your rain garden is not just functional but also a stunning focal point in your yard. Let’s get started!
Summary of Key Points
Designing a rain garden is a practical and rewarding approach to managing stormwater runoff. Here are the key points you’ll learn in this comprehensive guide:
- Understanding Rain Gardens: Discover what rain gardens are and how they function as bioretention systems to filter and absorb stormwater.
- Benefits of Rain Gardens: Learn the environmental advantages, including reducing pollutants, enhancing aesthetics, promoting biodiversity, and preventing soil erosion.
- Planning Your Rain Garden: Identify the ideal location, size, and shape for your garden based on your property and local hydrology.
- Site Preparation: Understand the steps to prepare the site, including soil testing and excavation to create the right conditions for plant growth and water absorption.
- Plant Selection: Explore the best native plants suited for rain gardens, focusing on their ability to thrive in both wet and dry conditions.
- Design Tips: Get creative with design elements to ensure your rain garden is not only functional but also visually appealing, integrating it into your overall landscape.
- Maintenance: Learn how to keep your rain garden healthy and thriving with regular maintenance practices.
Curious about how to transform your landscape while contributing to stormwater management? Let’s dive deeper into each of these points!
What is a Rain Garden?
Definition and Function
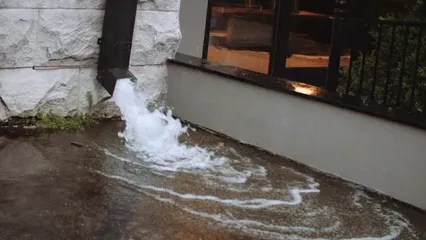
A rain garden is a shallow, planted depression designed to collect rainwater runoff from impervious surfaces like roofs and driveways. These gardens serve a vital purpose: they help manage stormwater. Instead of letting rainwater rush off into the streets, a rain garden captures it, allowing it to slowly seep into the ground. This process reduces the volume of water that enters storm drains, helping to prevent flooding in urban areas.
Rain gardens act like nature’s sponge, filtering pollutants from the water as it passes through soil and plant roots. This filtration process helps keep our local waterways cleaner. By absorbing excess rainwater, these gardens also reduce erosion caused by fast-moving runoff. They transform a simple yard feature into a powerhouse of stormwater management.
How Rain Gardens Work
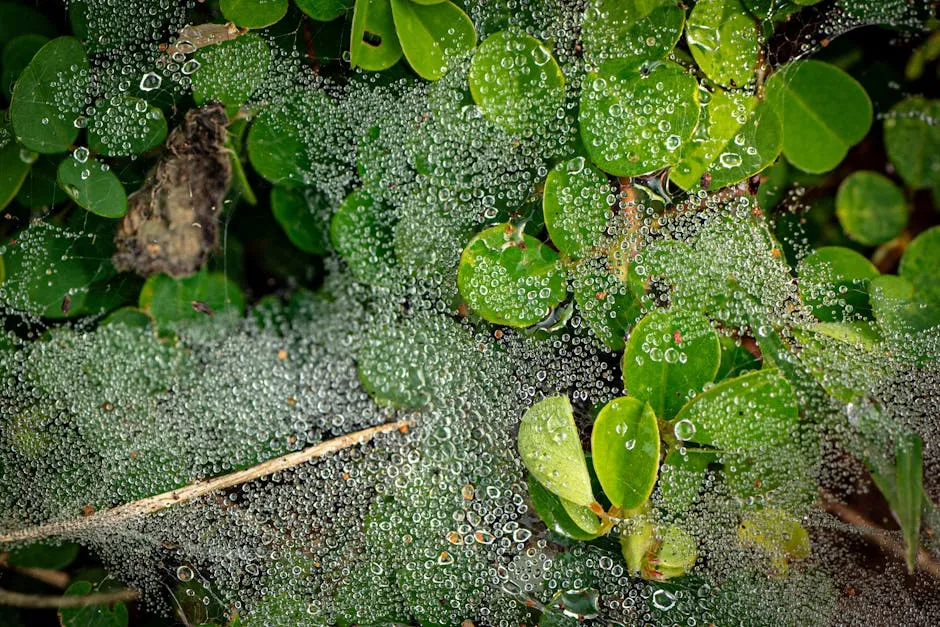
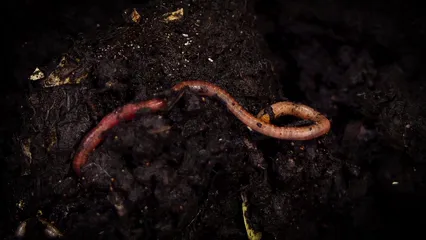
Rain gardens utilize a clever filtration process. When it rains, water collects in the garden, allowing it to settle and soak into the soil. The soil acts as a filter, trapping debris and pollutants. As the water moves through the soil, beneficial microbes break down harmful substances, making the water cleaner before it reaches the groundwater.
The role of plants is crucial in this process. Plant roots help stabilize the soil and enhance water absorption. Deep-rooted native plants are particularly effective, as they can tolerate both wet and dry conditions. They provide habitats for various wildlife, adding to the garden’s ecological benefits. Together, the soil, plants, and microbes create a natural system that efficiently manages stormwater. For more in-depth techniques on plant communities, you might want to explore Planting in a Post-Wild World.

Benefits of Rain Gardens
Environmental Impact
Rain gardens have a profound environmental impact. They effectively reduce pollutants from stormwater runoff, protecting local waterways. Without these gardens, rainwater would carry harmful substances directly into rivers and lakes, contributing to pollution. By filtering out nutrients and debris, rain gardens help mitigate this issue.
Additionally, rain gardens play a critical role in reducing flooding. They capture and store rainwater, preventing overwhelming flows into storm drains. This stored water gradually infiltrates the soil, minimizing erosion and protecting aquatic habitats.
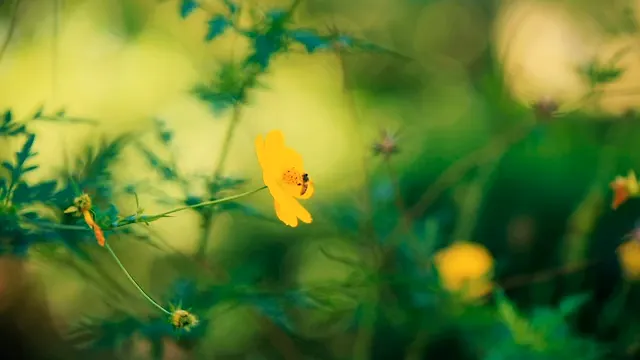
Moreover, rain gardens promote biodiversity. They provide essential habitats for birds, butterflies, and beneficial insects. By incorporating native plants, rain gardens support local ecosystems, ensuring that wildlife thrives. To help you get started, consider picking up The Native Plant Lover’s Garden.
Incorporating native plants is essential for biodiversity in your rain garden. Best native plants for attracting local wildlife can enhance the ecological benefits of your garden.

Aesthetic Appeal
Rain gardens aren’t just functional; they are also visually stunning. By incorporating a variety of native plants, you can create a vibrant and colorful landscape. Imagine a garden filled with blooming flowers, swaying grasses, and fluttering butterflies. It adds character to any yard!
These gardens can be designed to blend seamlessly with your existing landscape. You can choose shapes and sizes that enhance your outdoor space. Plus, rain gardens attract wildlife, making your yard a lively place to observe nature. To help maintain that beauty, consider investing in Organic Compost for your soil!
In essence, rain gardens offer dual benefits: they improve stormwater management while beautifying your property. With minimal maintenance required once established, they become a cherished part of your landscape, providing joy and ecological benefits for years to come.

Planning Your Rain Garden
Choosing the Right Location
The location is crucial for a successful rain garden. Look for low spots in your yard where water naturally collects. These areas are prime candidates for rain gardens. Ideally, the garden should be at least 10 feet away from buildings to prevent water damage and foundation issues.
Avoid areas close to trees, as roots can interfere with the garden’s functionality. Additionally, ensure that the location receives full sun to partial shade. This balance will help your plants thrive while still allowing for adequate water absorption.

Determining Size and Shape
Sizing your rain garden depends on the area of impervious surfaces draining into it. A general rule is that the garden should cover about 10% of the total drainage area. For instance, if your roof area is 1,000 square feet, aim for a rain garden size of around 100 square feet.
Shape matters too! Popular shapes include kidney, crescent, or freeform designs. Choose a shape that complements your landscape while effectively capturing runoff. A well-planned size and shape will ensure that your rain garden performs optimally, serving both aesthetic and functional purposes.

Site Preparation
Soil Testing
Soil testing is the first step in designing a rain garden. It’s essential for determining if your soil can absorb water efficiently. Poor drainage can lead to standing water, creating a soggy mess instead of a flourishing garden.
To conduct a soil test, start by digging a hole about 10 inches deep in the area you plan to use. Fill it with water and let it drain completely. If the water disappears within 48 hours, congratulations! Your soil has good drainage. If it lingers, your soil may need some help.
When testing, look for soil texture and composition. Sandy soils drain quickly, while heavy clay retains water. Aim for a mix that promotes both absorption and nutrient retention. This way, your plants will thrive while preventing water pooling. To help you assess your soil quality, consider using a Soil Testing Kit.
Soil testing can also reveal nutrient levels. This knowledge helps you choose the right amendments later on. So, roll up those sleeves and get dirty—your future rain garden will thank you!
Soil testing is crucial for determining the right amendments for your garden. Best soil amendments for vegetable gardens can enhance your garden’s health.

Excavation and Soil Amendments
Once you’ve tested the soil and confirmed its drainage capabilities, it’s time to excavate. Start by marking the shape of your rain garden, typically a shallow bowl. Aim for a depth of 6 to 12 inches to maximize water retention while allowing for easy plant growth. Remove sod and debris, making sure the edges are smooth and the bottom is level.
Next, it’s time to improve your soil with amendments. Adding organic matter, such as compost or topsoil, can enhance drainage and nutrient content. Mix in a 50/50 blend of native soil and compost. This combination helps create a rich environment where plants can flourish. If your soil is heavy clay, consider adding sand to improve drainage. For a great compost option, check out Compost Bins available on Amazon!
Don’t forget to check the pH level of your soil. A neutral pH (around 6 to 7) is ideal for most plants. If necessary, add lime to raise the pH or sulfur to lower it. Your rain garden will be the perfect oasis for native plants, all starting with the right soil preparation!
Plant Selection
Choosing Native Plants
Selecting the right plants is crucial for your rain garden’s success. Native plants are your best bet! They’re adapted to local conditions, requiring less water and maintenance. Plus, they provide essential habitat for local wildlife.
When choosing plants, consider height, moisture tolerance, and bloom time. Taller plants, like Joe Pye weed or swamp milkweed, can be placed at the back of the garden. Mid-height options include purple coneflower and black-eyed Susan, which add vibrant colors. For the front, opt for shorter plants like sedges or wild geraniums.
Here’s a handy list to get you started:
- Tall Plants (3-6 feet): Joe Pye weed, Swamp milkweed
- Medium Plants (2-3 feet): Purple coneflower, Black-eyed Susan
- Short Plants (1-2 feet): Sedges, Wild geraniums
By diversifying plant heights, you create visual interest while ensuring ecological function. Native plants will thrive in varying moisture levels, making them perfect for any rain garden. If you’re looking for a comprehensive guide, grab The Garden Primer by Barbara Damrosch.
Plant Arrangement
Arranging your plants can make or break your rain garden’s aesthetic. Group plants in clusters rather than spacing them out individually. This mimicry of nature creates a lush, full look. Taller plants should be at the back, gradually transitioning to shorter plants in the front. This layering not only looks great but also allows for easier maintenance and access to sunlight.
Incorporate mulch into your design for added benefits! Mulch helps retain moisture, suppresses weeds, and provides a tidy appearance. Use organic mulch like wood chips or shredded bark, which will decompose over time, enriching the soil. Don’t forget to grab some quality Mulch (Wood Chips or Shredded Bark) for your garden!
Lastly, consider adding ground cover plants. They fill in gaps, prevent erosion, and add beauty. Look for options like creeping thyme or golden creeping jenny. These plants will create a vibrant carpet, enhancing your rain garden’s overall character.
Now you’re ready to create a stunning rain garden that not only manages stormwater effectively but also brings life and beauty to your landscape. Happy planting!

Design Tips for Rain Gardens
Integration with Landscape
Integrating your rain garden into existing landscaping can elevate your yard’s aesthetic appeal. Begin by selecting a spot that complements your current layout. Consider placing the garden near walkways or patios to enhance visual continuity. Using decorative elements like pathways made of stones or gravel can create a charming border. These pathways guide visitors through your garden while preventing soil compaction around the plants.
Also, think about adding natural stones or boulders. They can serve as attractive focal points and enhance drainage. Layering different plants will create texture and depth, making the garden visually engaging. A well-placed rain garden can transform an ordinary yard into a stunning landscape while effectively managing stormwater. For lighting, consider adding Outdoor Solar Lights to illuminate your rain garden at night!

Ensuring Functionality
To ensure your rain garden functions well, focus on proper drainage. The garden should be designed to handle heavy storms without overflowing. Start by digging a basin about 6 to 12 inches deep. This depth allows the garden to hold enough water while still promoting drainage.
Direct any runoff from roofs or driveways to the garden. Use swales or pipes to channel water effectively. It’s essential to choose the right soil mix. A blend of native soil, compost, and sand will enhance drainage while retaining moisture for the plants.
Regularly monitor the garden after heavy rains to check for standing water. If pooling occurs, you may need to adjust the drainage system or garden layout. A properly designed rain garden not only looks good but also performs its stormwater management role efficiently.
Maintenance of Rain Gardens
Routine Care
Maintaining your rain garden ensures its long-term health and effectiveness. Regular tasks include weeding, watering, and pruning. Weeds can compete with native plants for nutrients and water, so keep them in check. During dry spells, watering may be necessary, especially for newly planted specimens. Once established, many native plants require minimal watering.
Pruning is key to promoting healthy growth. Trim back any dead or overgrown plants to encourage new growth. Don’t overlook seasonal clean-up either. In the fall, remove fallen leaves and debris to prevent clogging the garden. This simple act will help maintain proper drainage and keep your garden looking tidy.
Troubleshooting Common Issues
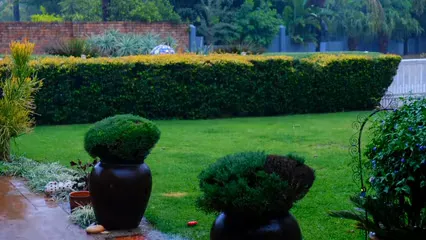
Even the best rain gardens can face challenges. Standing water is a common problem that indicates drainage issues. If you notice this, first check if the garden’s depth is sufficient. You might need to excavate more soil for better water absorption.
Pest issues can also arise. Watch for insects that may harm your plants. Introduce beneficial insects, like ladybugs, to help control the pest population naturally. If you’re looking for eco-friendly solutions to pest control, consider checking out some Eco-Friendly Pest Control Solutions.
If your rain garden becomes too dry, consider adding mulch to retain moisture. It also helps suppress weeds, reducing the need for constant maintenance. With a bit of attention, your rain garden can thrive, providing both beauty and ecological benefits.
Conclusion
Designing a rain garden is a fulfilling project that not only enhances the beauty of your landscape but also plays a crucial role in effective stormwater management. These eco-friendly gardens act like nature’s sponges, absorbing rainwater and preventing runoff from overwhelming our urban spaces. By creating a space that captures and filters runoff, you contribute to a healthier environment and reduce the risks of flooding and pollution in local waterways.
Imagine stepping into your backyard, greeted by vibrant blooms and the soft rustle of leaves, knowing that your rain garden is doing its part. It’s a win-win: you get to enjoy an attractive landscape while also supporting biodiversity. Plus, rain gardens require minimal maintenance once established. You can sit back, relax, and watch the butterflies dance among the flowers.
But don’t just admire from afar. Roll up your sleeves and get started on your rain garden today—your yard and community will thank you! With a little planning and creativity, you can transform your outdoor space into a lush, functional garden that benefits both you and the environment. So grab your tools and dig in—your adventure in sustainable gardening awaits! And for more gardening inspiration, don’t forget to check out Gardening Books available on Amazon!
FAQs
What is the ideal size for a rain garden?
The ideal size of a rain garden typically ranges between 100 to 300 square feet. A good rule of thumb is to make the garden about 10% of the total area of impervious surfaces draining into it. For instance, if your roof area is 1,000 square feet, aim for a rain garden of around 100 square feet. This ensures it can manage the runoff effectively.
Can I use non-native plants in my rain garden?
While you can use non-native plants, it’s best to stick with native species. Native plants are better adapted to local conditions and require less maintenance. They also provide essential habitats for local wildlife. Non-native plants may not thrive as well and could potentially disrupt local ecosystems.
How long does a rain garden take to establish?
A rain garden typically takes about two to three years to fully establish. Factors influencing this timeline include soil type, plant selection, and weather conditions. During the initial years, regular watering and maintenance can help the plants establish strong root systems.
Are there any local regulations for building a rain garden?
Yes, it’s advisable to check local guidelines before starting your rain garden. Some areas may have regulations regarding placement, size, or plant selection, especially near water bodies. Consulting local resources or your city’s planning department can provide valuable information.
How can I ensure my rain garden remains effective?
To keep your rain garden effective, regular maintenance is key. This includes weeding, monitoring for standing water, and ensuring proper drainage. Seasonal cleanup, like removing debris and dead plants, will also help. Mulching can retain moisture and suppress weeds, promoting a healthy ecosystem.
Please let us know what you think about our content by leaving a comment down below!
Thank you for reading till here 🙂
All images from Pexels
