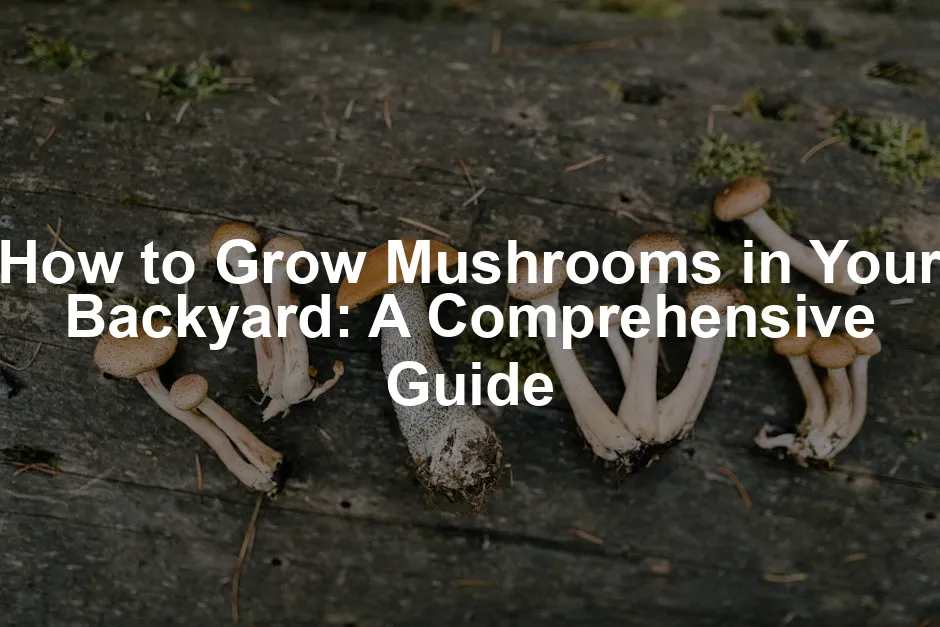
How to Grow Mushrooms in Your Backyard: A Comprehensive Guide
Introduction
Have you ever considered growing mushrooms in your backyard? If not, it’s time to rethink your gardening game. Cultivating your own mushrooms not only adds a fun twist to your garden but also opens up a world of unique flavors and sustainability.
Mushroom cultivation is a cost-effective way to enjoy fresh, gourmet varieties right at home. Imagine stepping outside to harvest shiitake or oyster mushrooms for your dinner. With rising grocery prices, why not grow your own? It’s like having a secret stash of culinary delights!
Moreover, the growing interest in home gardening has made mushroom cultivation popular. More people are realizing that mushrooms can thrive in areas where traditional plants struggle. So, whether you have a shady corner or a neglected patch of land, mushrooms might just be the perfect fit for your garden.
Let’s explore the benefits of growing mushrooms in your backyard and why you should start this delightful journey.
Benefits of Growing Mushrooms in Your Backyard
Cost-Effective
One of the most compelling reasons to grow mushrooms is the cost savings. Store-bought gourmet mushrooms can hit your wallet hard. Think about shiitake or oyster mushrooms—these can cost up to $20 per pound! Growing them at home dramatically reduces your grocery bill.
Consider this: a single mushroom growing kit can yield several pounds of mushrooms. That’s like having a mini-farm right in your backyard. Plus, once you establish your mushroom bed, you can enjoy multiple harvests over the seasons.
Growing your mushrooms is not just about saving a few bucks; it’s about accessing delicious flavors that you might not find in your local grocery store. Say goodbye to bland button mushrooms and hello to the rich, earthy taste of homegrown varieties!

Space Utilization
Mushrooms are the ultimate space savers. They thrive in areas where other plants might throw in the towel. Shady spots under trees or in corners of your garden that get minimal sunlight are perfect for mushrooms. They don’t require much space, making them ideal for urban gardeners or those with limited outdoor areas.
But wait, there’s more! Growing mushrooms can also improve your soil health. As they break down organic matter, they contribute valuable nutrients back into the soil. It’s a win-win situation: you get delicious mushrooms while enhancing your garden’s ecosystem.
Low Maintenance
If you’re looking for a low-maintenance gardening option, mushrooms are your best friends. Once you set up your mushroom bed, they require less care than many traditional crops. Unlike your needy tomato plants, mushrooms are pretty chill.
Most outdoor mushroom beds can yield crops for multiple seasons with minimal upkeep. Just keep an eye on moisture levels, and you’re golden! Harvesting is simple, too—no weeding or fussing with pests required.
So, if you’re short on time but love gardening, mushrooms are the way to go. They offer a unique cultivation experience without the stress of high-maintenance plants.
In summary, growing mushrooms in your backyard is a fantastic way to save money, utilize space effectively, and enjoy a low-maintenance gardening experience. So, why not give it a try? Your taste buds—and your wallet—will thank you!

Caution on Toxic Varieties
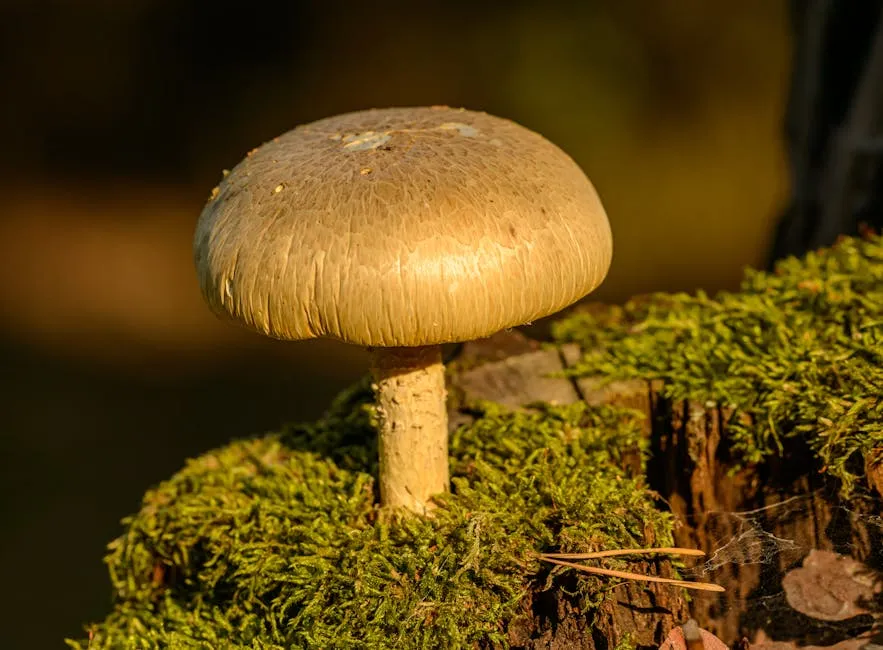
Mushrooms can be a delightful addition to your culinary repertoire. However, beginners need to exercise caution. Some edible mushrooms closely resemble their toxic counterparts. For instance, cremini and portobello mushrooms look innocent enough but can be confused with the deadly Amanita species.
Proper identification is crucial! Always double-check before harvesting any wild mushrooms. A good rule of thumb? If you’re unsure, don’t eat it! Consider joining a local mushroom club or consulting a mycologist. This way, you can learn to recognize the gilled impostors that could ruin your dinner plans—or worse.
Where to Grow Mushrooms in Your Backyard
Ideal Locations
Finding the right spot for mushroom cultivation is key. Look for shady areas in your backyard, such as under trees, on decks, or beneath patios. Mushrooms love cool conditions, which help maintain moisture.
Temperature control is vital. Aim for a consistent temperature, ideally between 55°F and 70°F. If the sun is beating down, your mushrooms might just throw in the towel and die of heat exhaustion.
If you’re considering indoor setups, ensure they are dark and moist—think cool basements or even your garage. Just make sure to avoid the laundry room; you don’t want your mushrooms competing with your socks for space!

Preparing the Site
Preparation is everything! Begin by clearing the area of weeds, debris, and any unwanted plants. This gives your mushrooms a fighting chance. Using cardboard or mulch can be beneficial. Cardboard smothers weeds and retains moisture, creating a cozy environment for your fungi friends.
Next, layer your substrate. Straw, wood chips, or a mix works wonders. Create about a 2-4 inch layer of material, sprinkle your mushroom spawn throughout, and cover it with another layer of substrate. Keeping this bed moist but not soggy is essential. Water it thoroughly, but don’t create a swamp!
Lastly, patience is key. After a few weeks, with the right care, you’ll start seeing those delightful fungi poking through the surface. So, keep an eye on your mushroom bed, and get ready for a delicious harvest!
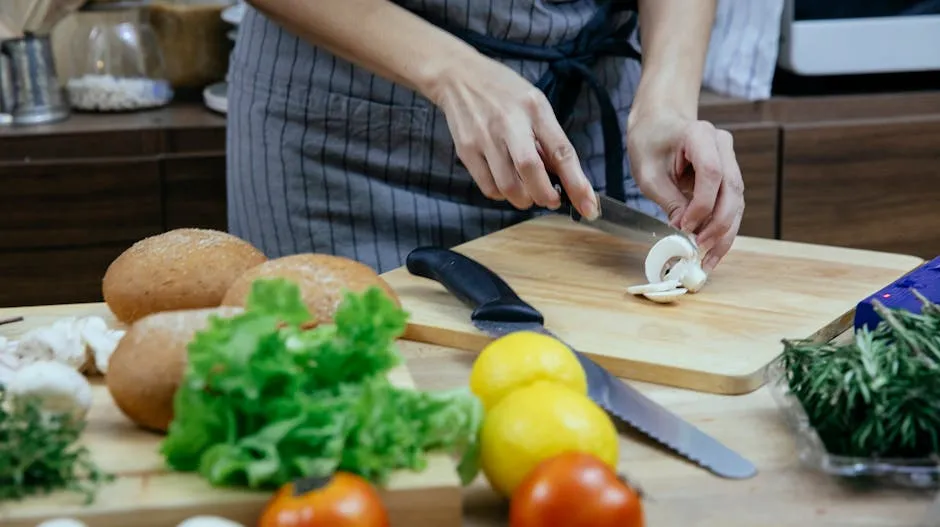
Step-by-Step Process for Growing Mushrooms
Growing mushrooms in your backyard is a fun and rewarding venture. It’s like a magical surprise party for your taste buds! Let’s dive into the step-by-step process to cultivate these delightful fungi.
Step 1: Gather Your Supplies
Spawn: Think of mushroom spawn as the plant equivalent of a starter pack. It’s essentially mycelium, the root system of the mushroom. You can purchase high-quality spawn from reputable vendors online or at local gardening stores. Look for options like oyster, shiitake, or wine cap mushrooms to get started. You can easily find shiitake mushroom spawn or oyster mushroom spawn online!
Substrate: This is the material where your mushrooms will grow. The type of substrate you choose depends on the mushroom variety. Here are a few options:
- Straw: Great for oyster mushrooms. Wheat or oat straw works wonders. You can find it at local farms or garden centers.
- Wood Chips: Perfect for shiitake mushrooms. Make sure they’re from hardwood trees—cedar is a no-go as it’s antifungal.
- Logs: Shiitake mushrooms thrive on freshly cut hardwood logs. Look for oak, maple, or beech for the best results.
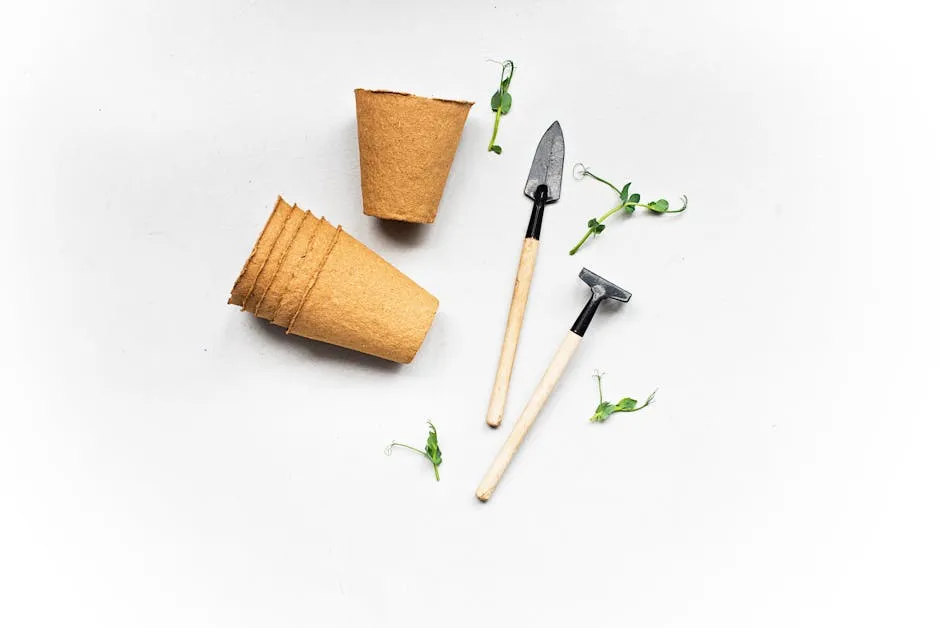
Other Necessary Materials: You’ll also need some essentials to create your mushroom bed. Gather poly tarps for moisture retention to cover your beds, ensuring moisture retention. A good garden spray bottle for watering and some clean water are also a must.
Step 2: Build Your Mushroom Bed
Creating your mushroom bed might feel a bit like crafting a gourmet sandwich. Let’s layer it up!
Layering Process
1. Prepare Your Area: Start by clearing a 4×4 foot space in your garden. Remove any weeds or debris. You want a clean slate for your fungi friends!
2. Layering: Begin with a layer of substrate. If you’re using straw, create a 2-inch thick layer. Sprinkle your mushroom spawn evenly over this layer. Here comes the fun part—add another layer of substrate on top, repeating this process until you run out of spawn. Finish with a final layer of substrate to protect the spawn from the elements.
3. Moisture Matters: A crucial aspect of mushroom growth is moisture. Keep the bed damp but not soaked. You can achieve this by watering gently and regularly. A good rule of thumb is to keep the moisture levels similar to a wrung-out sponge.
4. Cover It Up: After layering, cover your bed with poly sheets or a tarp. This helps retain moisture, creating a cozy environment for mycelium to thrive.
5. Wait Patiently: Now, you just need to wait! Check your bed weekly to ensure it stays moist. In about 3-4 weeks, you should start to see mycelium growth if conditions are right.

Step 3: Maintenance and Care
Taking care of your mushroom bed is like nurturing a pet—just with less barking and more spores!
– Moisture Levels: Maintaining moisture is key. Water your bed lightly if it starts to dry out, especially during hot days. But, hold the hose if it rains; mushrooms don’t need a shower!
– Prevent Contamination: Keep an eye out for unwanted visitors like molds. If you notice anything suspicious, it’s best to compost that area and start fresh. You could also consider using a fine mesh cover to keep pests at bay.
– Monitoring for Pests and Diseases: Regularly inspect your mushroom bed for pests like slugs or bugs. If you spot any, act fast! Remove them manually or use organic pest control methods to keep your mushrooms safe.
By following these straightforward steps and keeping your mushroom bed in check, you’ll soon be on your way to a delightful harvest. Just think—fresh mushrooms right from your backyard! What’s not to love?

Step 4: Harvesting Your Mushrooms
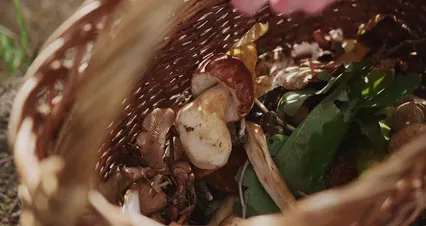
When it comes to harvesting mushrooms, timing is everything. For the best flavor and texture, wait until the caps are fully opened but not yet flattened. This stage usually occurs just before the caps curl up, making them perfect for your culinary creations.
If you’re unsure, just think of it like waiting for that ripe avocado—too early, and it’s hard; too late, and well, you’ve got guacamole disaster. Aim for that sweet spot!
Now, how to harvest without causing chaos in your mushroom kingdom? Use a sharp knife or scissors to cut the stems at the base. Avoid pulling them out, as this can damage the mycelium, which is the root system beneath the soil. Remember, you want your little fungi friends to stick around for future harvests.
Potential Problems and Solutions
Growing mushrooms can be a delightful endeavor, but like any garden, it has its challenges. Let’s tackle some common issues you might encounter.
Common Issues
Pests: Bugs and slugs can be your mushroom bed’s worst enemies. They love to feast on your hard work! To manage this, create a barrier using diatomaceous earth around your mushroom bed. This natural powder is safe and will deter these critters. For slugs, consider using copper tape, which they dislike crossing.
Contamination: Competing molds can be a sneaky problem. If you spot any unwanted fungi, it’s best to act quickly. Remove the contaminated area and compost it. To prevent this, maintain a clean environment and ensure your substrate is properly pasteurized before use.
Weather Conditions: Extreme weather can wreak havoc on your mushroom patch. If you anticipate a heatwave, consider covering your beds with a light fabric to provide shade. During heavy rain, ensure proper drainage to prevent sogginess. A simple tarp can work wonders!
Tips for Success
To ensure a successful harvest and ongoing production, follow these best practices:
- Regular Monitoring: Check your beds weekly. Keep an eye on moisture levels but avoid overwatering. Mushrooms prefer damp but not soggy conditions.
- Quality Spawn: Always use high-quality spawn from reputable sources. This can make a significant difference in yield and resilience.
- Rotate Crops: If you’re growing various mushroom types, rotate them annually to prevent soil depletion and allow nutrients to replenish.
By staying vigilant and following these tips, you can cultivate a thriving mushroom garden that keeps on giving!
Conclusion
Growing mushrooms in your backyard is not just an adventure; it’s a culinary journey filled with flavors, sustainability, and a sense of accomplishment. From the joy of harvesting to the satisfaction of cooking with fresh, homegrown fungi, this experience is unmatched.
Don’t hesitate to experiment with different mushroom species and growing techniques. Each variety brings its unique flair and flavor to your kitchen. Plus, you’ll have endless stories to share about your mushroom escapades!
We’d love to hear from you! Share your experiences, tips, or questions in the comments below. Happy mushrooming!

FAQs
Is growing mushrooms at home worth it?
Absolutely! It’s a low-maintenance process, and you can enjoy fresh, gourmet mushrooms right from your garden.
When is the best time to start growing mushrooms outdoors?
Early spring or fall is ideal for outdoor mushroom cultivation. Avoid extreme heat during summer months.
How long does it take for mushrooms to grow?
Fast-growing varieties like oyster mushrooms can be ready in about a month. Others, like shiitake, may take a few months.
Can I grow mushrooms in containers or indoors?
Yes! Many mushrooms thrive in containers or indoor setups. Ensure they have adequate humidity and darkness.
What should I do if I encounter pests?
Remove pests manually, use organic pest control methods, or create barriers to keep them out. Regular monitoring helps catch issues early.
Please let us know what you think about our content by leaving a comment down below!
Thank you for reading till here 🙂
All images from Pexels


